Oliver & the Odd Bots Chapter 6 Walkthrough: Spirit Orchard Puzzles
Find all 14 sprites, solve the constellation and lantern puzzles, and guide five hearts to finish Oliver & the Odd Bots Chapter 6.
Chapter 6 brings Adventure Escape Mysteries: Oliver & the Odd Bots to the Spirit Orchard, where progress depends on gathering sprites, reading their clues and repairing a chain of lanterns. The final stretch links several puzzle types, so keep track of the items you collect and the patterns you uncover.
Gather sprites and open the orchard gate
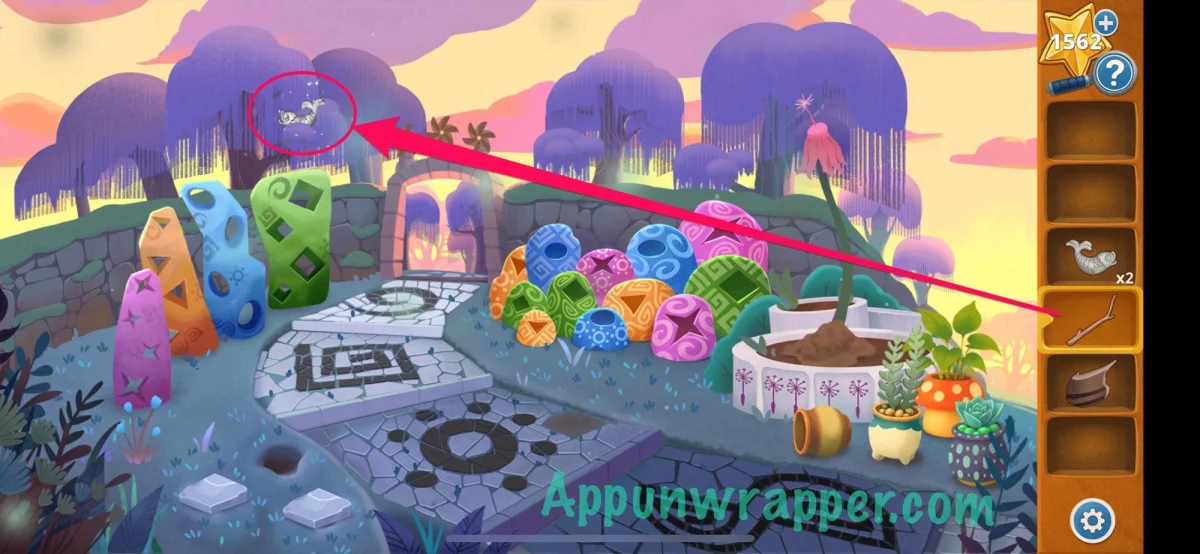
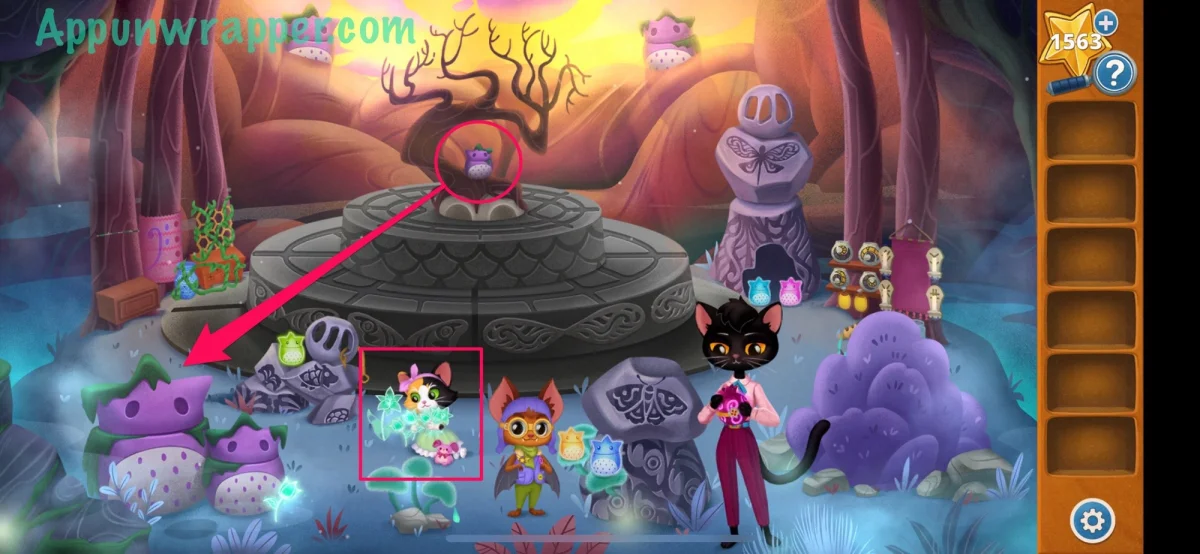
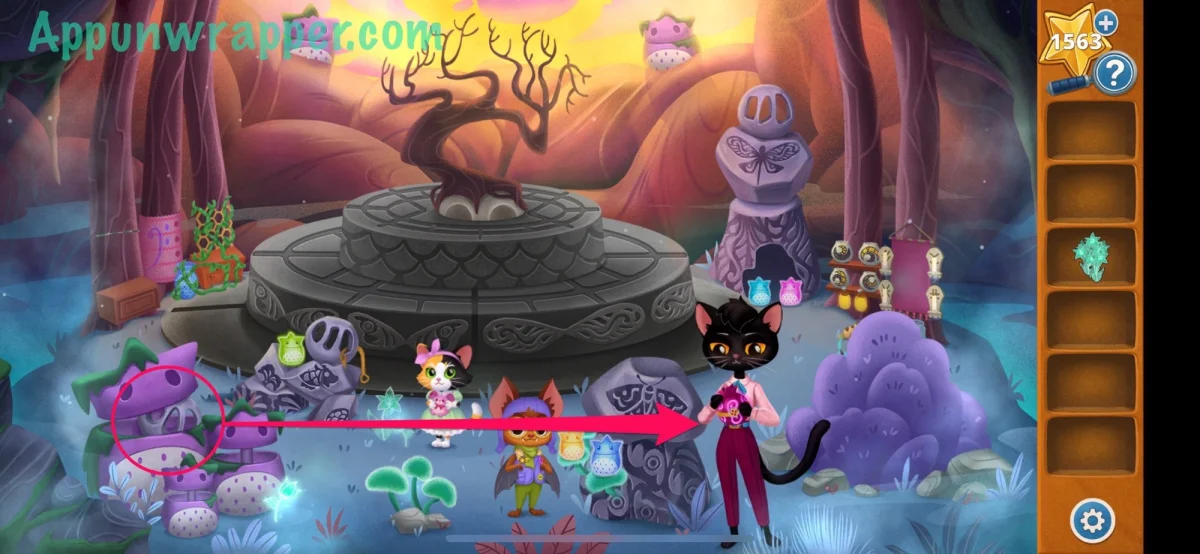
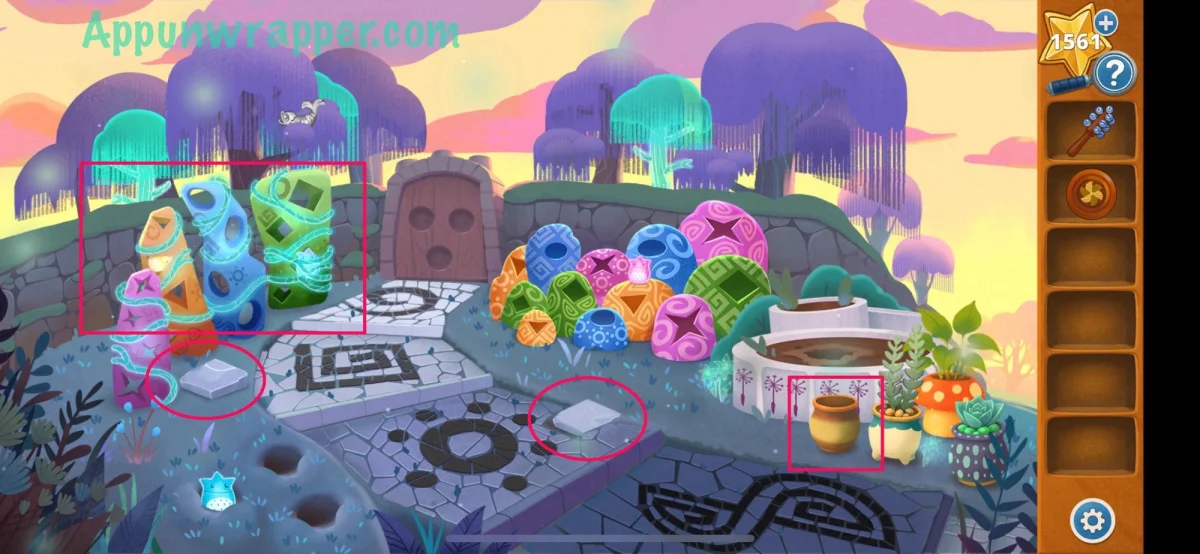
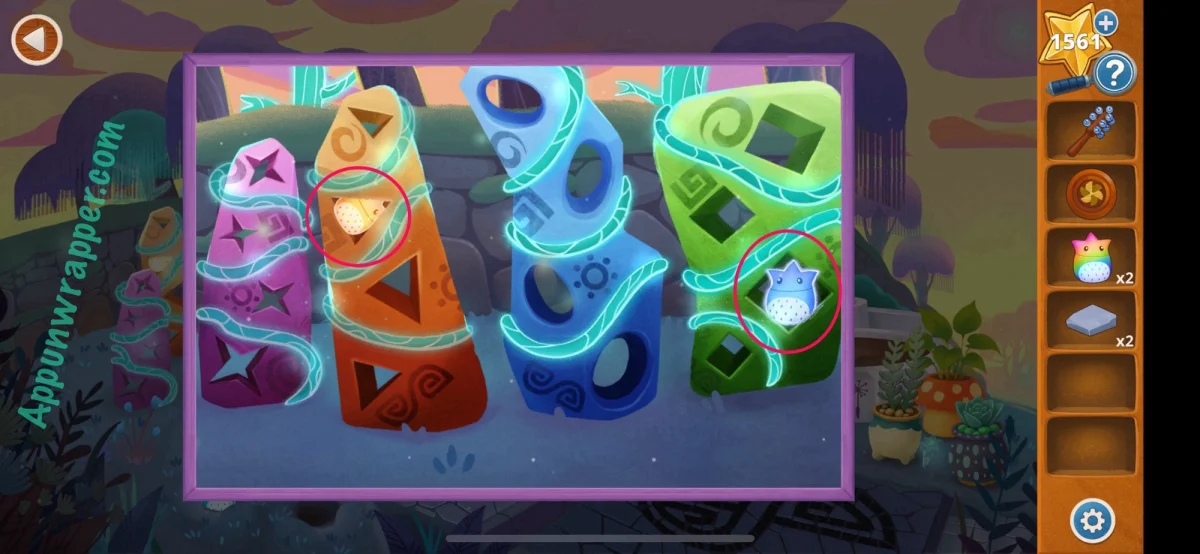
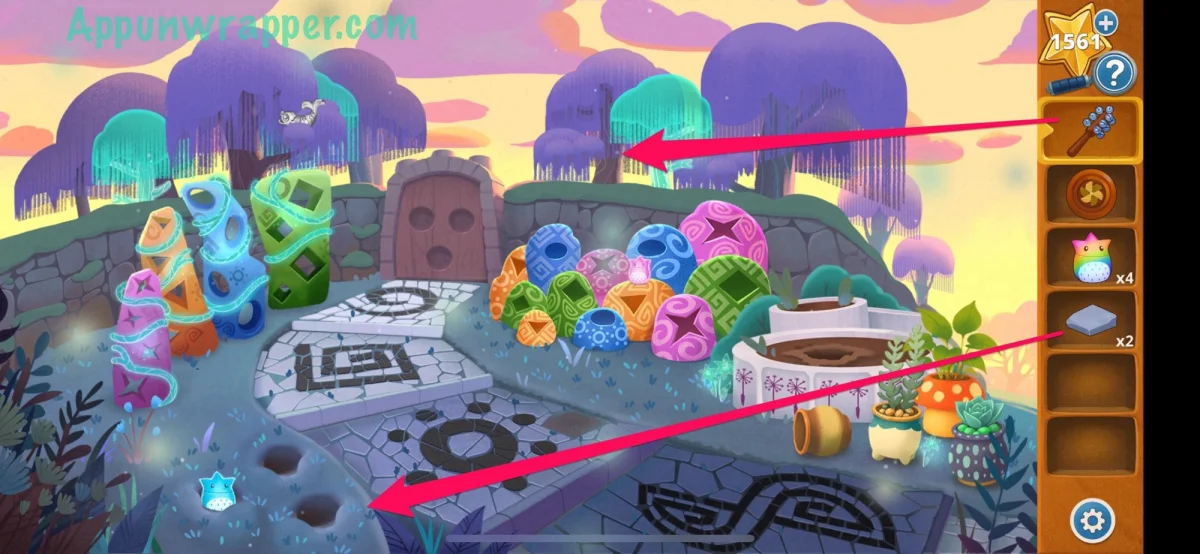
At the huts, take the wooden token and bell wand. In the surrounding area, collect two rocks, tip over the pot to release two sprites, and search the hole filled structures on the left for two more. Use the bell wand on the shaking tree to reveal four sprites. Cover the holes with the rocks to uncover three additional sprites and a second wooden token. That brings your count to 11.

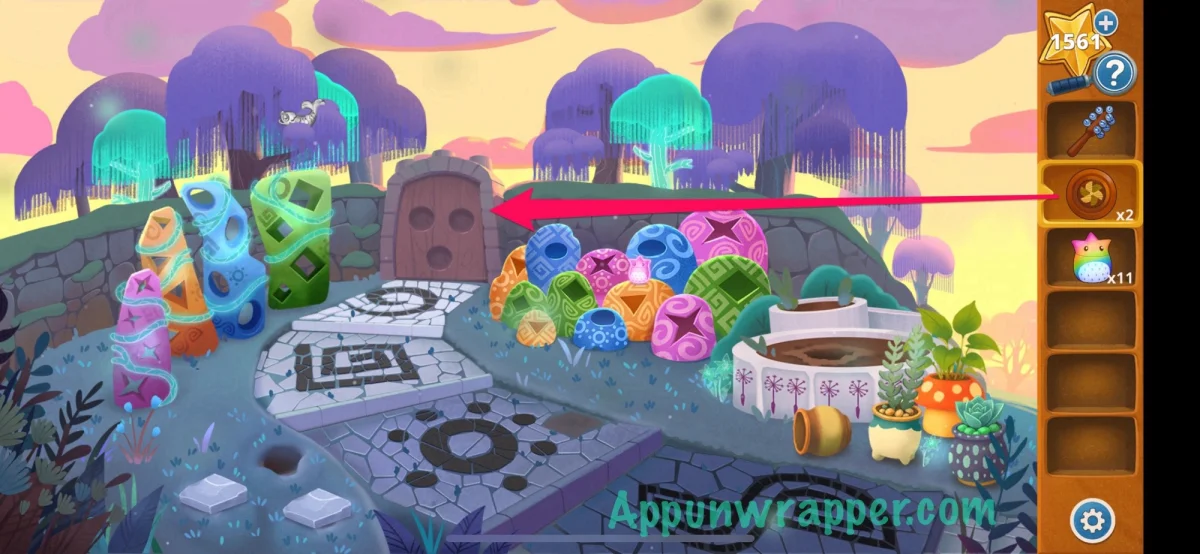
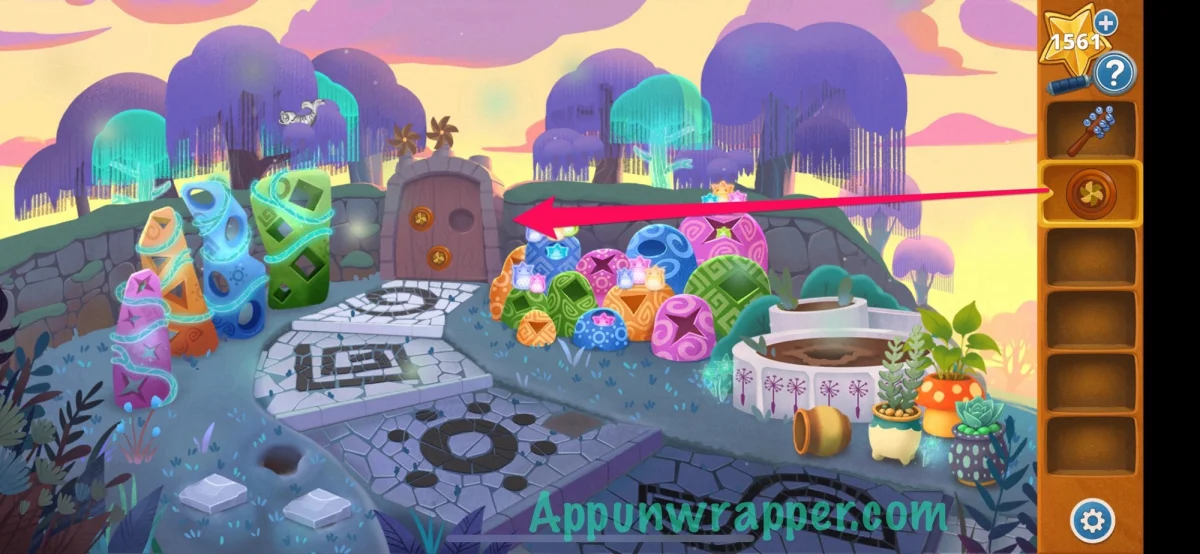
Put both wooden tokens on the door to reveal three more sprites, for a total of 14. Add all 14 to the sprite already waiting by the huts. The group gives you another wooden token. Put that token on the door, but expect the entrance to stay shut: the musical stones need the right sequence.
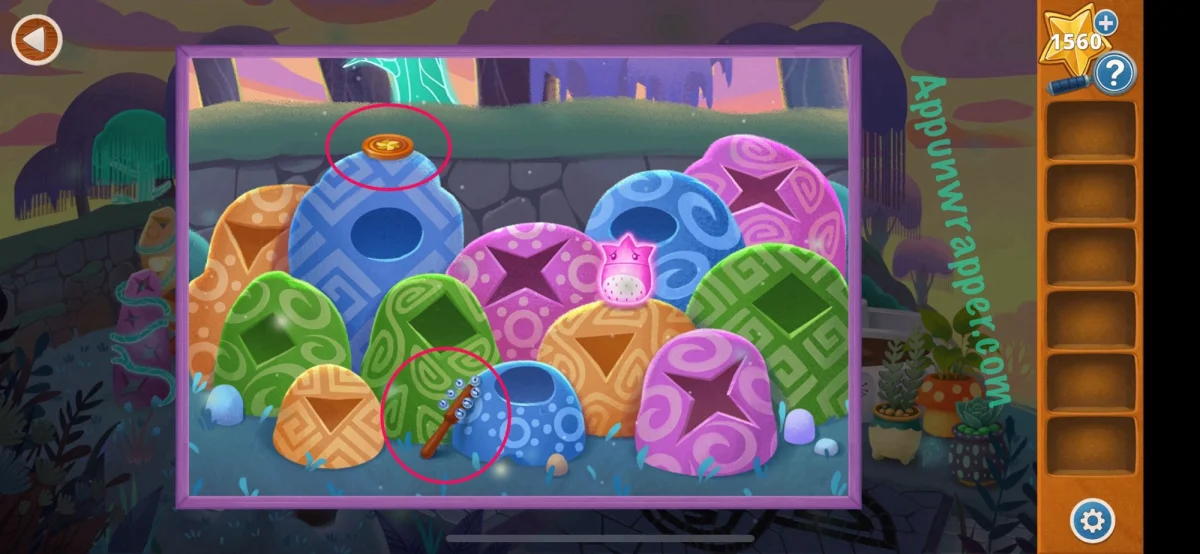
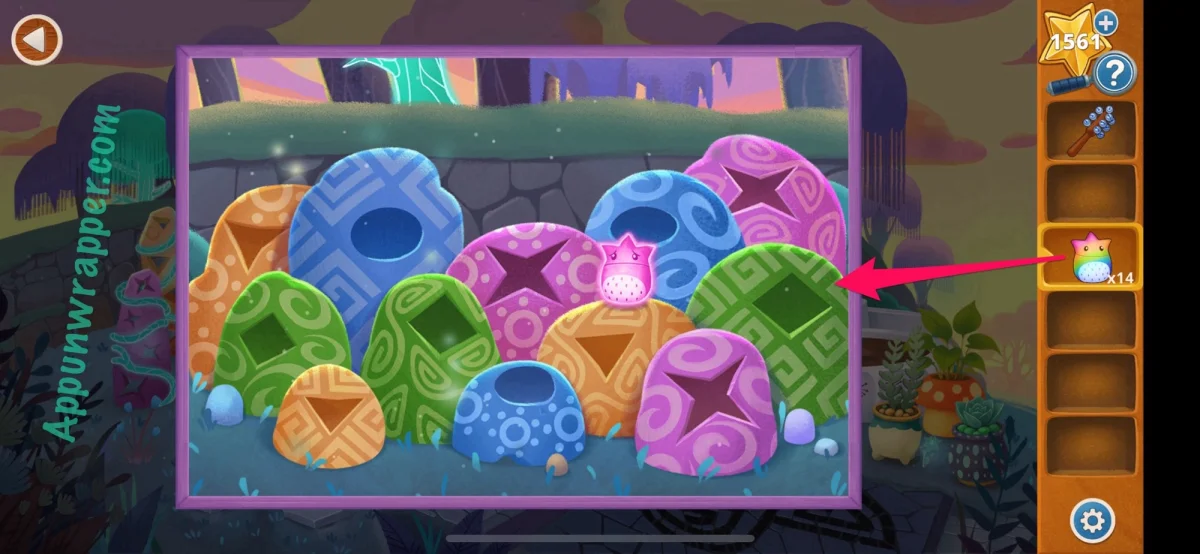
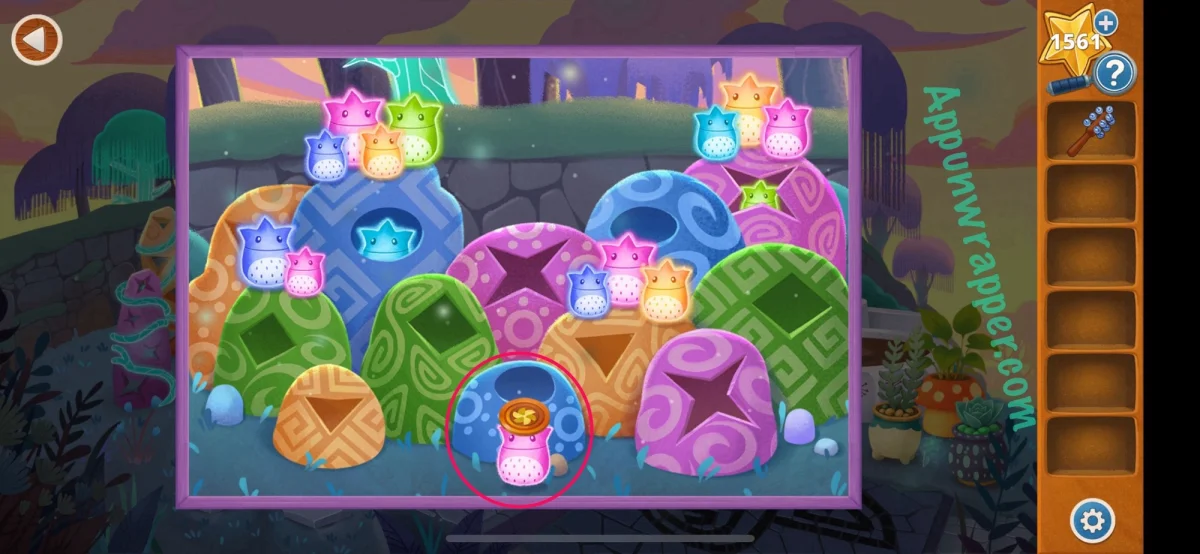
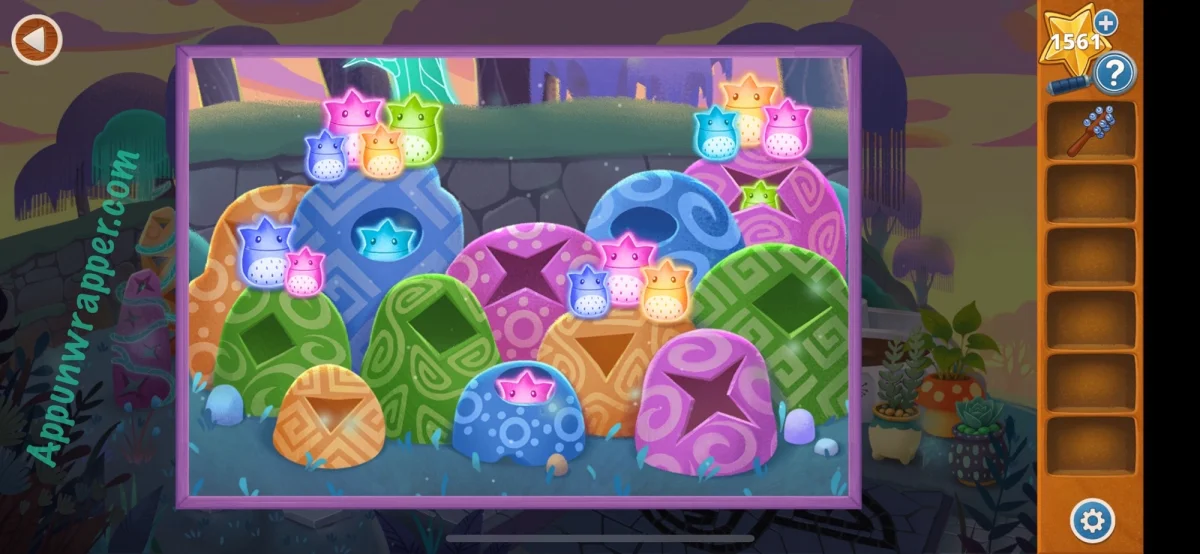
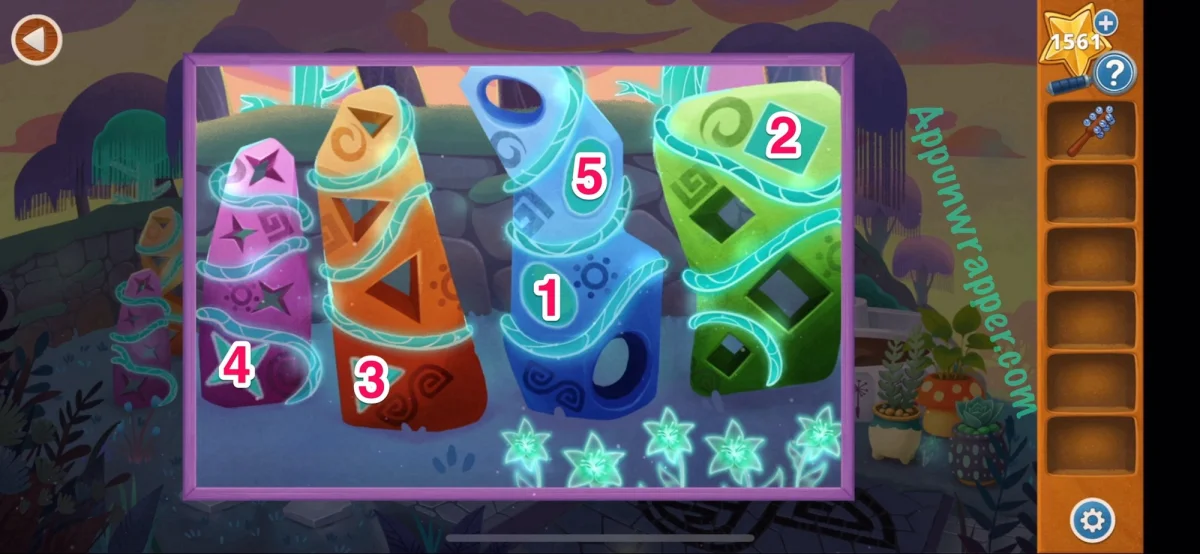
Check how many sprites are gathered at each hut. The groups contain one, two, three, four and five sprites. Use those counts to order the holes on the musical stones: blue sun, green circle, orange S, pink S, blue spiral. The gate opens.
Grow the wishflower and follow the sprites
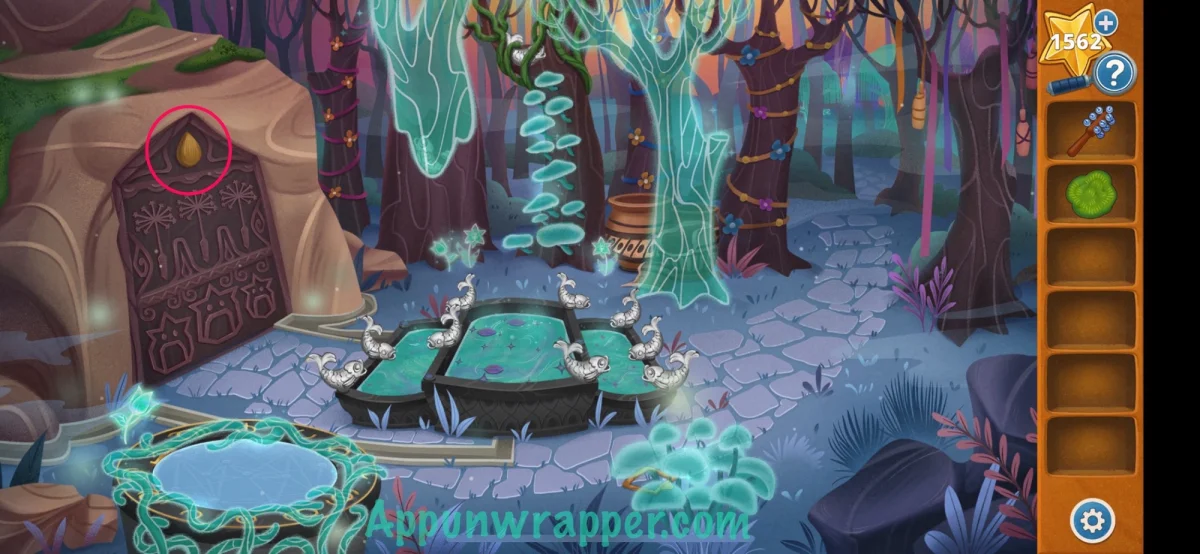
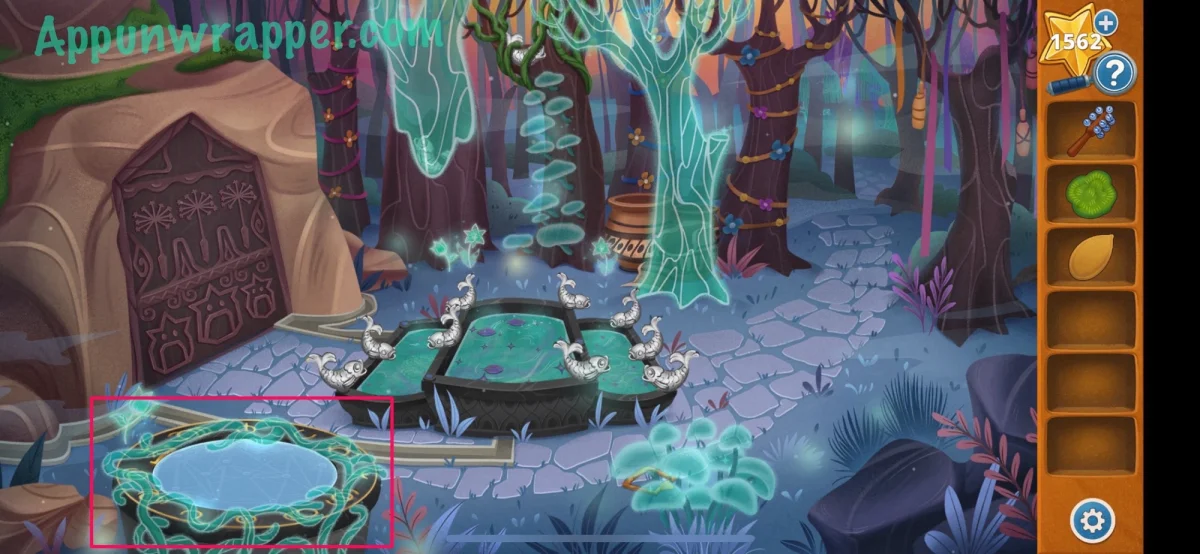
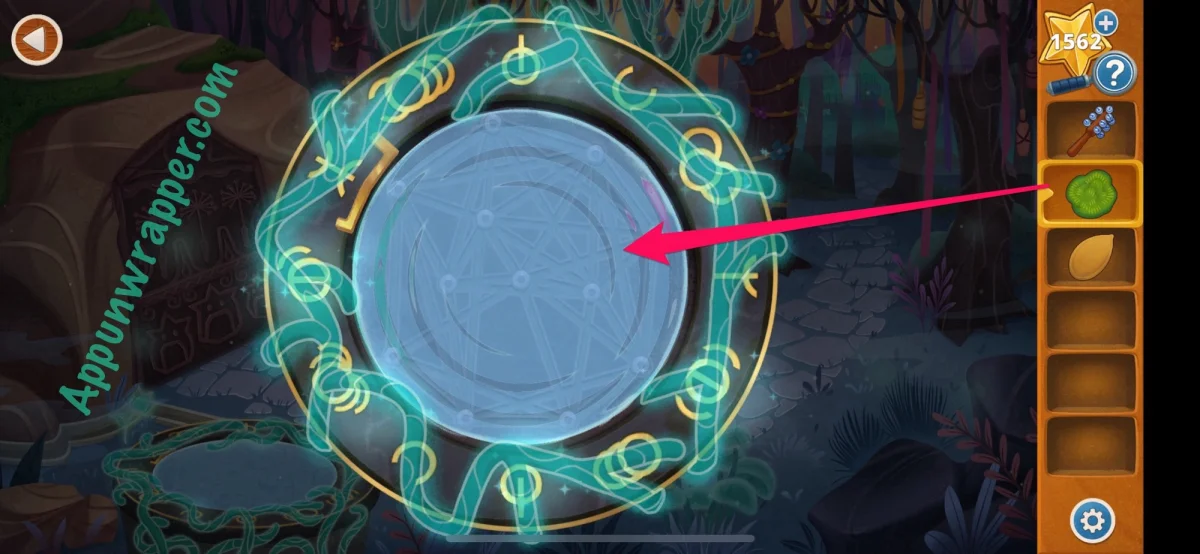
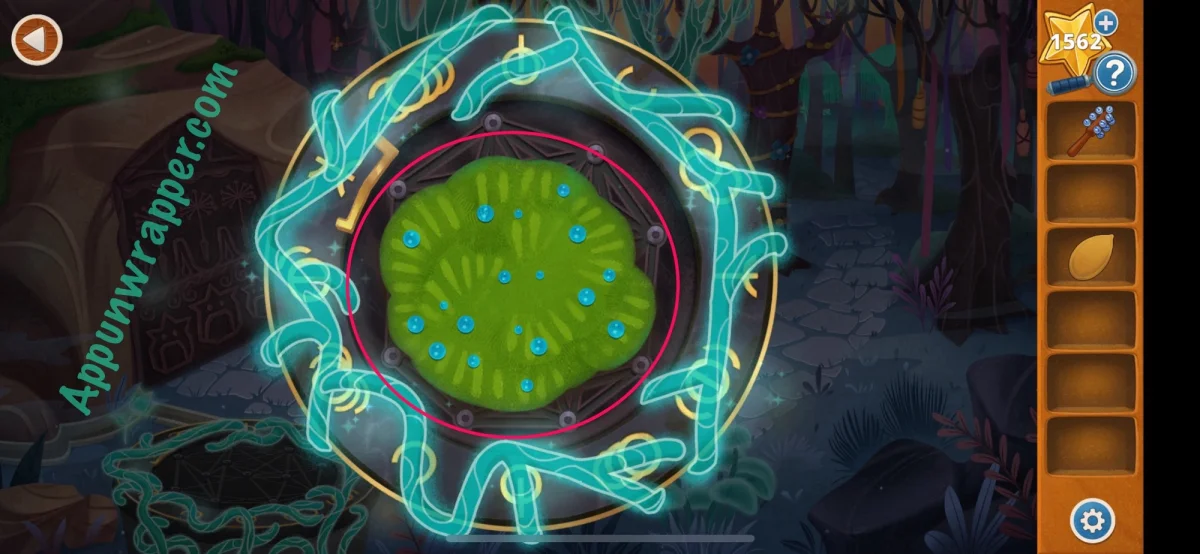
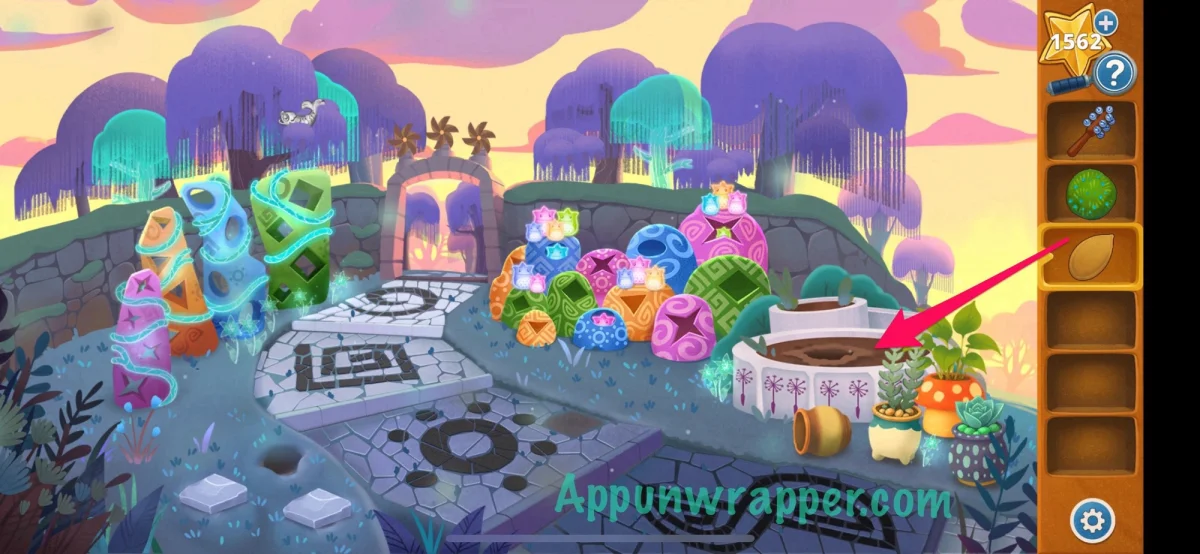
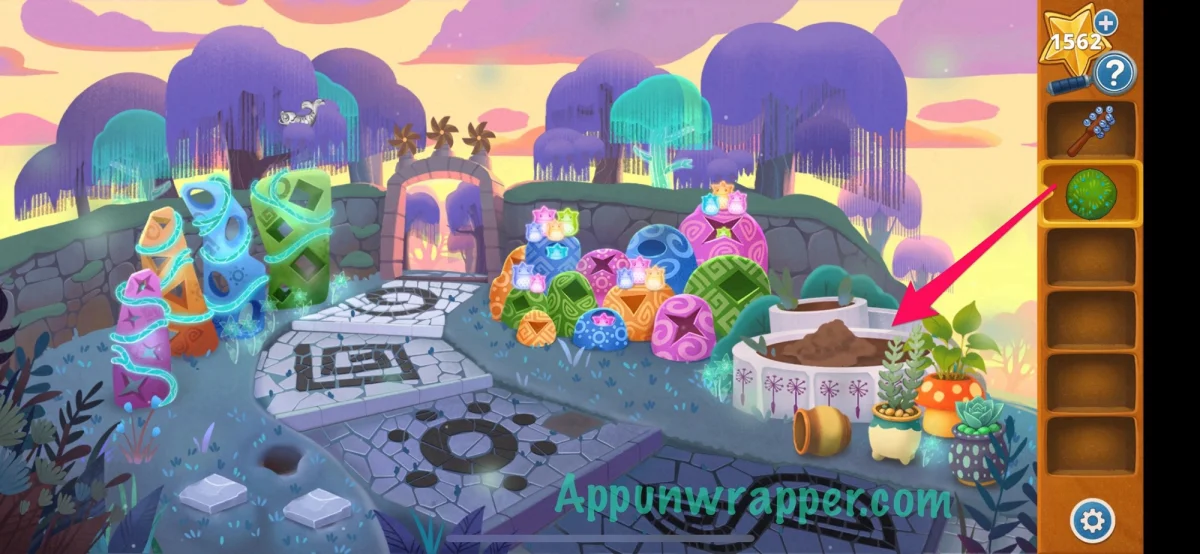
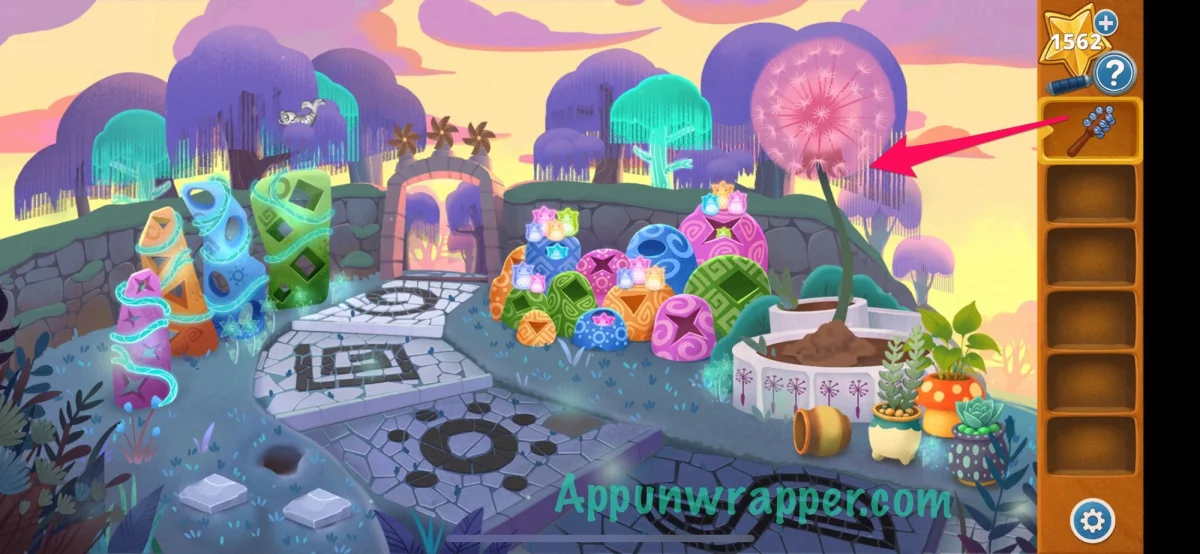
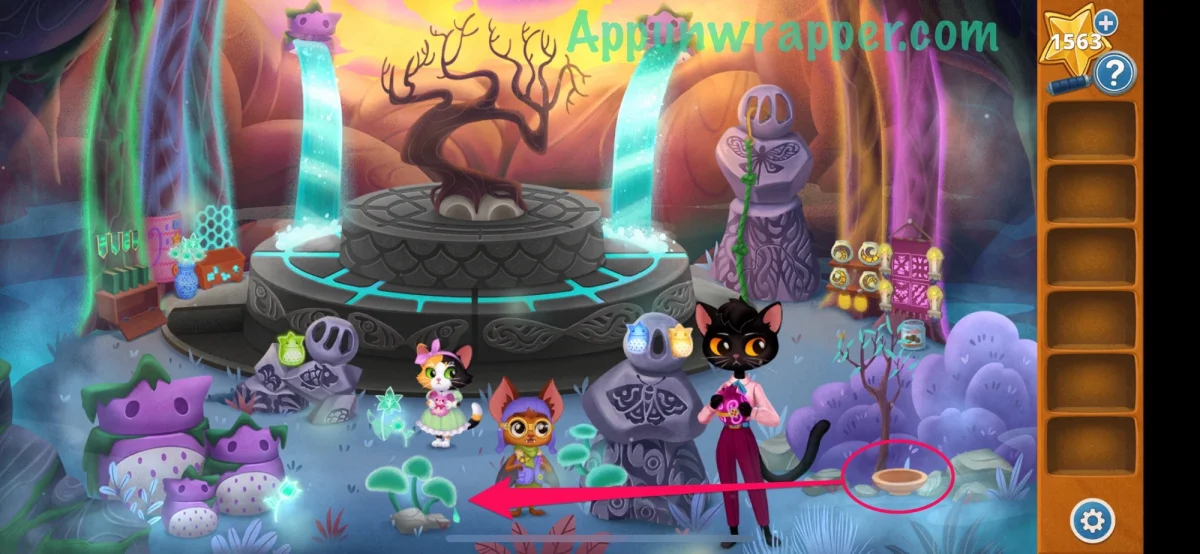
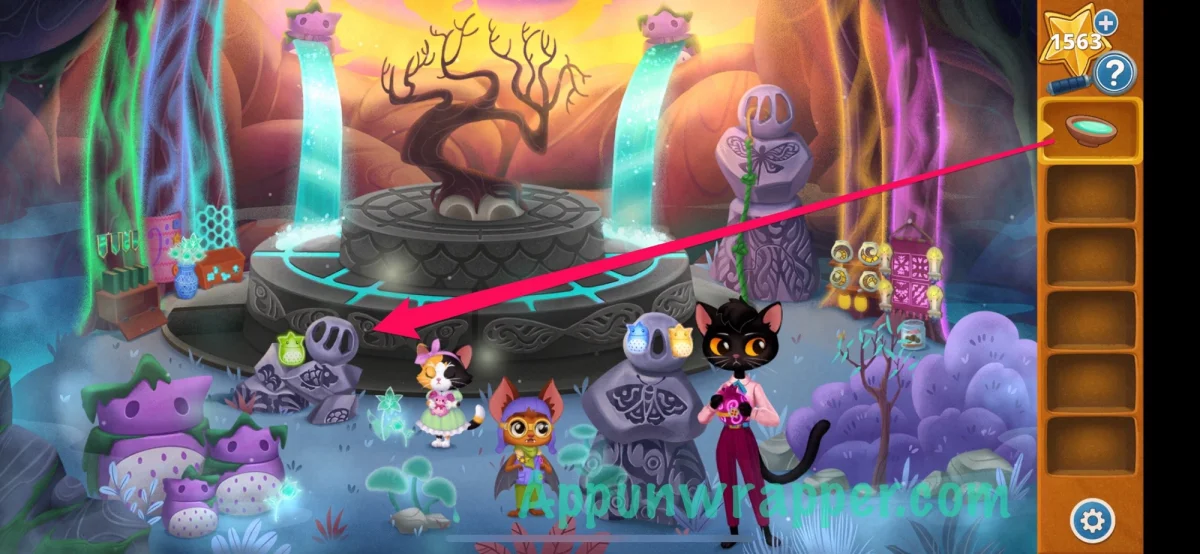
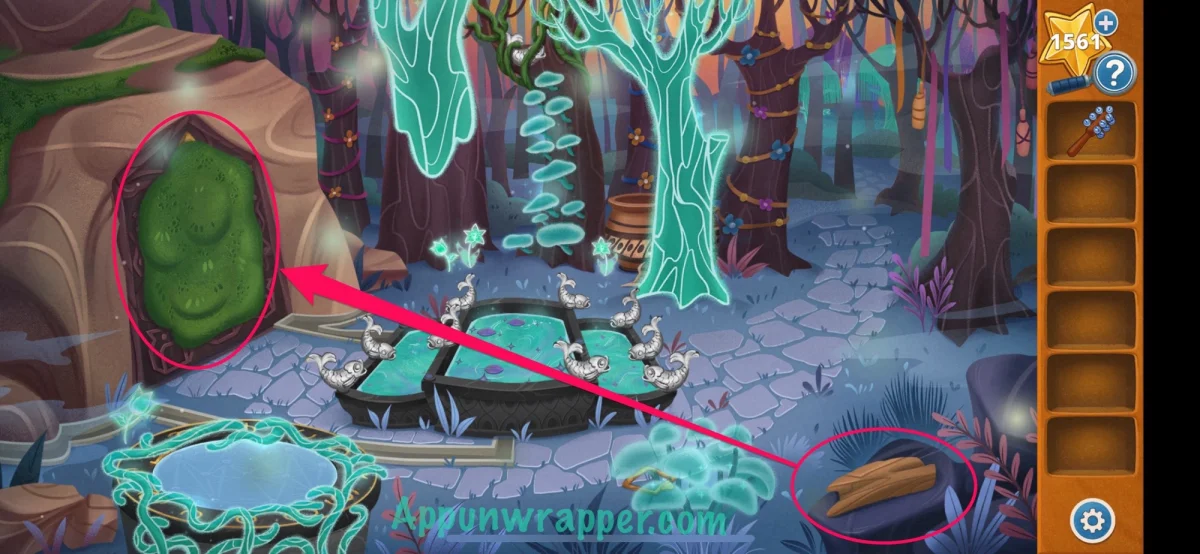
Beyond the gate, pick up the flat bark and use it to scrape spongy moss from the door. Take the wishflower seed. Dip the moss into the nearby bowl of water to make damp moss, then return to the dirt. Plant the seed and squeeze the damp moss over it. A large wishflower grows.
Use the bell wand on the flower to draw the sprites over. They’ll only climb it after you win their leapfrog puzzle. Select a sprite, then tap a glowing square to make it hop. A sprite can travel only by jumping over another sprite; finish when every sprite rests on a stone space and the group forms a heart.
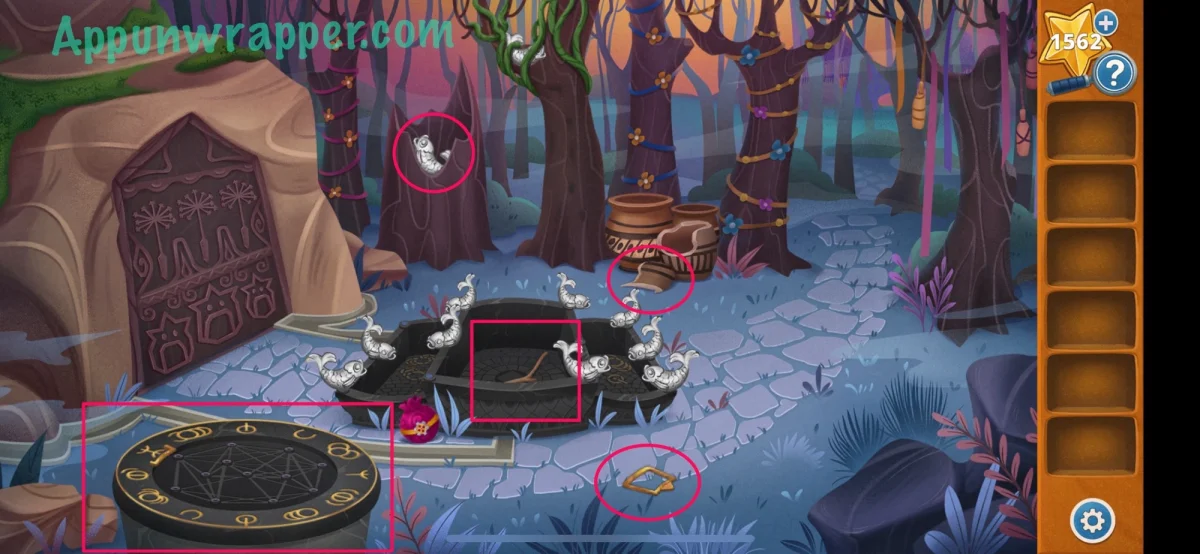
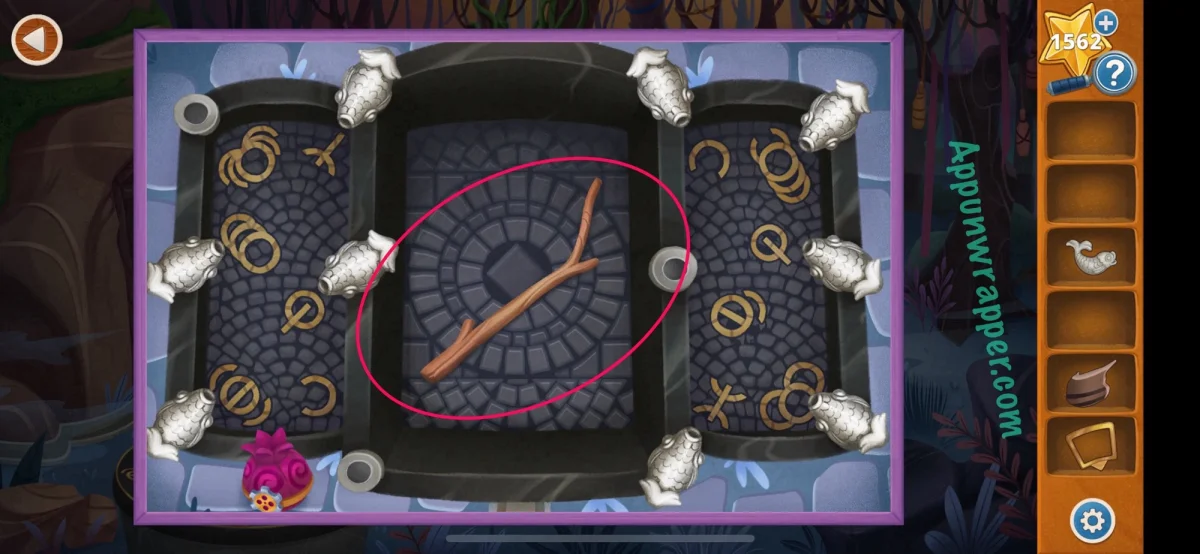
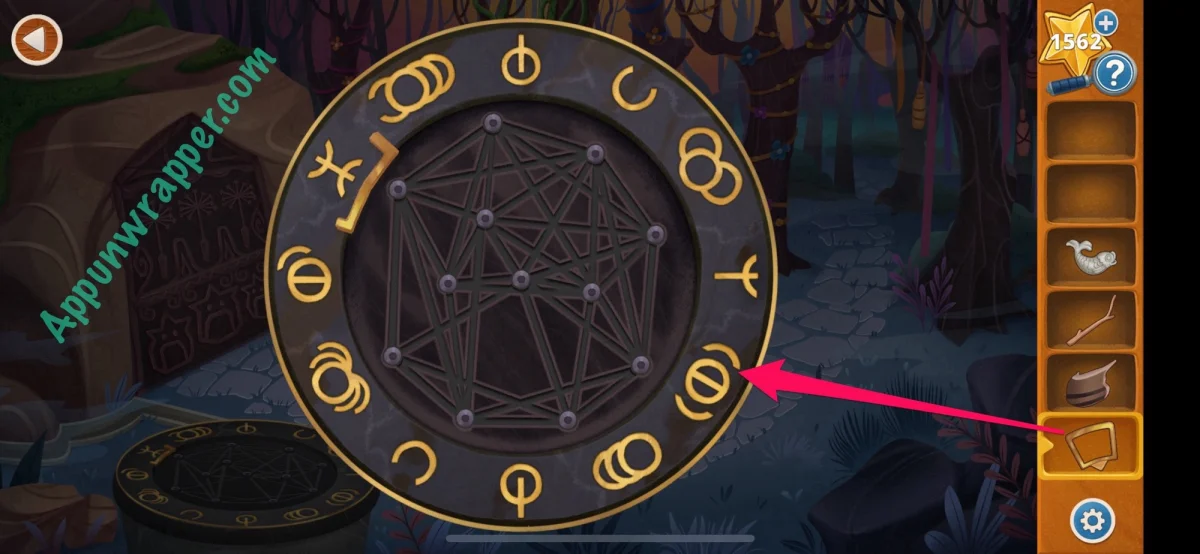
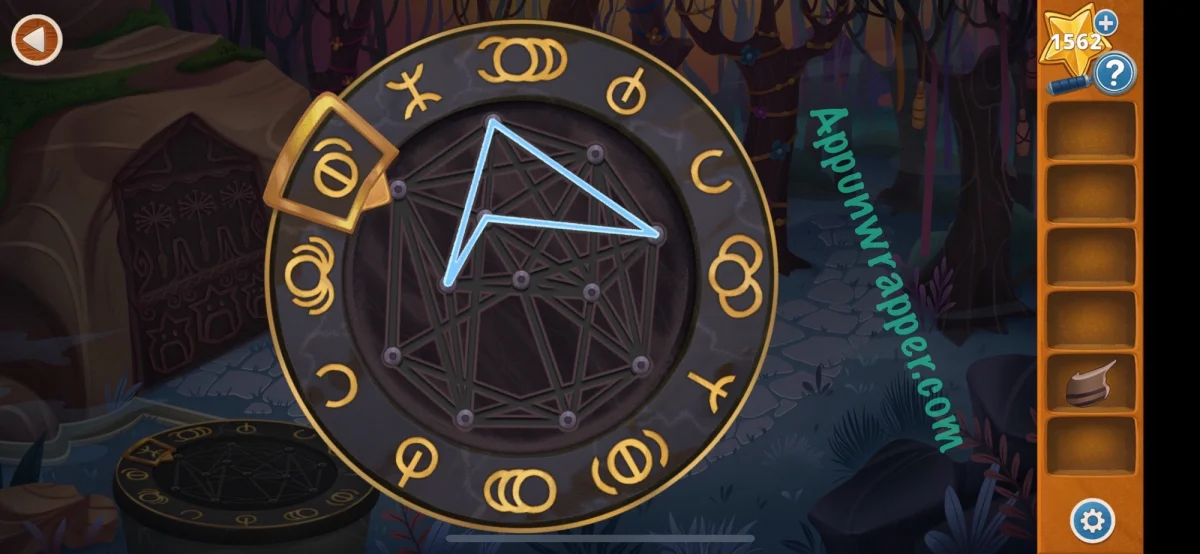
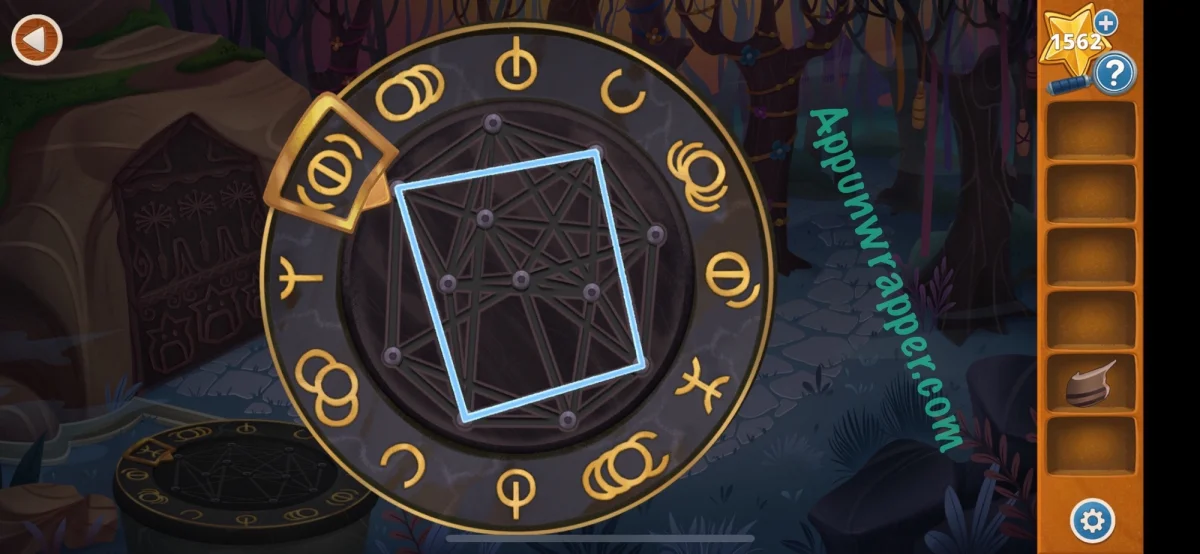
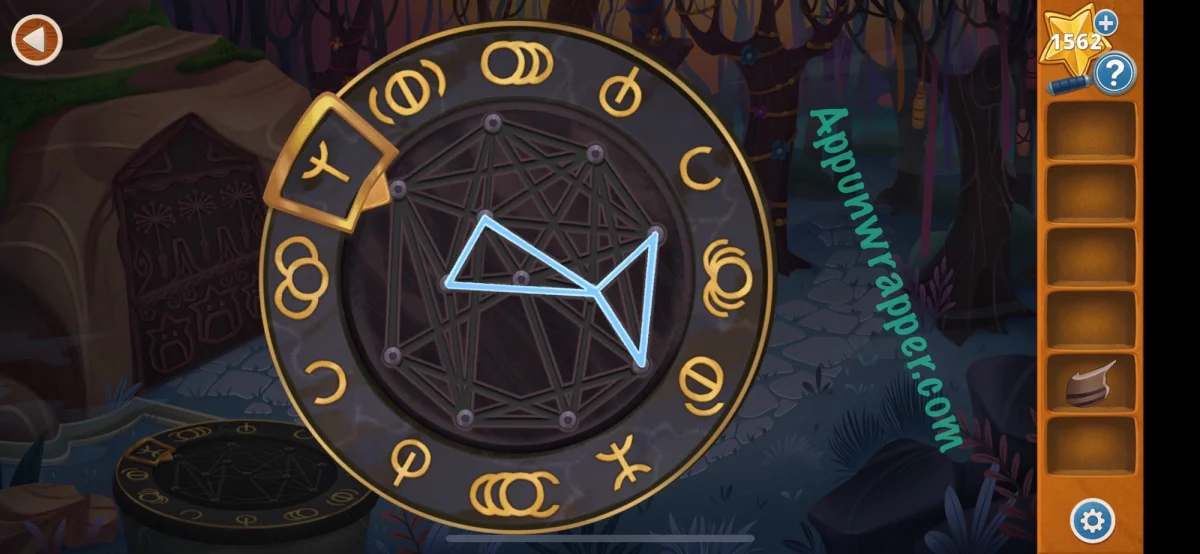
Follow the sprites into the forest. Turn off the PomPom to clear the ghosts and search the area. Pick up the brass frame, sharp shard and fish statue. Look inside the fountain for a good stick. With the ghosts gone, place the brass frame on the dial and slide it to inspect the constellations.
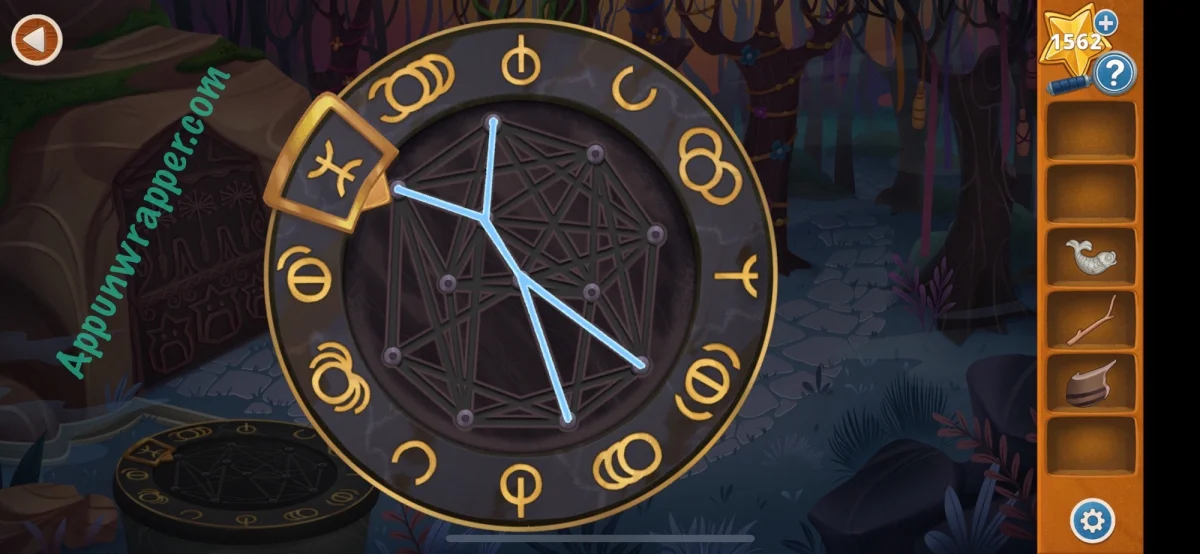
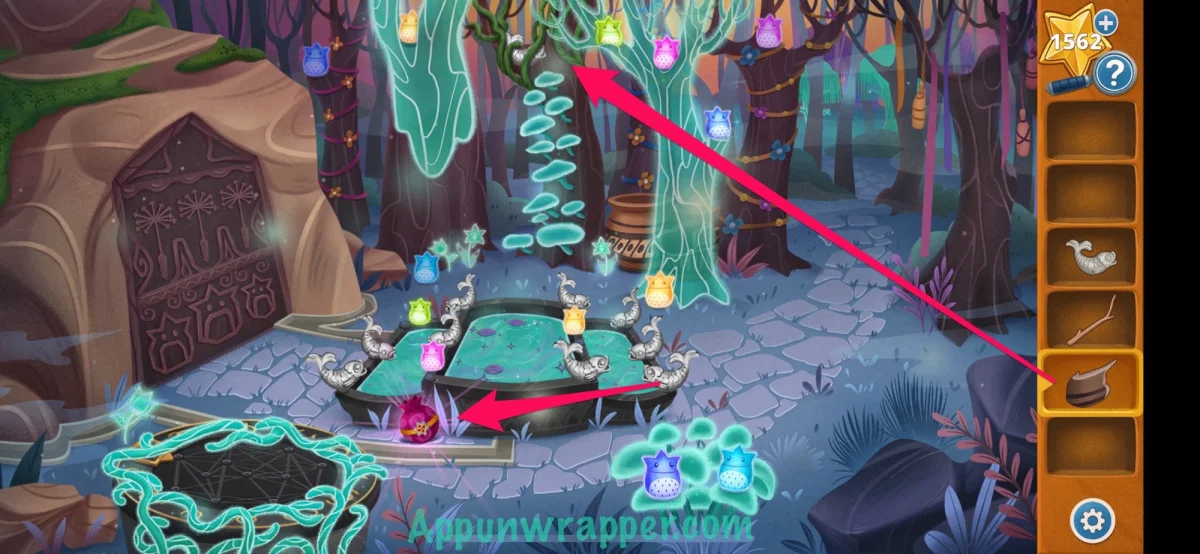
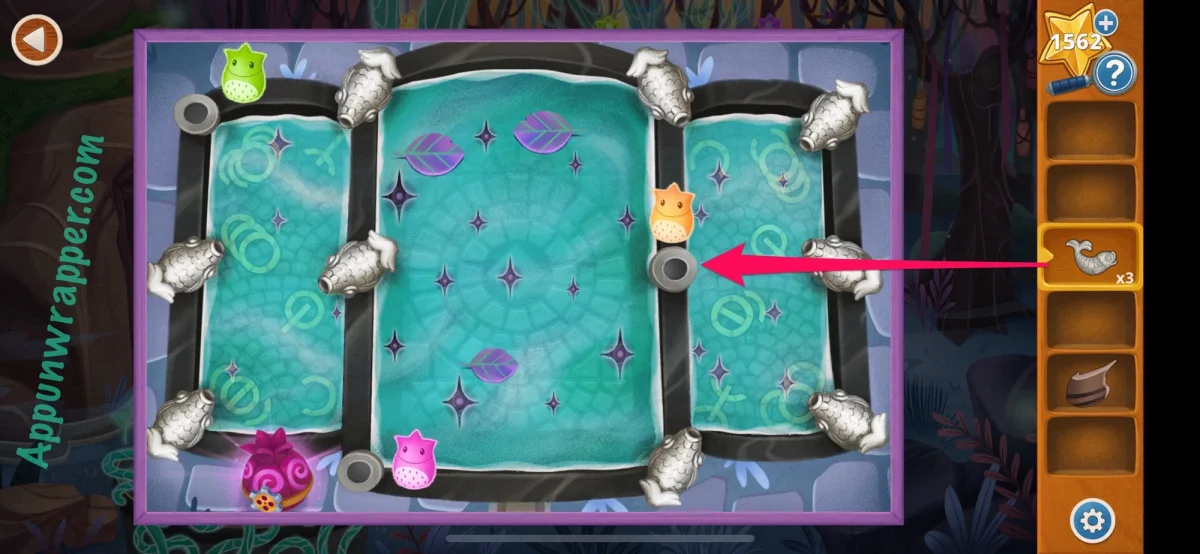
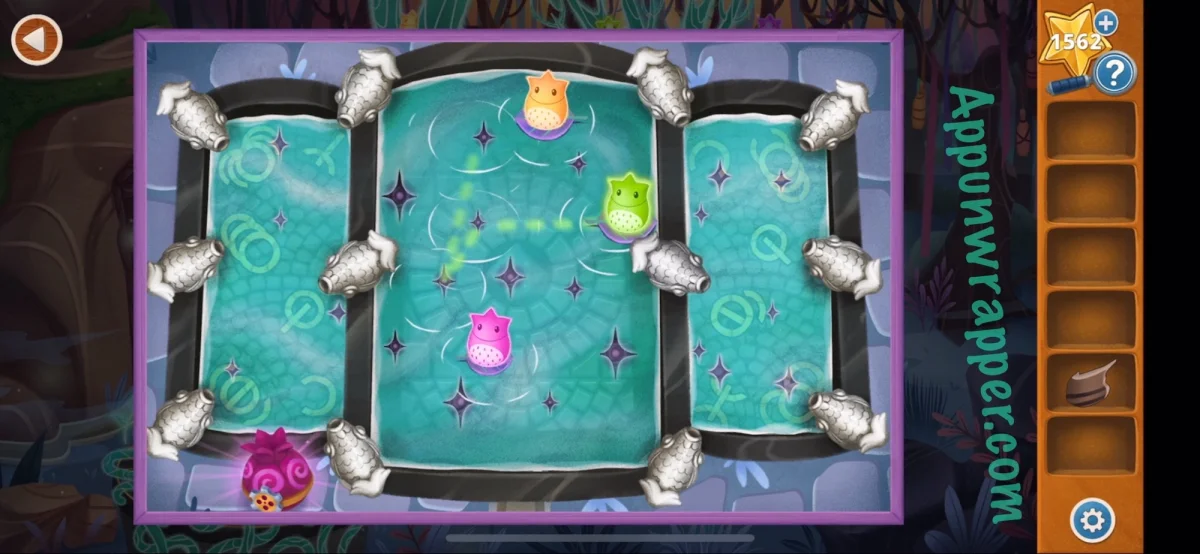
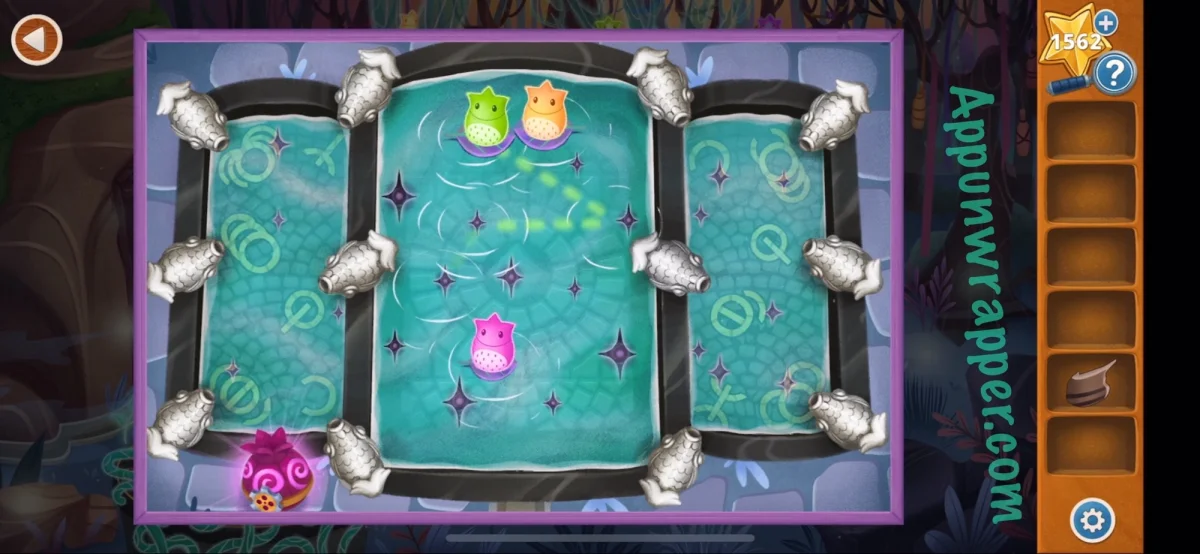
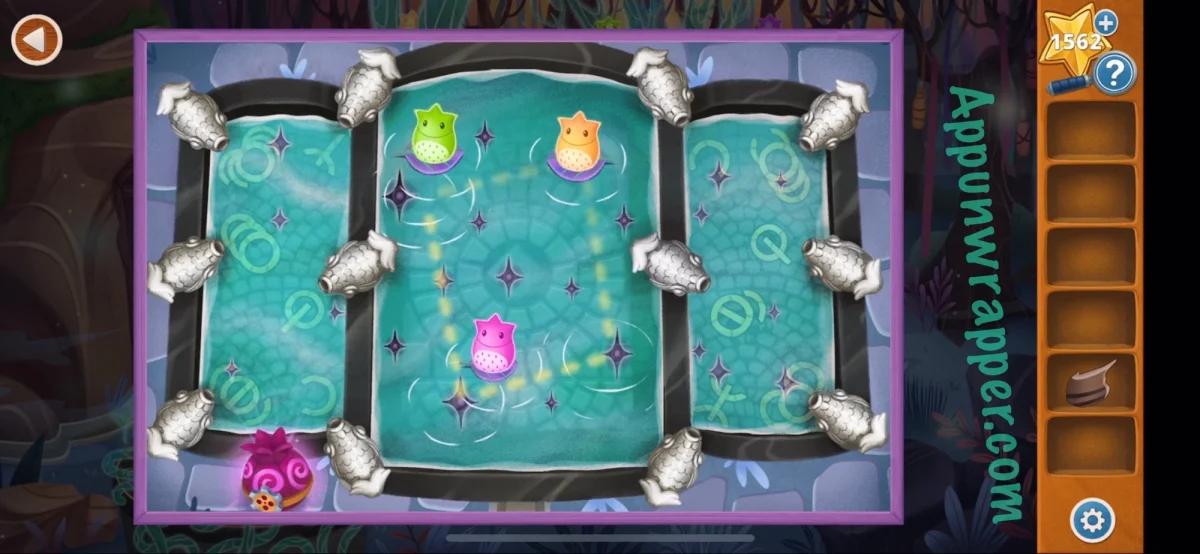
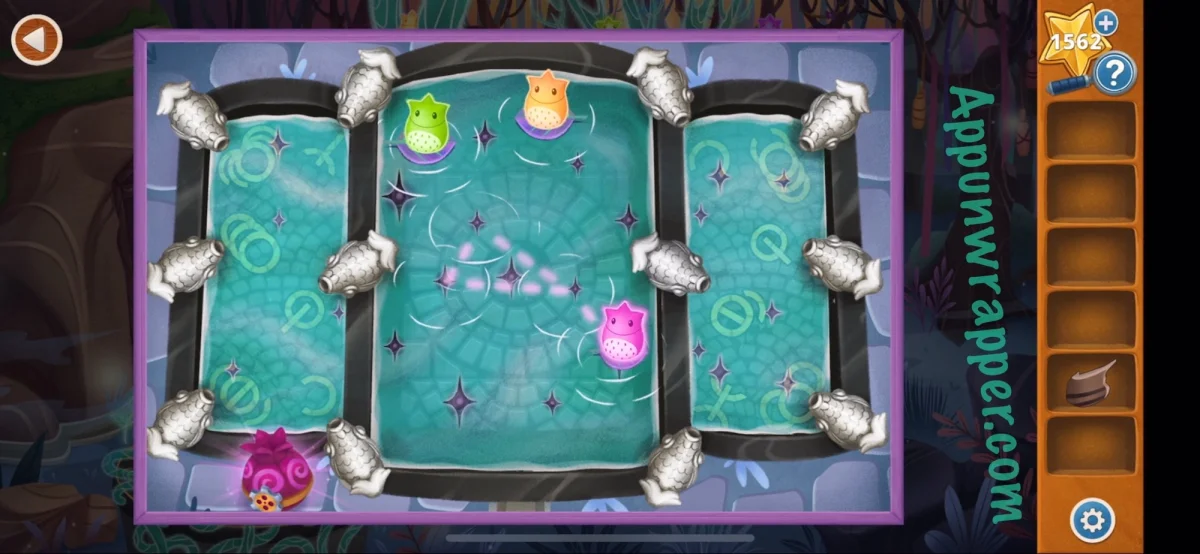
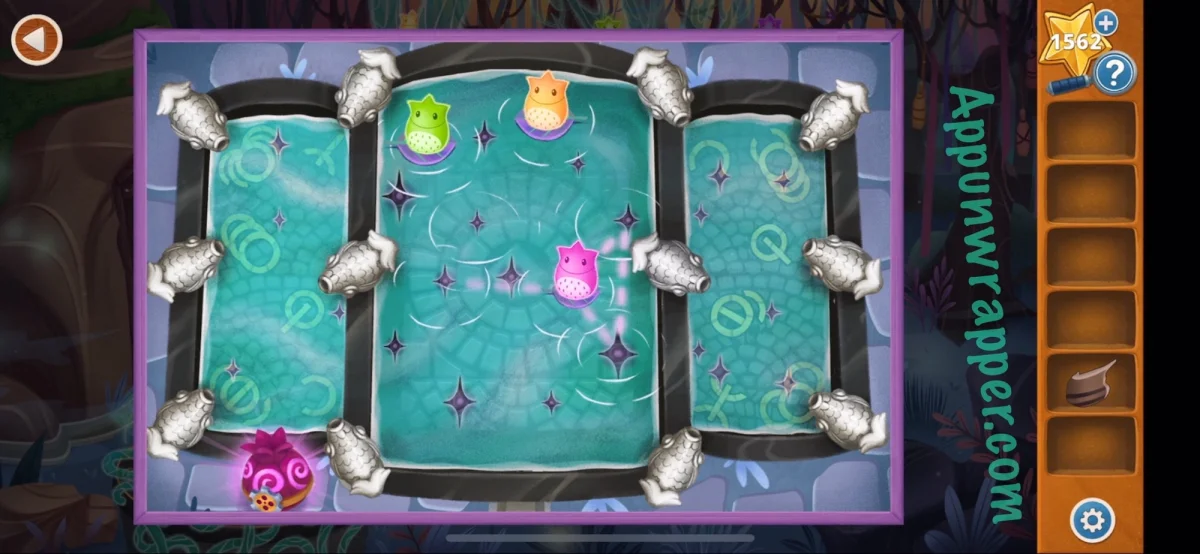
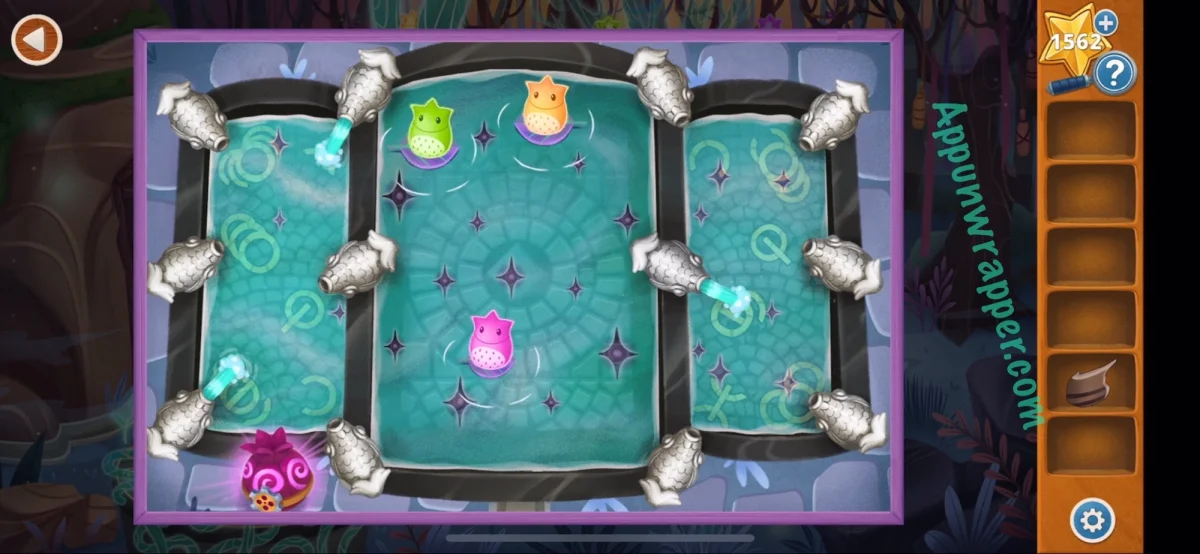
Turn the PomPom back on, then cut the vines with the sharp shard to find another fish statue. Return to the other area and use the good stick to reach a third. Place all three statues in the fountain. Tap each sprite to trace the shape it draws, then switch off the PomPom and use the dial to find those three shapes among the constellations. Turn the PomPom on again and activate the fish fountains by the symbols you selected. The next gate opens.
Repair the lanterns
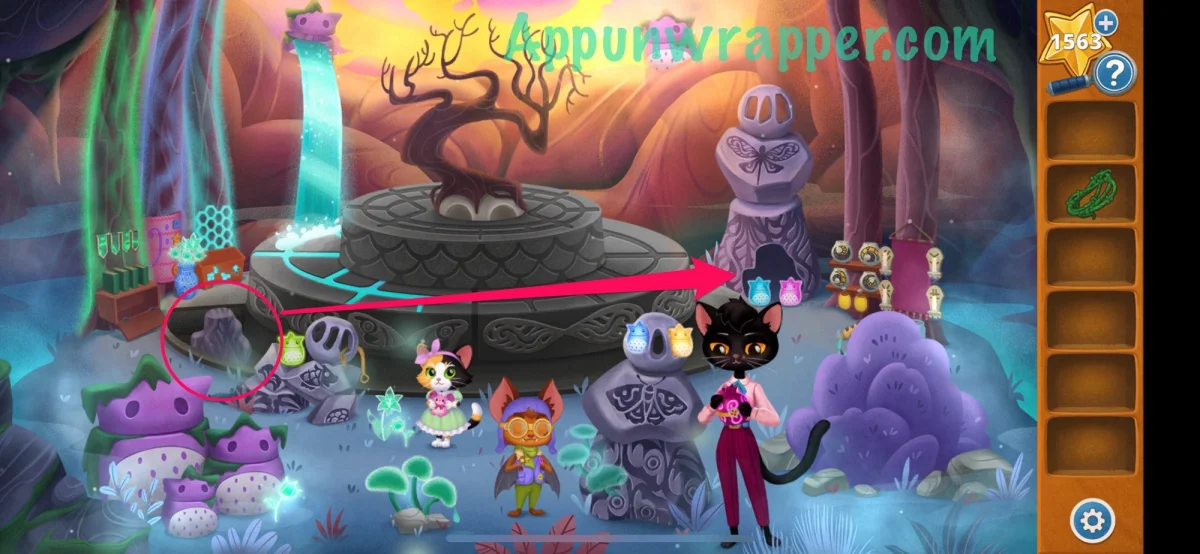
Mom and Rainy May arrive, but the PomPom can’t charge the hearts because the fountain isn’t filling. Pick up the stone sprite and ask Rainy May for the ghost flowers. Set the stone sprite with the others, take the lantern top from inside the larger lantern and give it to Mom to place.
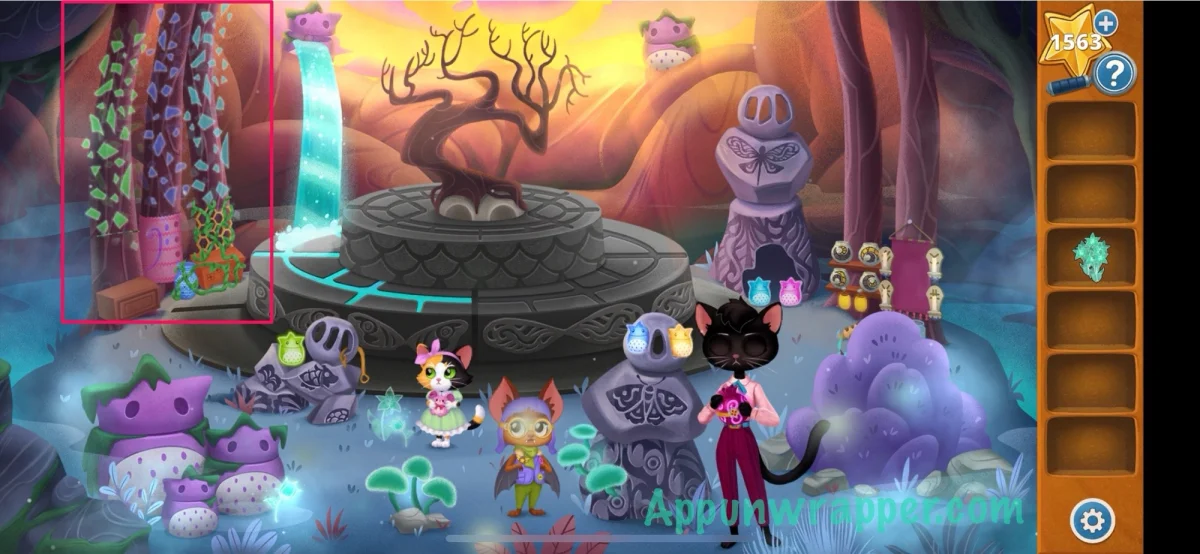
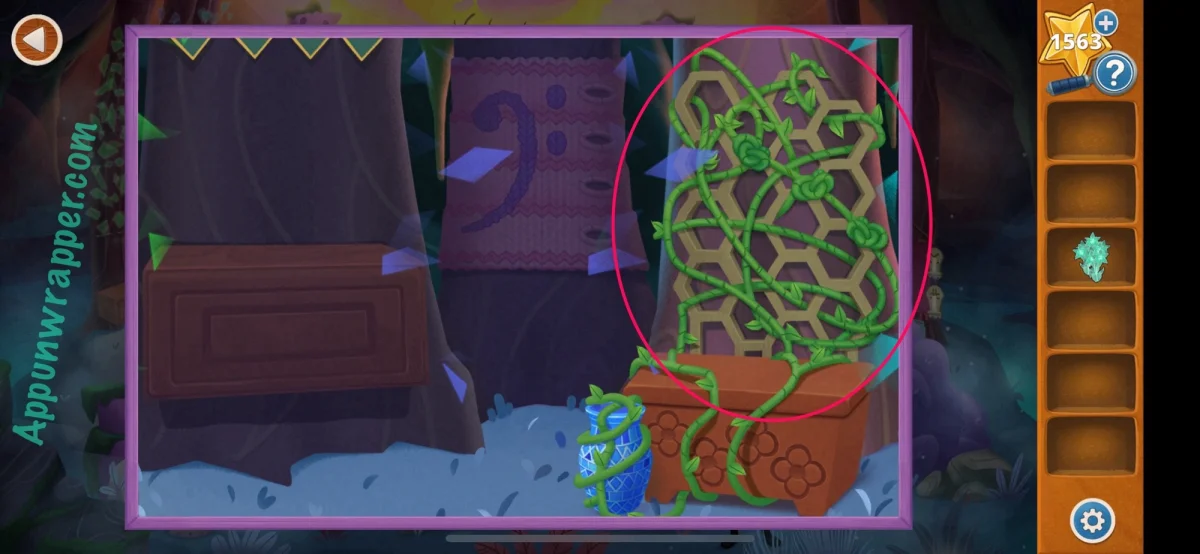
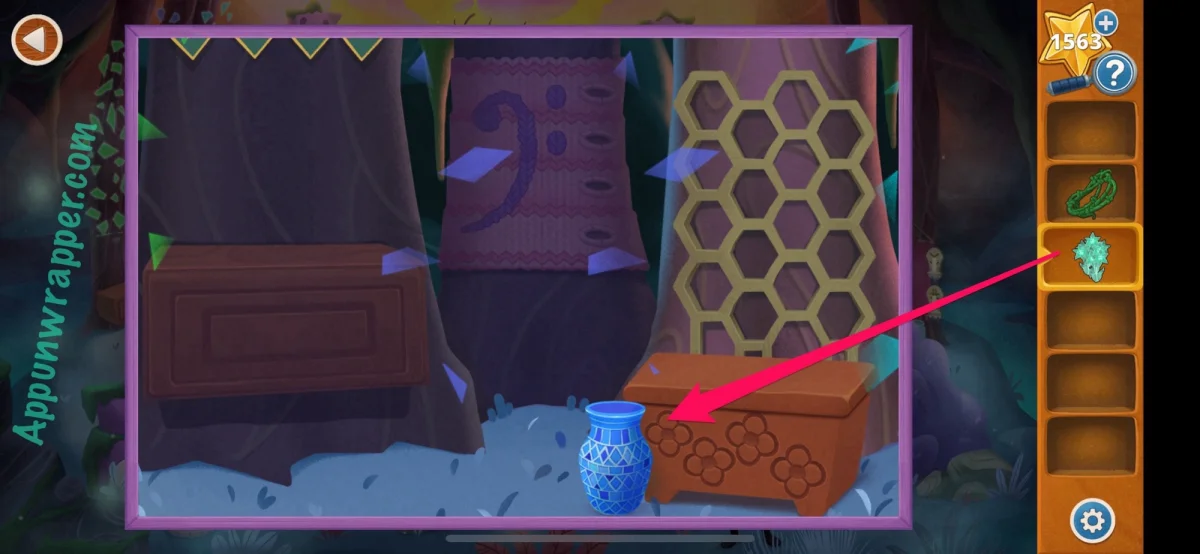
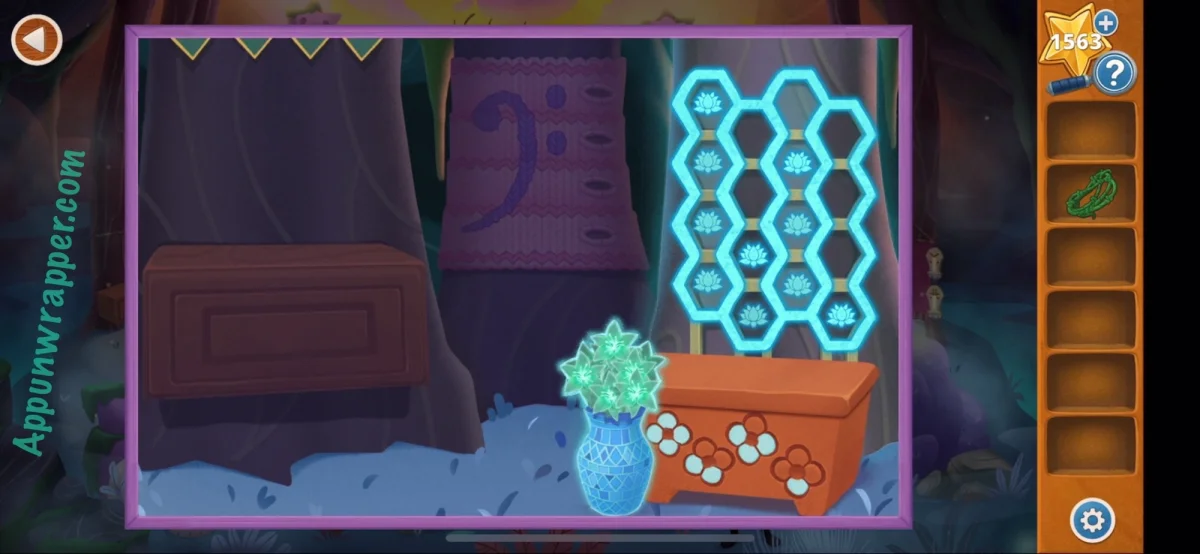
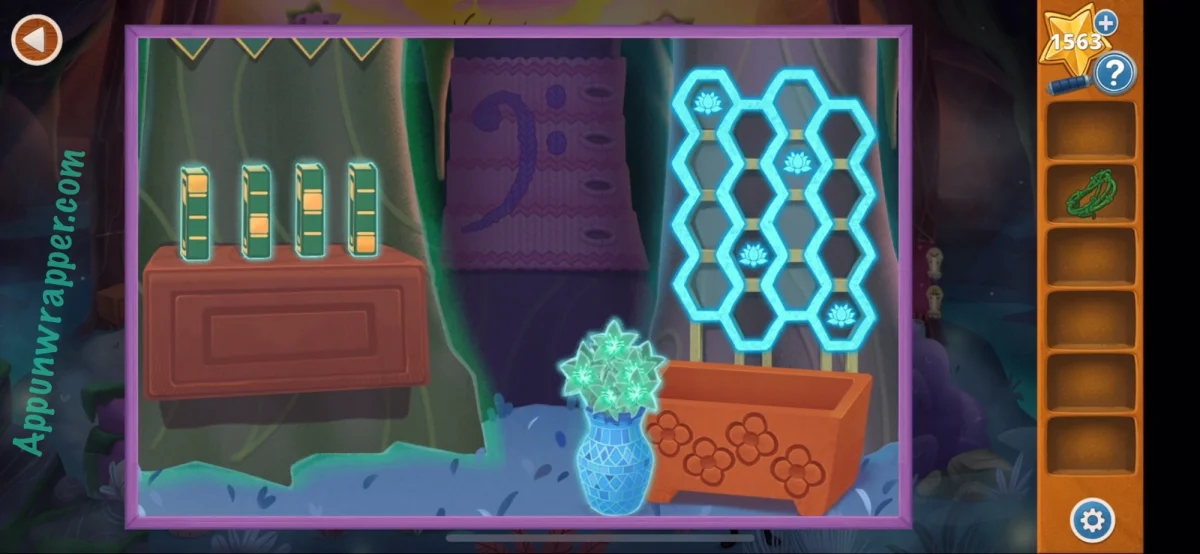
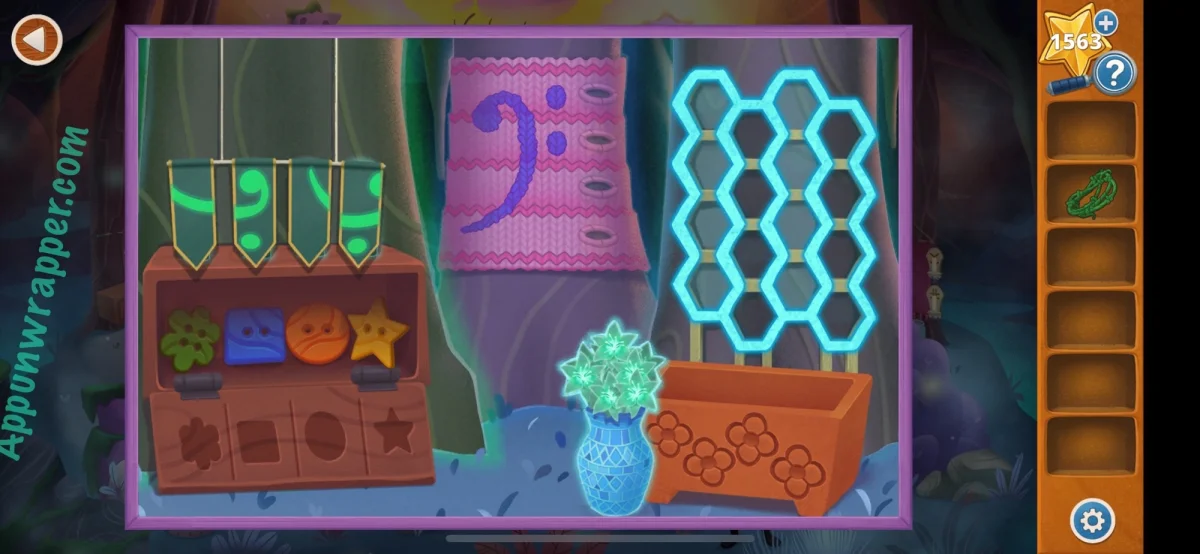
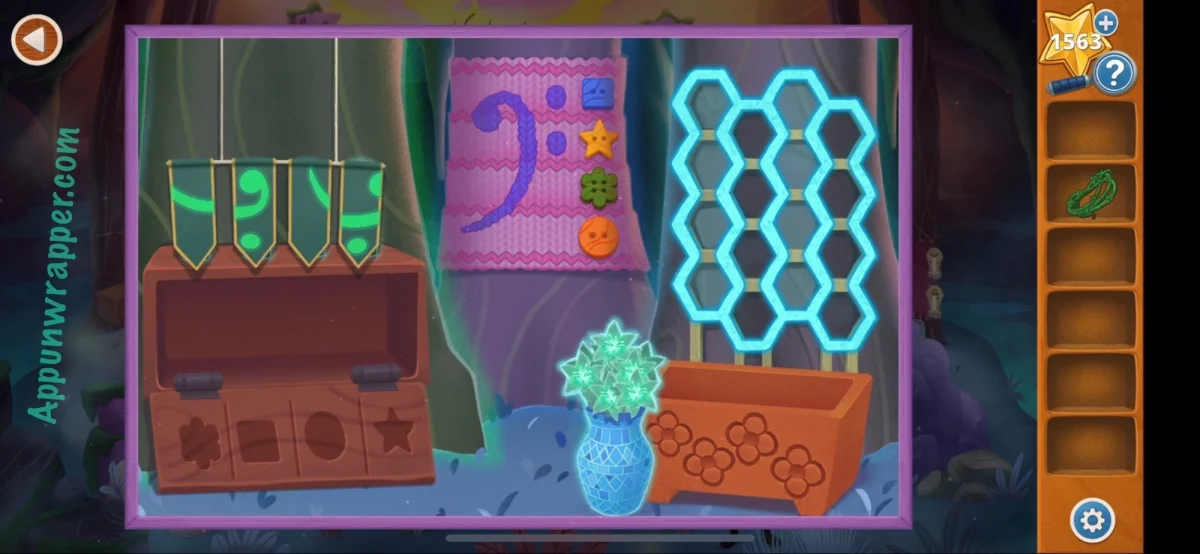
The fountain starts, though only on one side. Inspect the glowing grave trees to the left, collect the shoelace vines, and put the ghost flowers in the vase. The wooden chest presents a flower and hexagon puzzle: count the lit petals on each flower, then light the same number of hexagons above it. Next, arrange the books so their spines match the four hexagon columns. Fit the buttons into their slots to complete the stitch pattern. When the chest opens, take the lantern base and set it at the lantern’s foot.
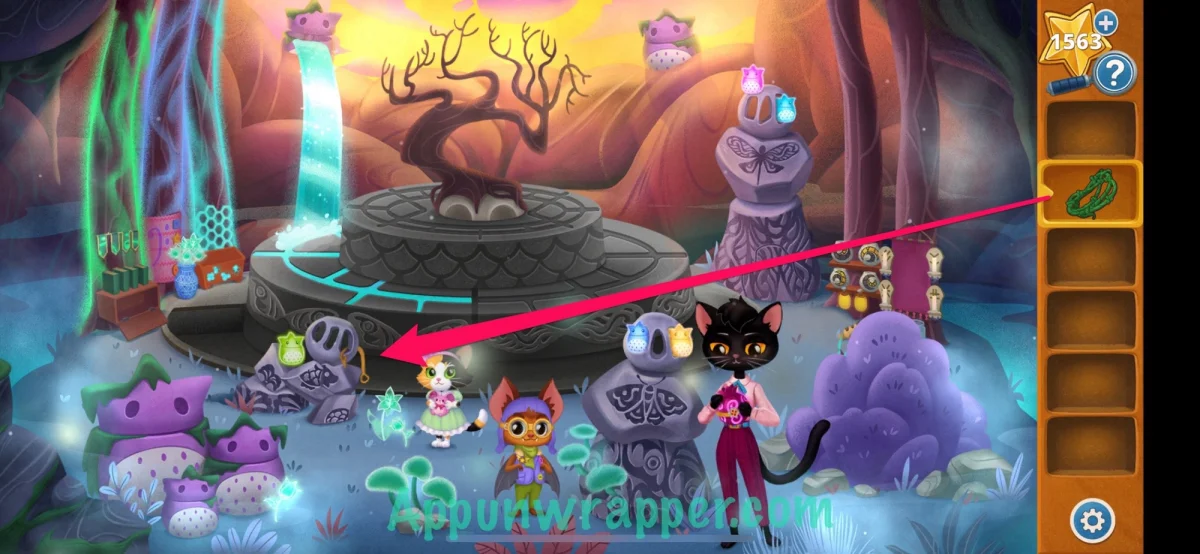
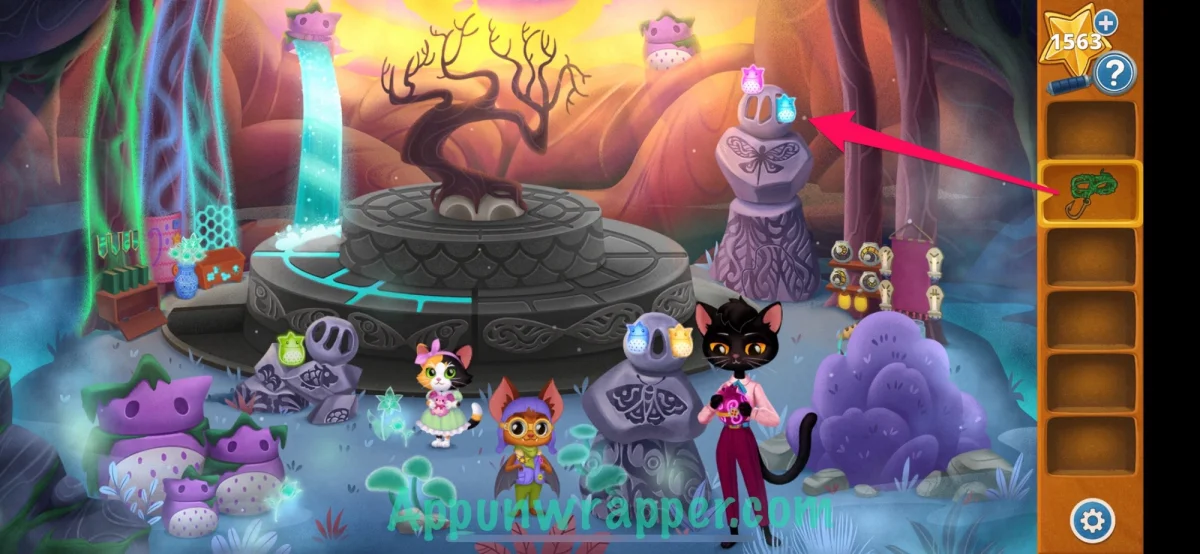
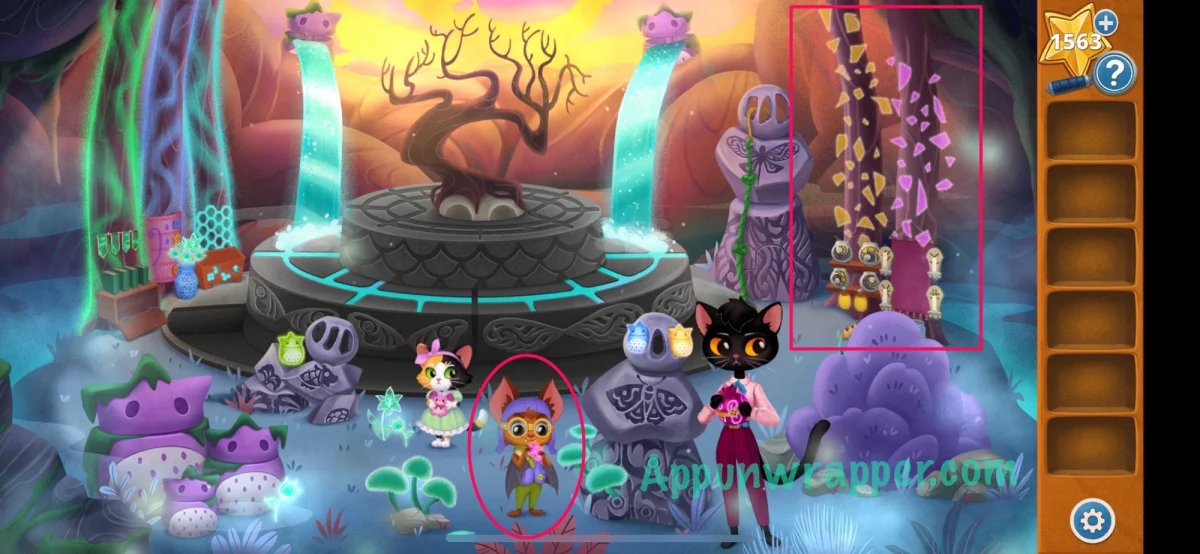
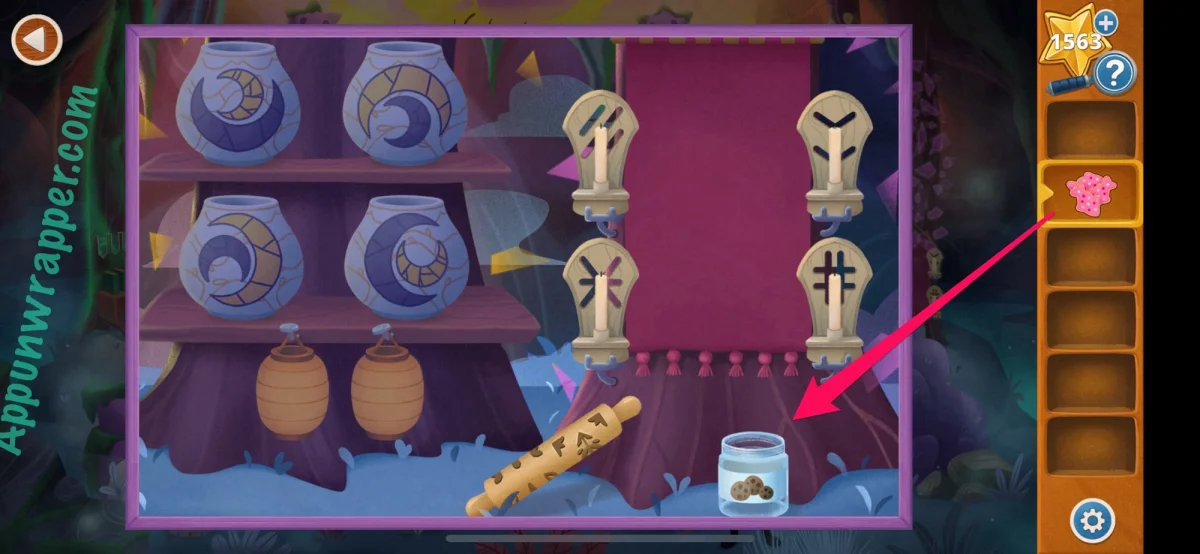
There’s still one more fix to make. Combine the vine with the hook to create a grappling hook. Use it on the lantern to help Winnie reach the stone sprite and open its mouth. The other half of the fountain starts, and the remaining grave trees glow. Collect the cookies from Winnie and put them in the cookie jar.
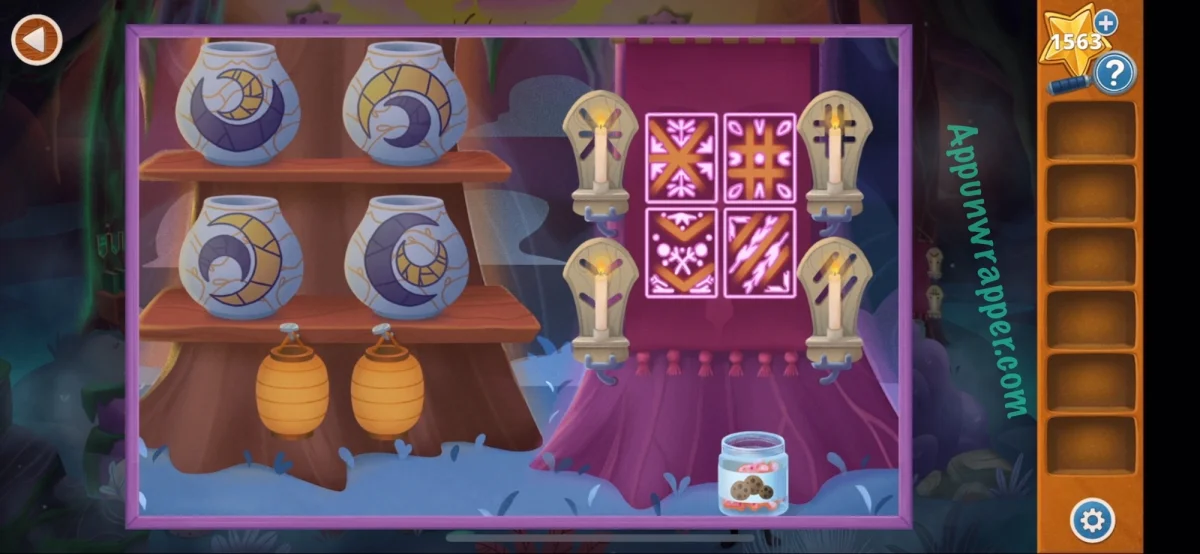
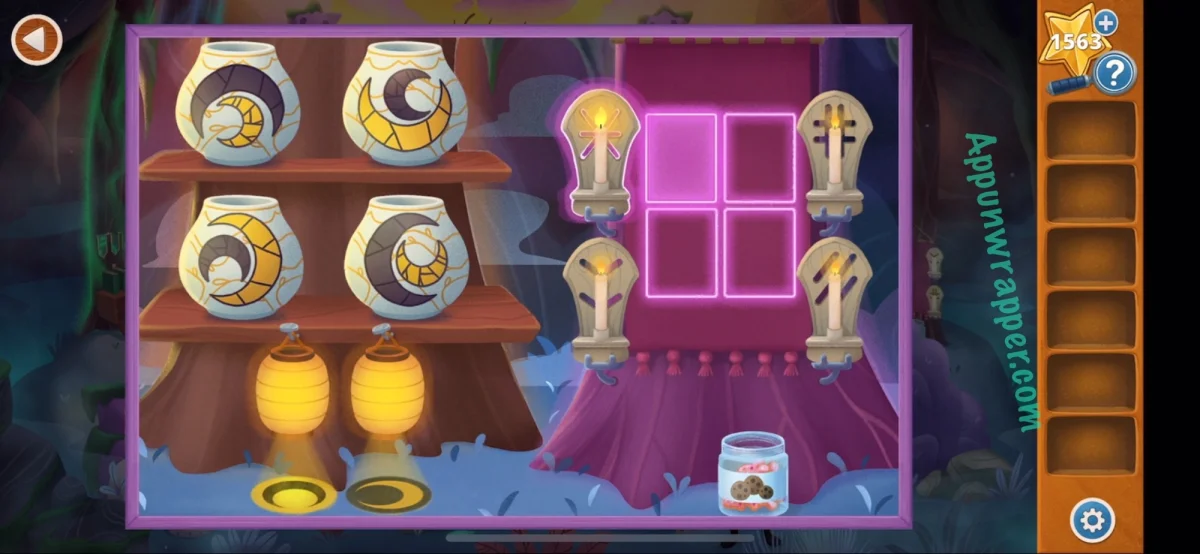
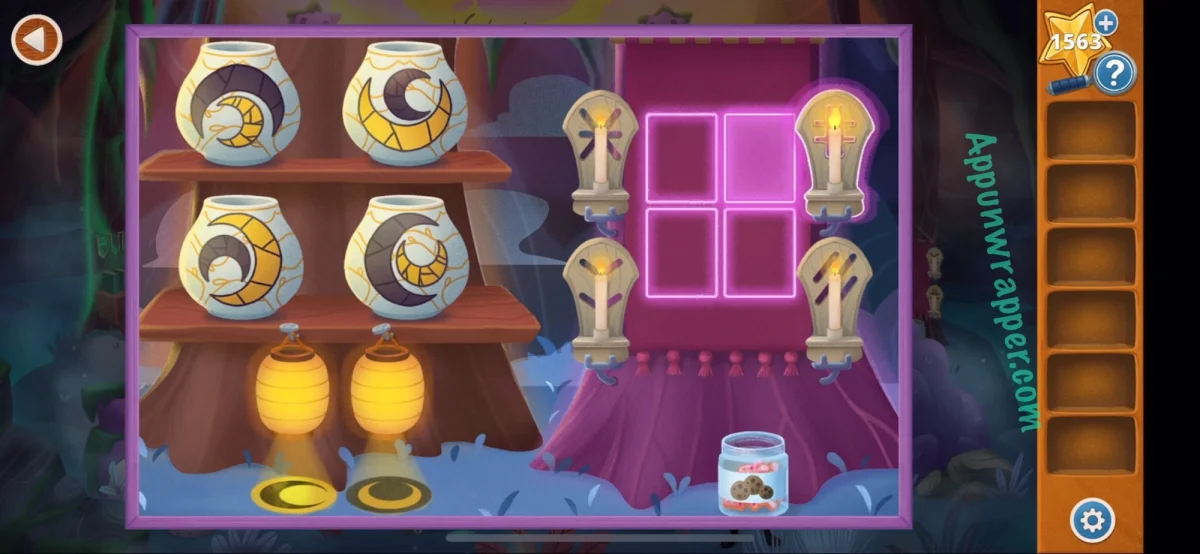
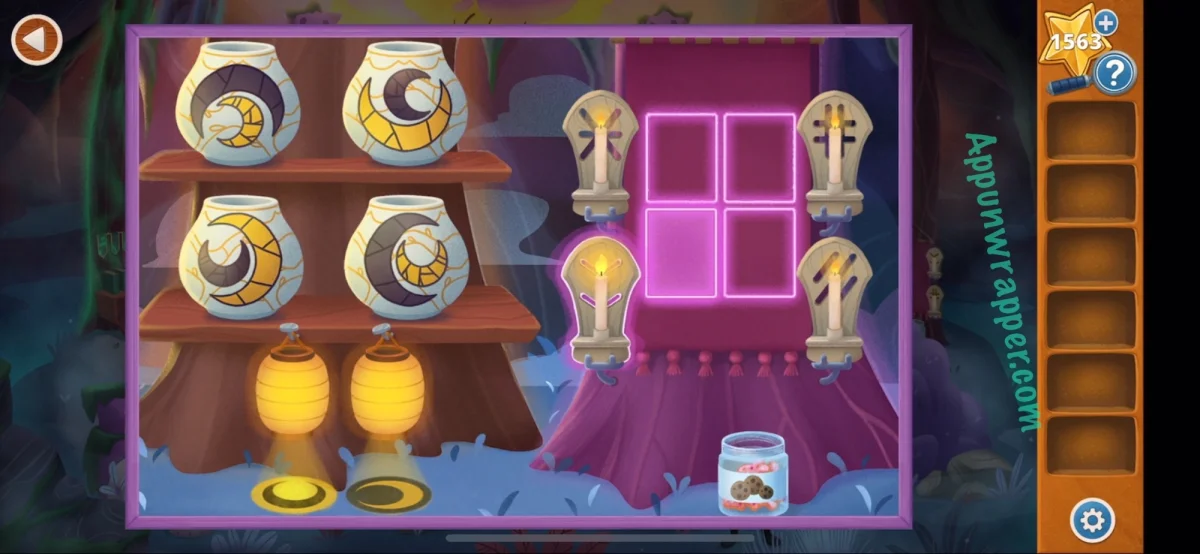
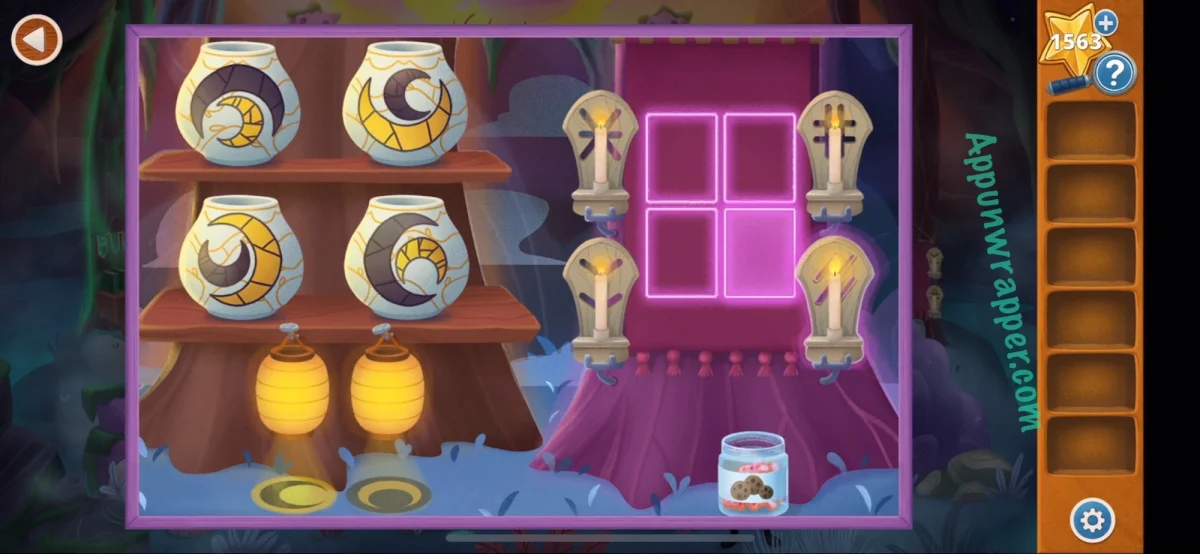
For the candle puzzle, rearrange the candles until their shadows line up with the lights. Then tap each pink square beside the candles to reveal two moon shapes on the ground. Adjust the pots until the shapes match the pair shown for that square. Once solved, Oliver’s dad’s grave appears behind the bushes.
Finish the heart maze
Take the bowl from the grave area and fill it with the dripping liquid to make sticky mush. Apply the mush to repair the third lantern. That sets up the chapter’s final puzzle: a maze with five hearts instead of one.
Select a heart and press an arrow to roll it in that direction. It keeps rolling until a barrier stops it, so use the walls to position each heart at its goal. Park one heart on the yellow switch to remove the yellow blockades and clear the remaining routes. Guide all five hearts to their destinations, then watch the ending to complete the game and save the bots.