Oliver & the Odd Bots Chapter 5 Walkthrough: Bakery, Photo Puzzle and Honey’s Heart
Help Oliver make donuts, decode a family photo album, serve the cafe and solve the puzzles that lead to Honey’s heart.
Chapter 5 of Adventure Escape Mysteries: Oliver & the Odd Bots moves from a bakery challenge into a personal mystery about Oliver’s family. The chapter’s puzzles build on objects gathered across several rooms: you’ll need to prepare donuts, sort four photographs, serve cafe customers and use clues from a task list to reach Honey’s heart.

Haiku Games’ point-and-click adventure stars Oliver, a cat trying to repair malfunctioning bots in a magical, kid-friendly world. This guide covers the chapter’s steps and the clues behind its more involved puzzles. The game is available through the App Store.
Make donuts and uncover the photos
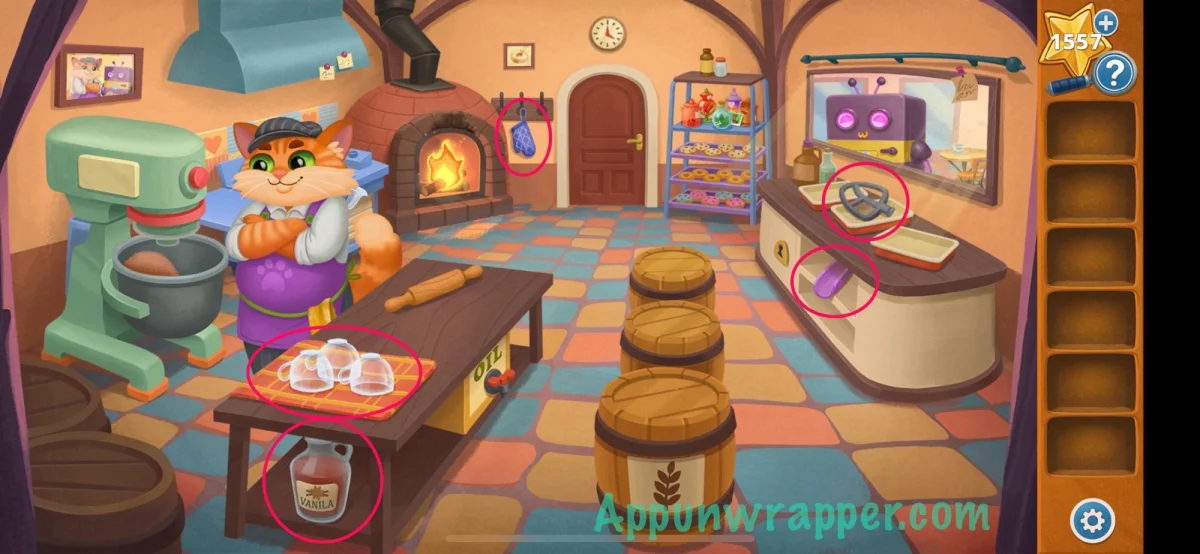
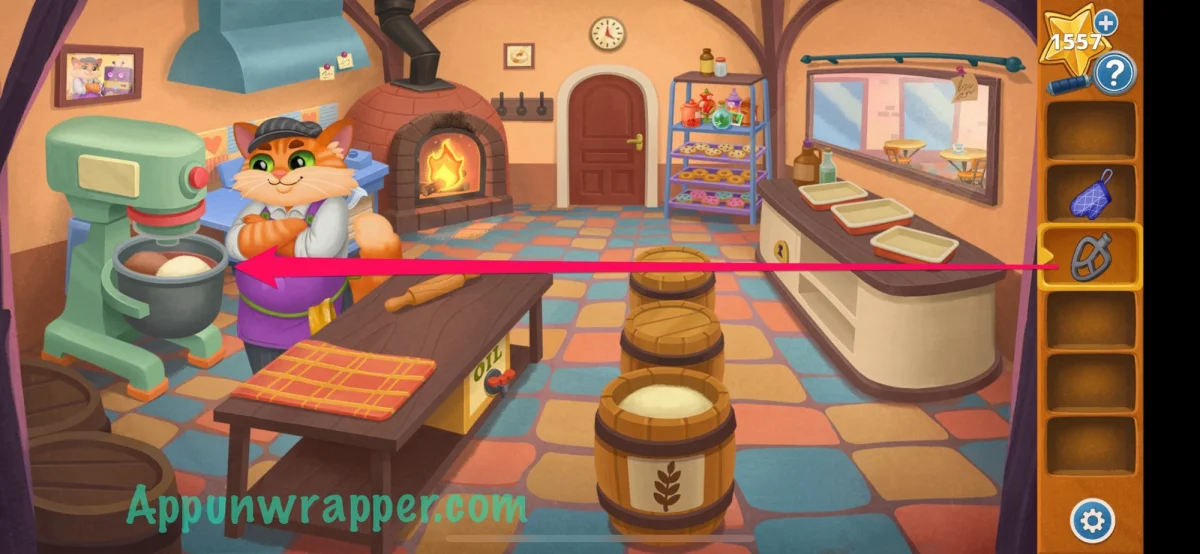
At the bakery, Uncle Jax and Honey won’t discuss the PomPom until Oliver helps make donuts. Collect the vanilla, oven mitt, clean mugs, scoop and mixer attachment. Give Honey the clean mugs to receive a butter knife. Use it to open the flour container, then scoop out flour. Add the flour and vanilla to the mixing bowl and fit the mixer attachment.
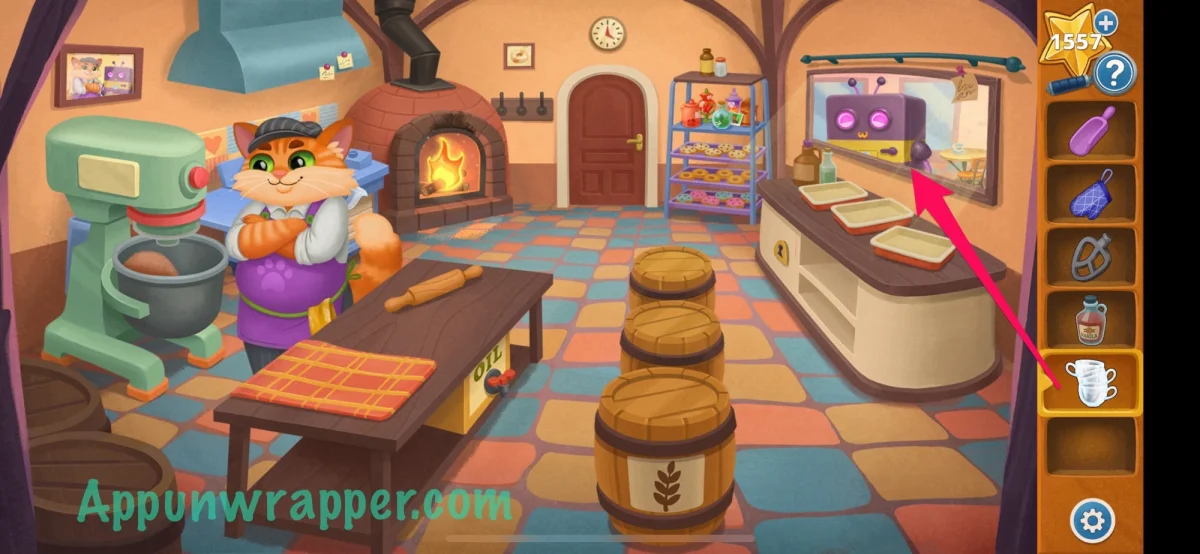
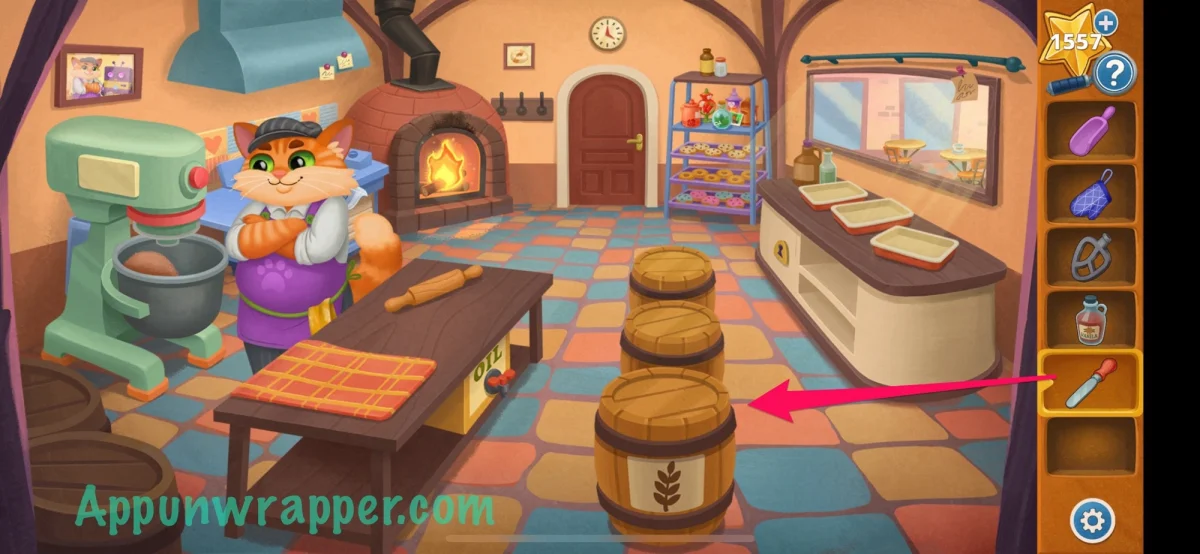
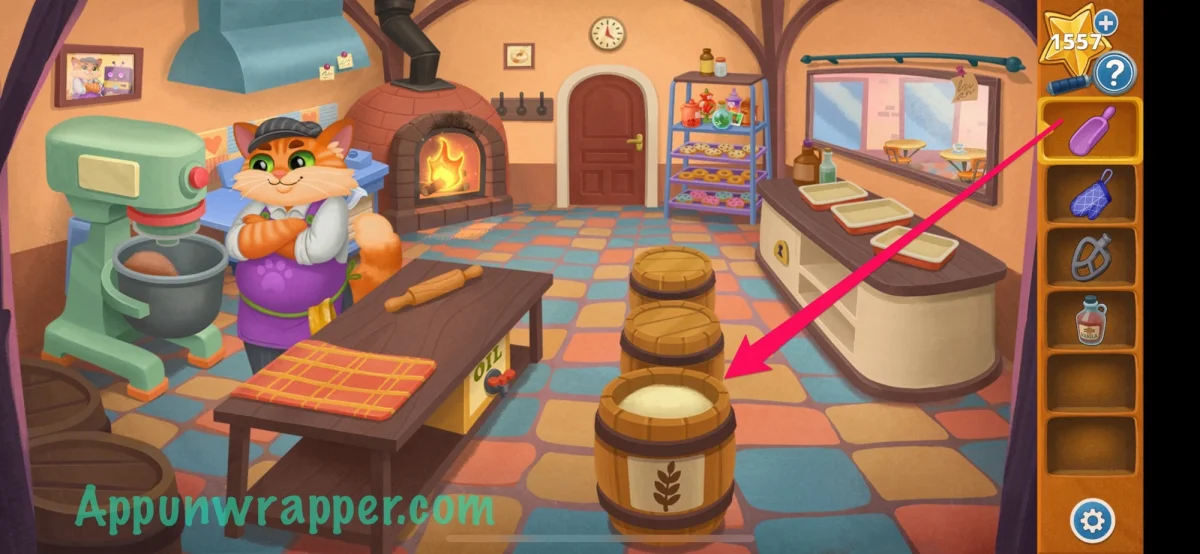
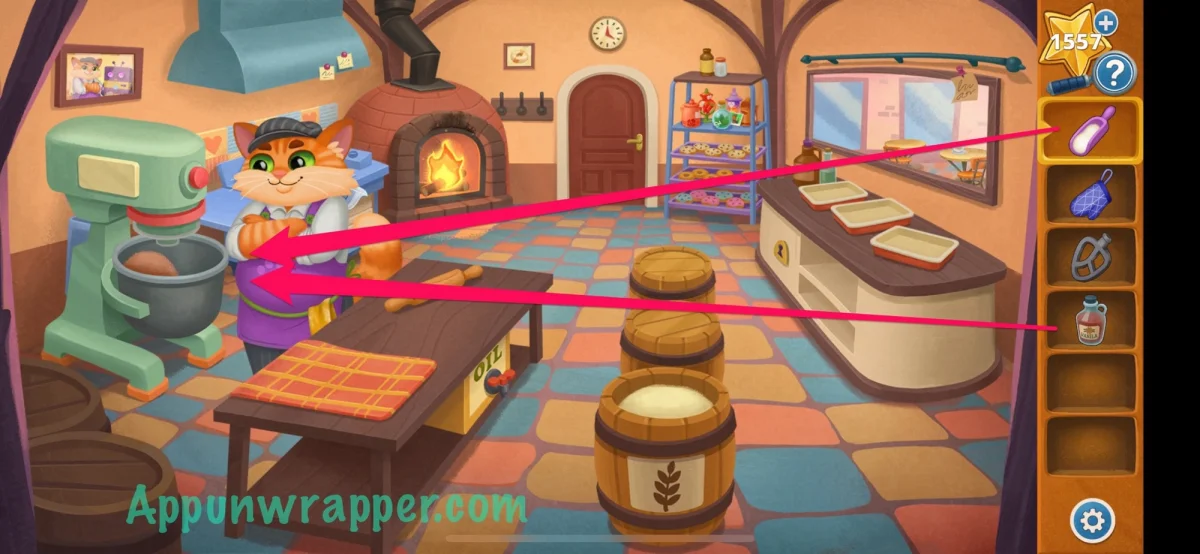
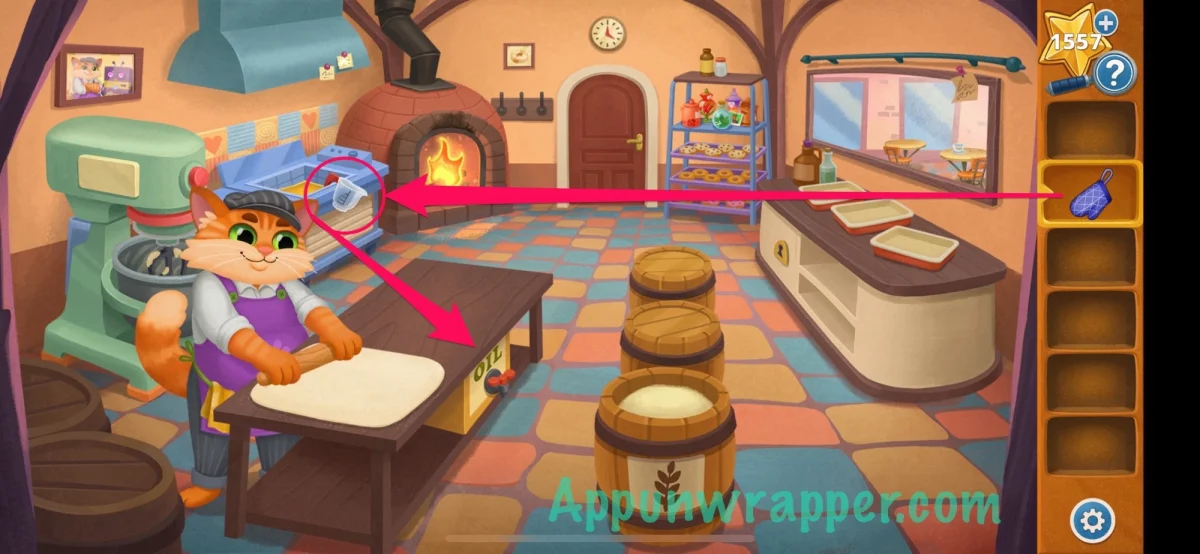
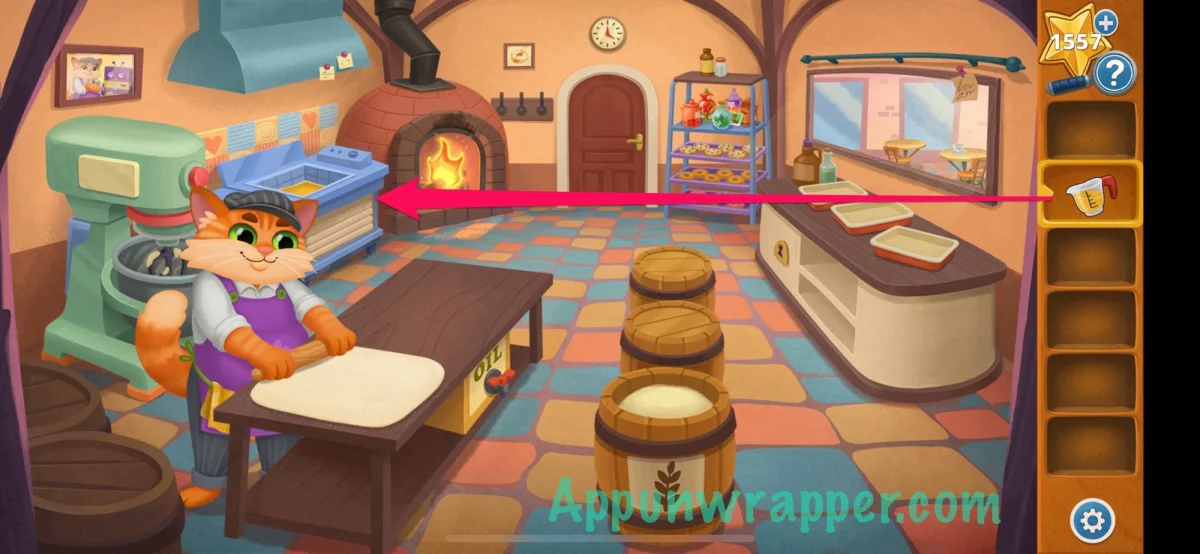
Jax takes care of the dough and asks Oliver to prepare the fryer. Use the oven mitt to pick up the measuring cup, fill it with oil and pour the oil into the fryer. Once Jax adds the donuts, the cooking puzzle begins. The square buttons flip donuts, while the arrows slide rows and columns. Arrange them so every cooked side faces up.
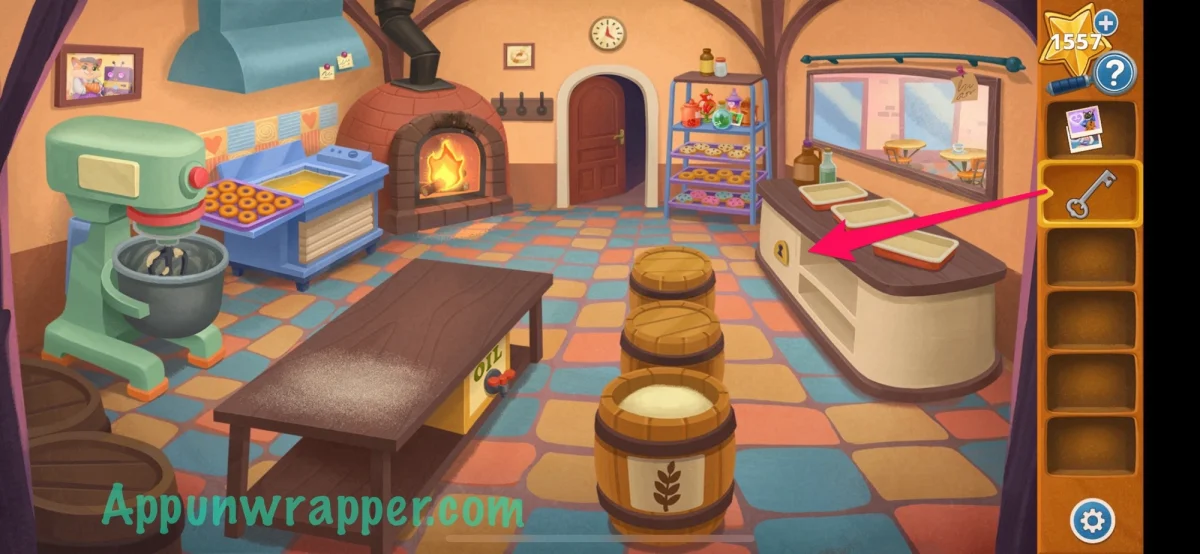
Turning on the PomPom upsets Jax. After he leaves, the ghosts open his office and expose a hidden safe containing a book. Search the desk drawers for a cabinet key and a photo, then take another photo from the blackboard. In the next room, use the key on the cabinet and search the back shelves for the remaining two pictures.
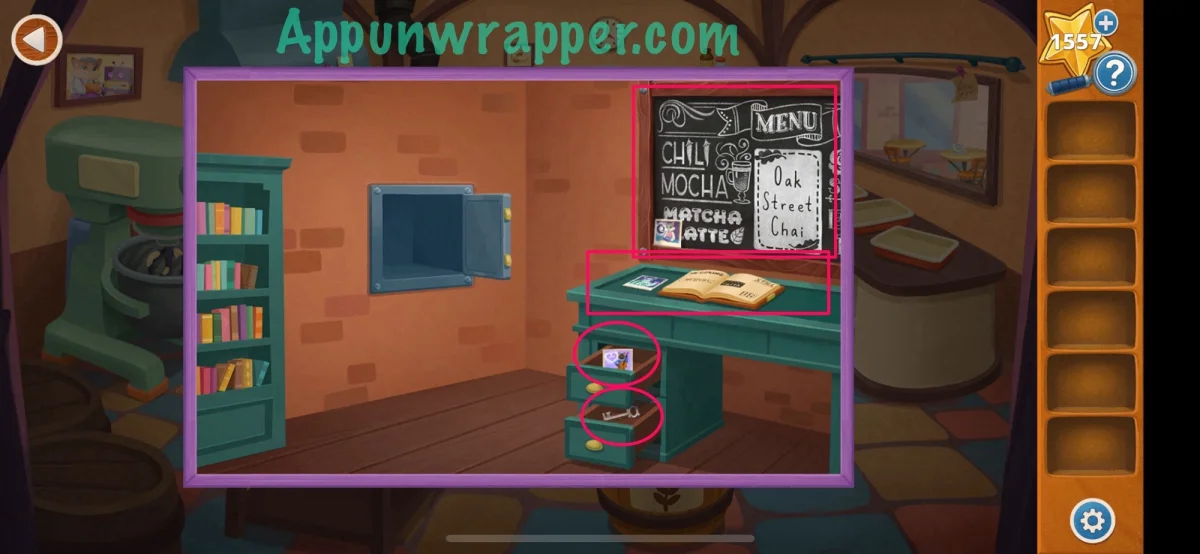
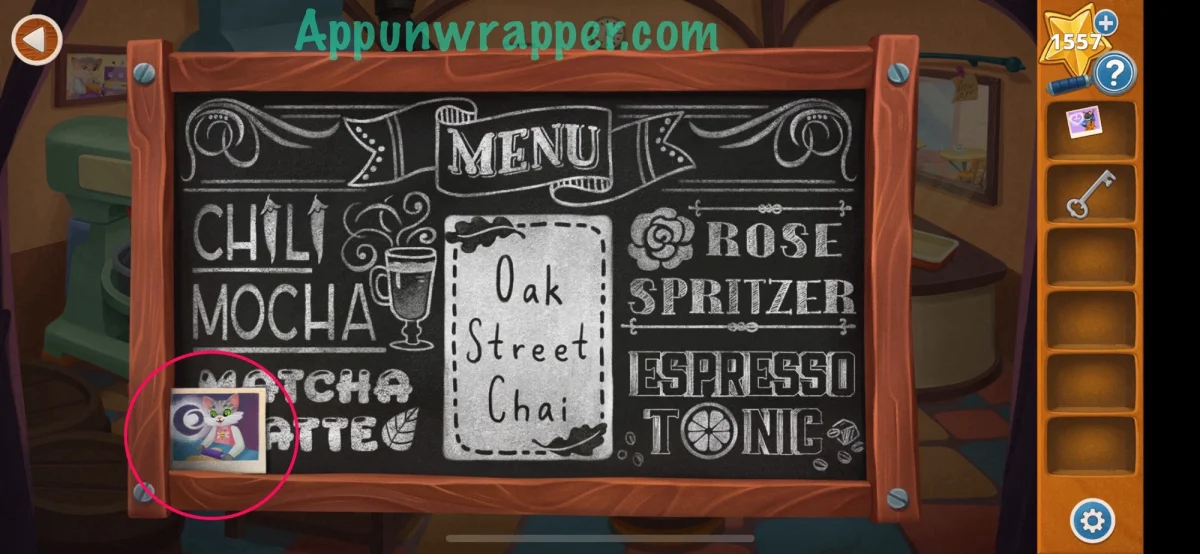
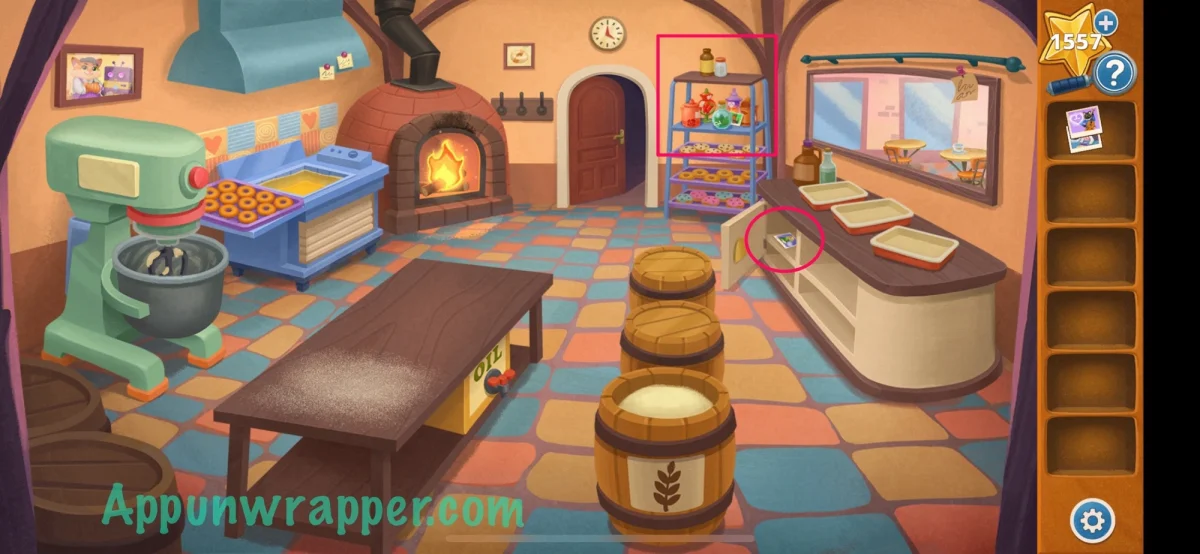
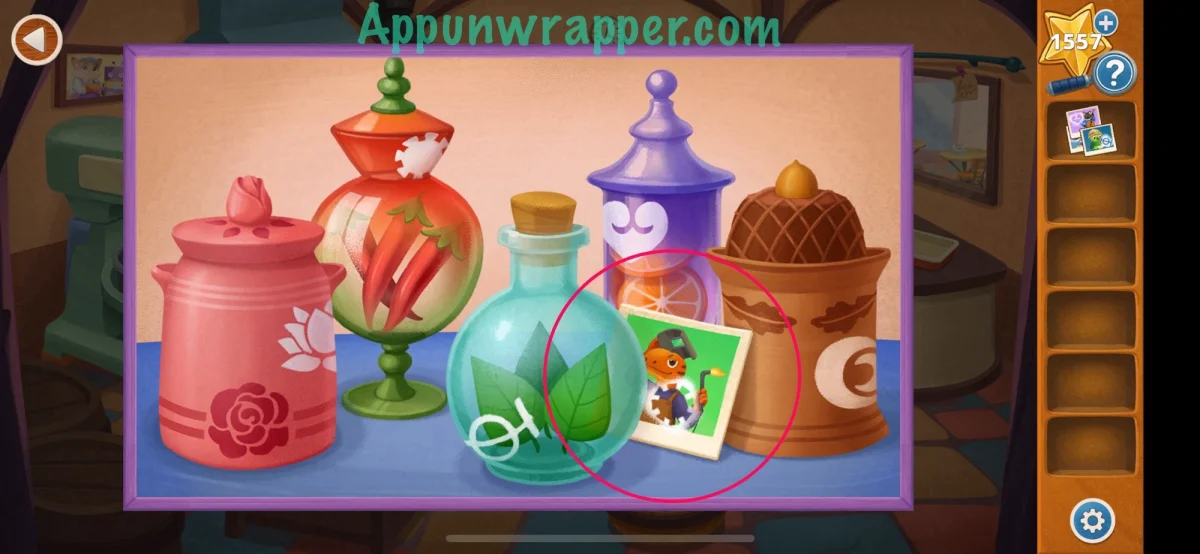
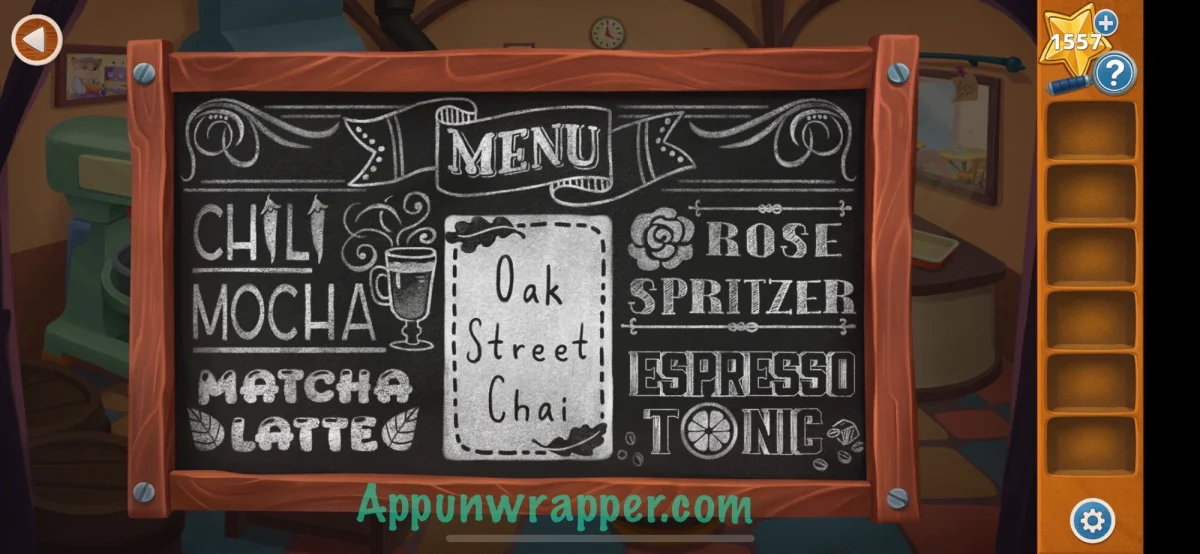
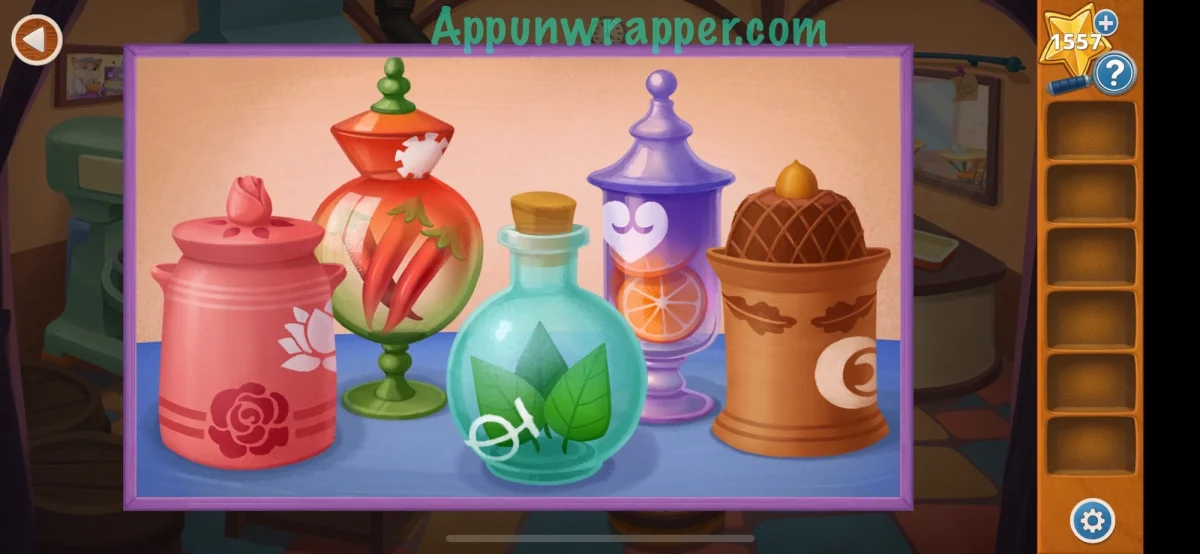
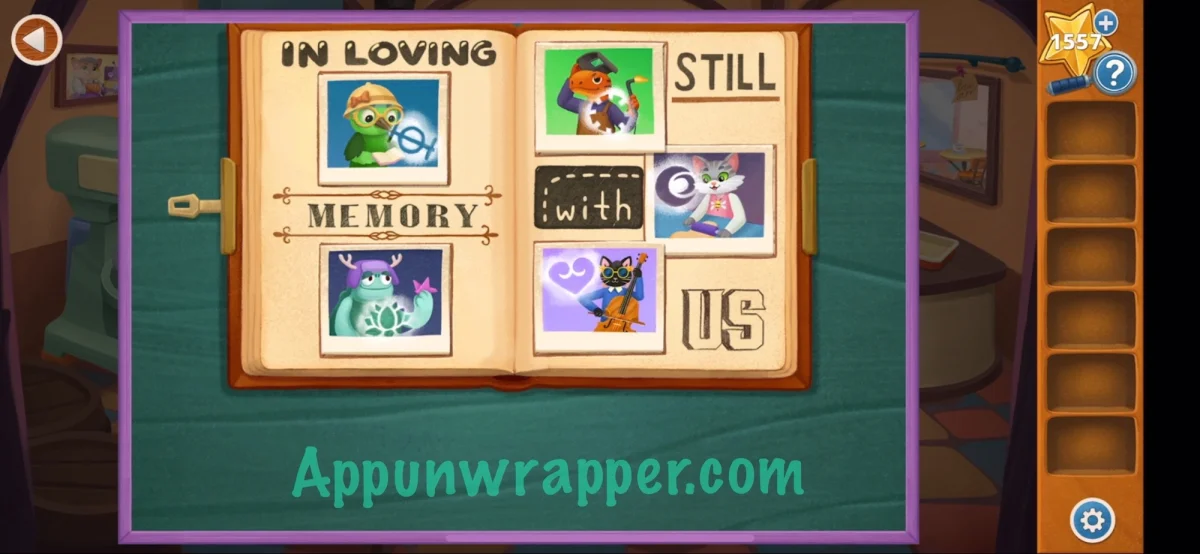
Put all four photos beside the album in Jax’s office. To place them, connect three clues: the wording in the album, the matching lettering on the blackboard, and the plant symbols on the jars. For instance, the album’s “IN LOVING” lettering matches “MATCHA LATTE” on the board. That points to the mint leaves; place the photo marked with the mint jar’s symbol in the corresponding album position. Apply the same chain of matches to the other photos.
Serve the cafe and earn the PomPom’s return
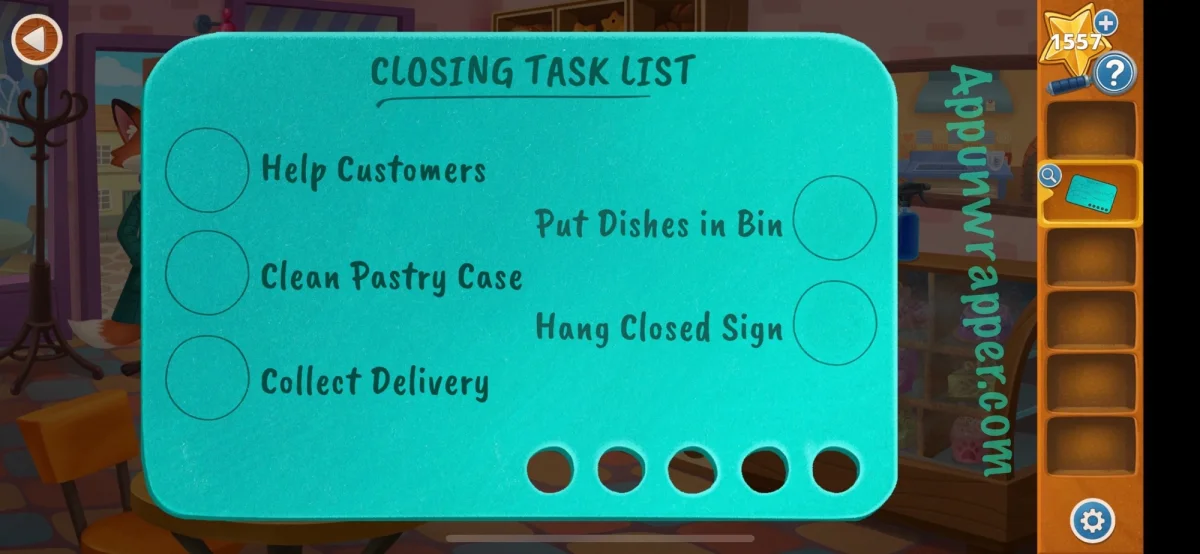
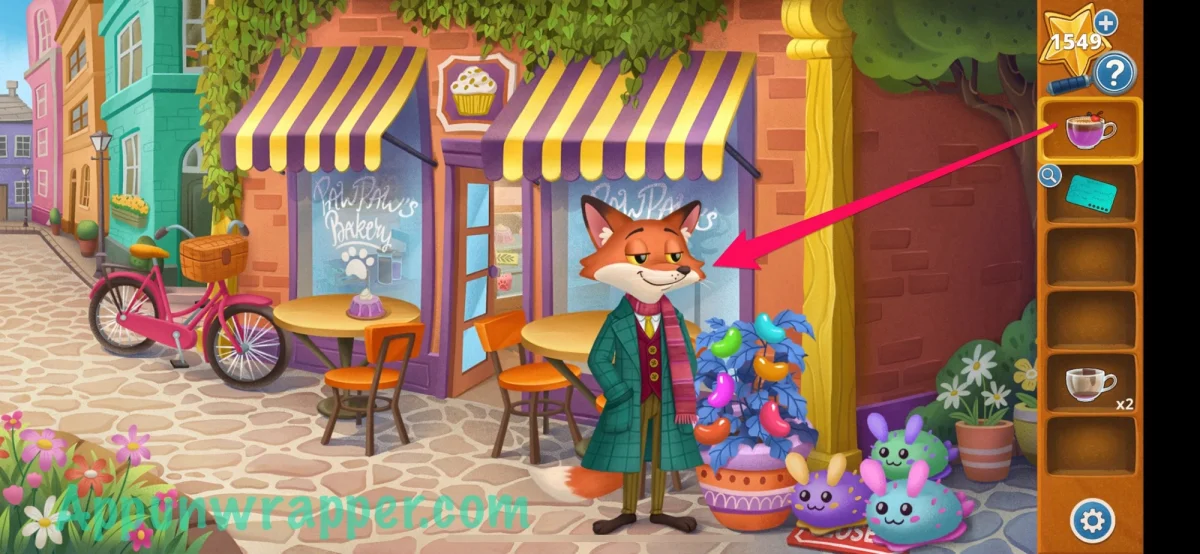
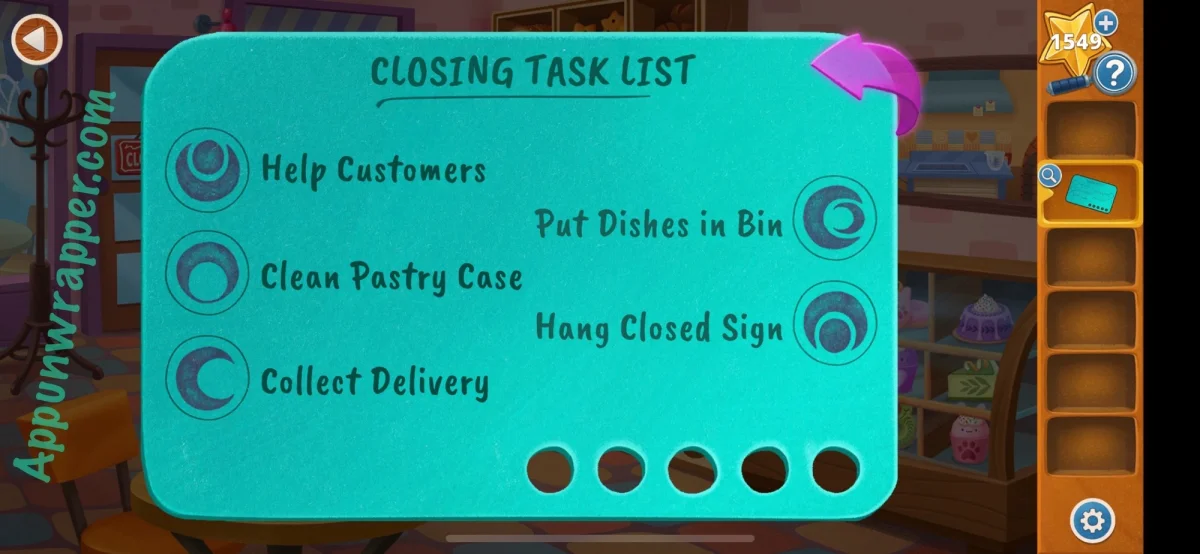
The photos reveal that the ghosts are souls of Oliver’s relatives, placed inside the bots. Jax refuses to let Oliver take Honey’s heart and takes the PomPom away. In the cafe, Honey offers a way to get it back: complete the jobs on her task list so she can repair her heart. Read the list, then collect the cleaning spray, rag, baguette and dirty mug when customers arrive.
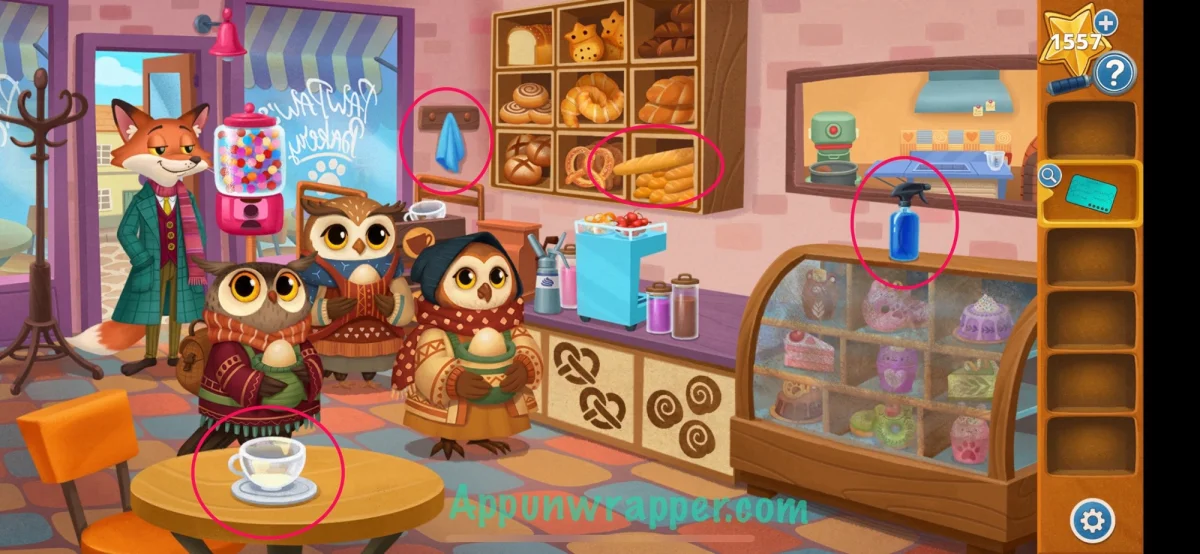
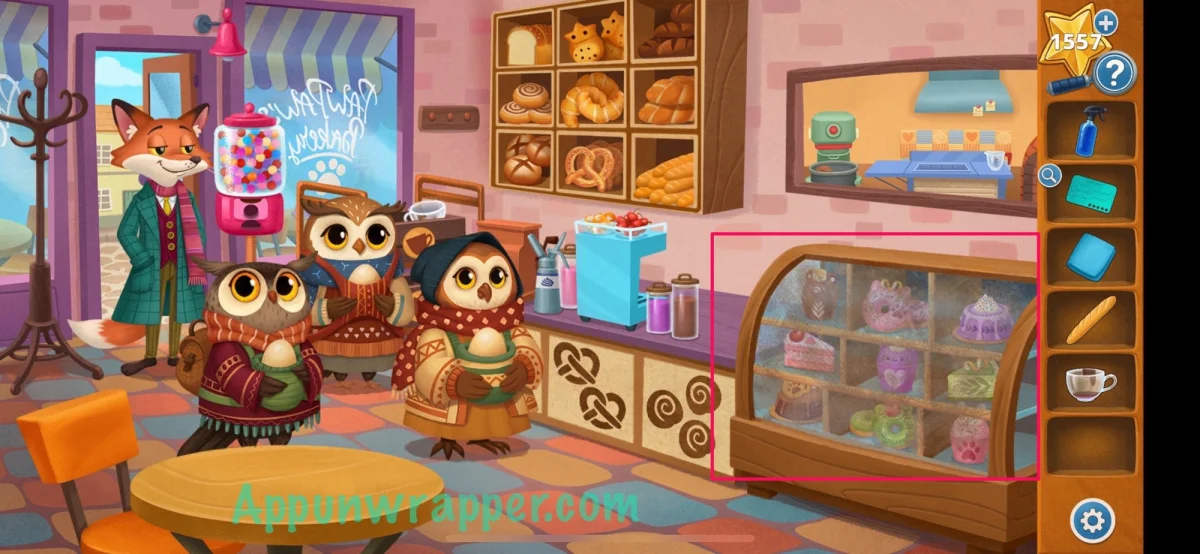
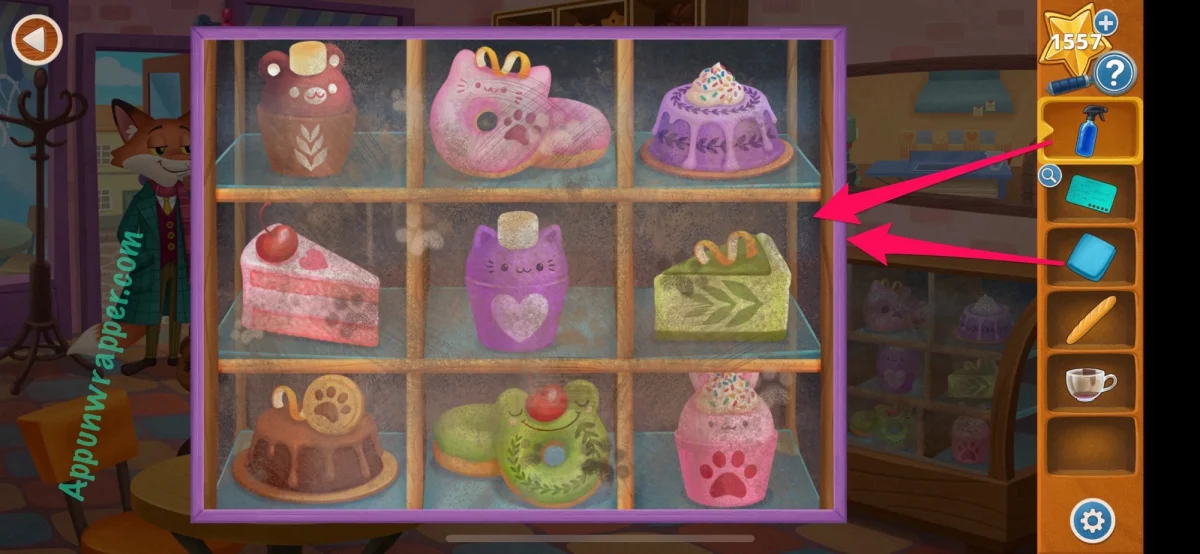
Clean the display case by spraying it and wiping it with the rag. The first two customers pay coins and take pastries. Outside, the delivery crow says coins won’t work; it wants trinkets. Clyde can’t identify his usual drink, but he does say it goes well with bread. Use the baguette to reach the handle, then put that handle on the gumball machine. Insert the coins to get marbles.
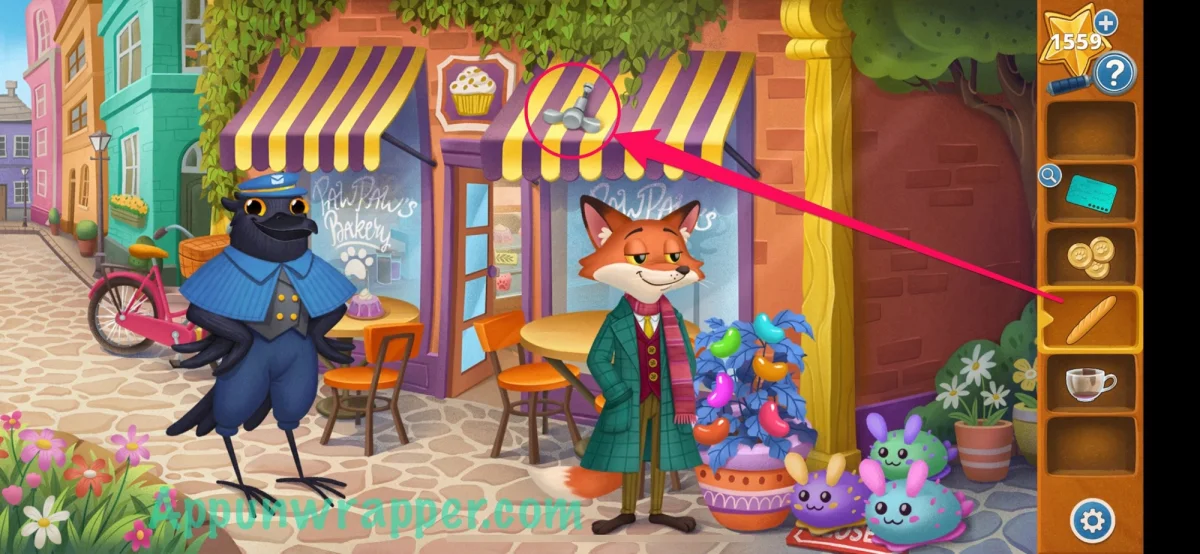
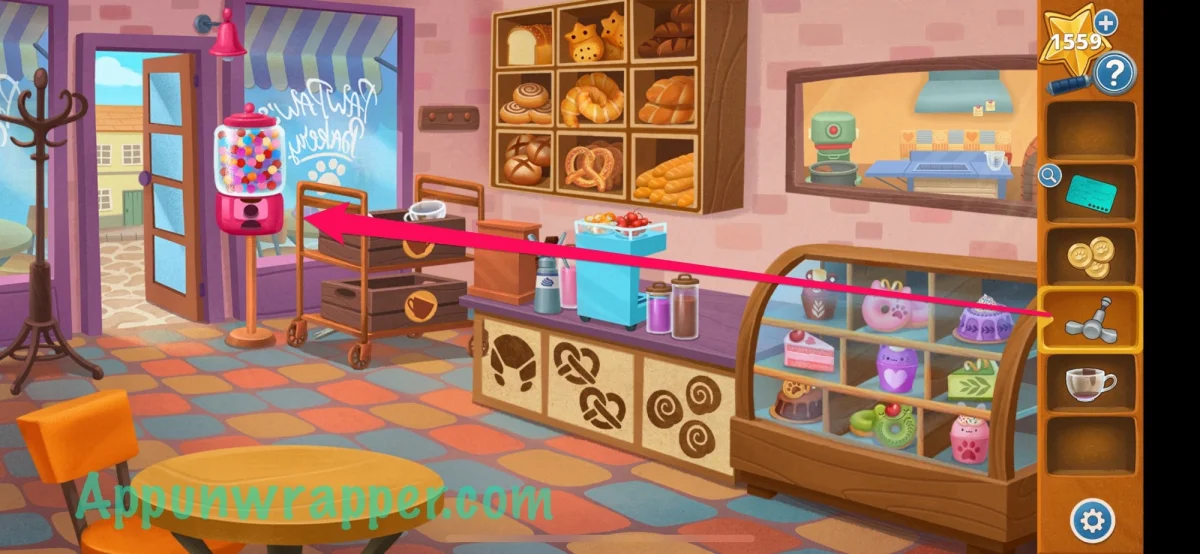
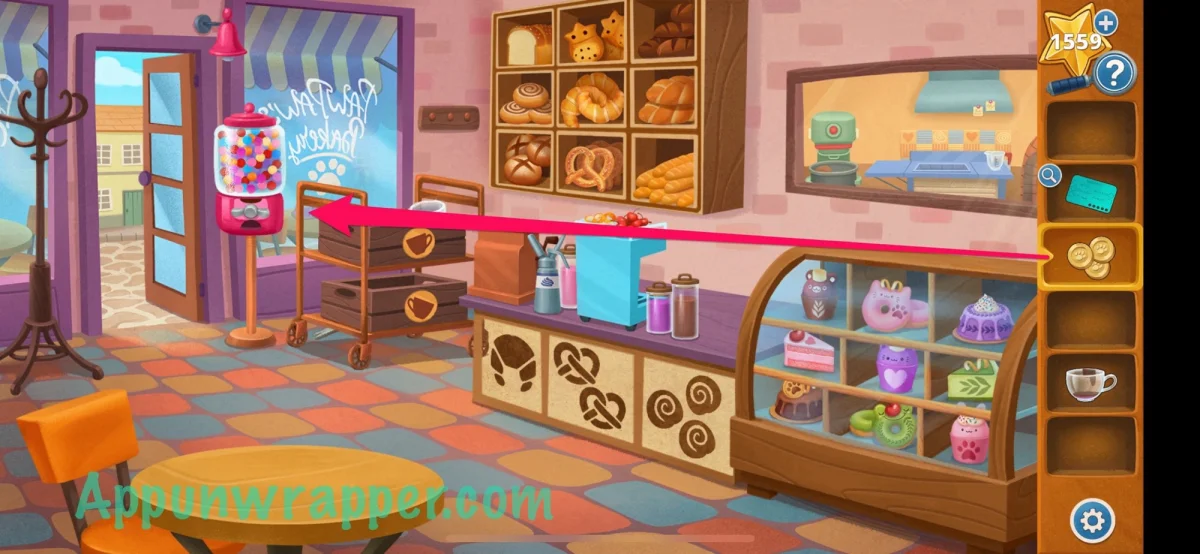
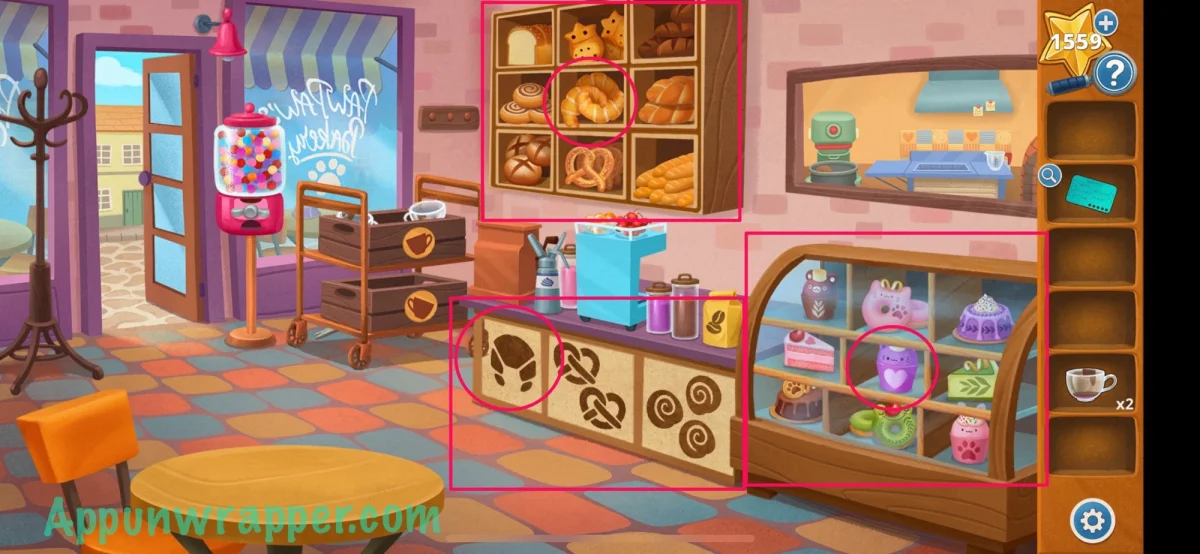
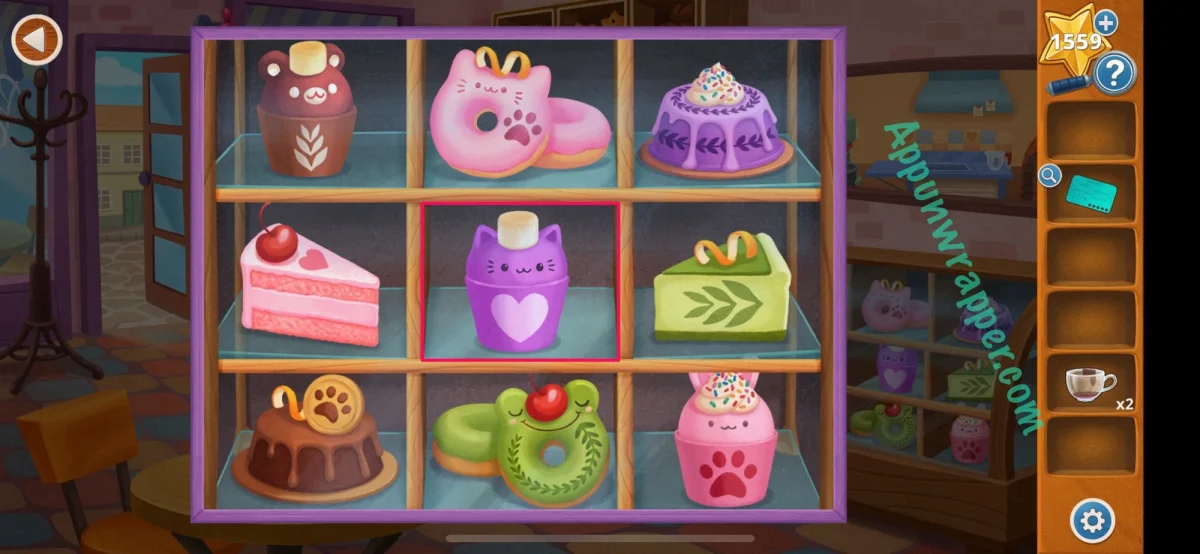
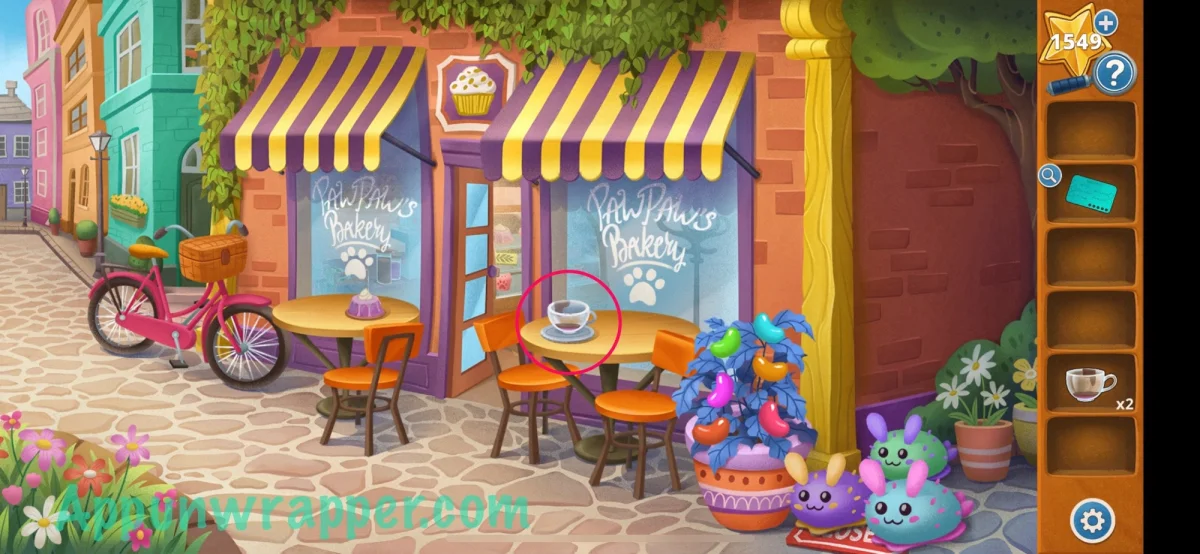
Trade the marbles to the crow for coffee, and pick up the dirty mug from the outdoor table. Pour the coffee into the cafe machine. Clyde’s drink recipe is hidden in the layout of the pastries and the clues on the counter. The counter shows one croissant, two pretzels and three cinnamon buns. Use those counts to select the matching slots in order: the croissant clue points to a purple base, the pretzel clue to a wreath for the latte art, and the cinnamon bun clue to a cherry garnish. The finished item is the “shmancy drink.”
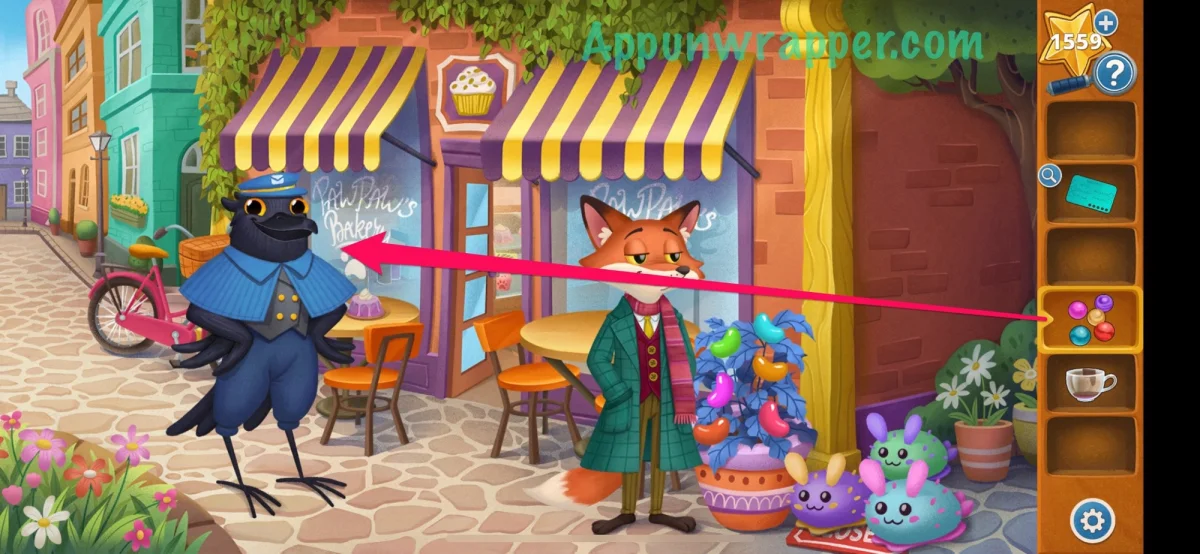
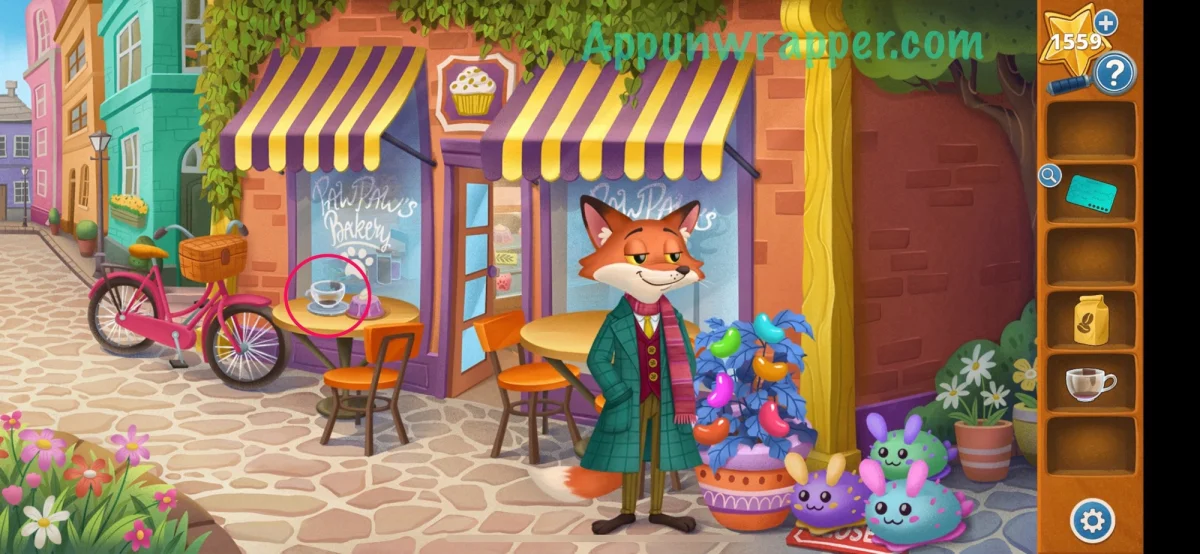
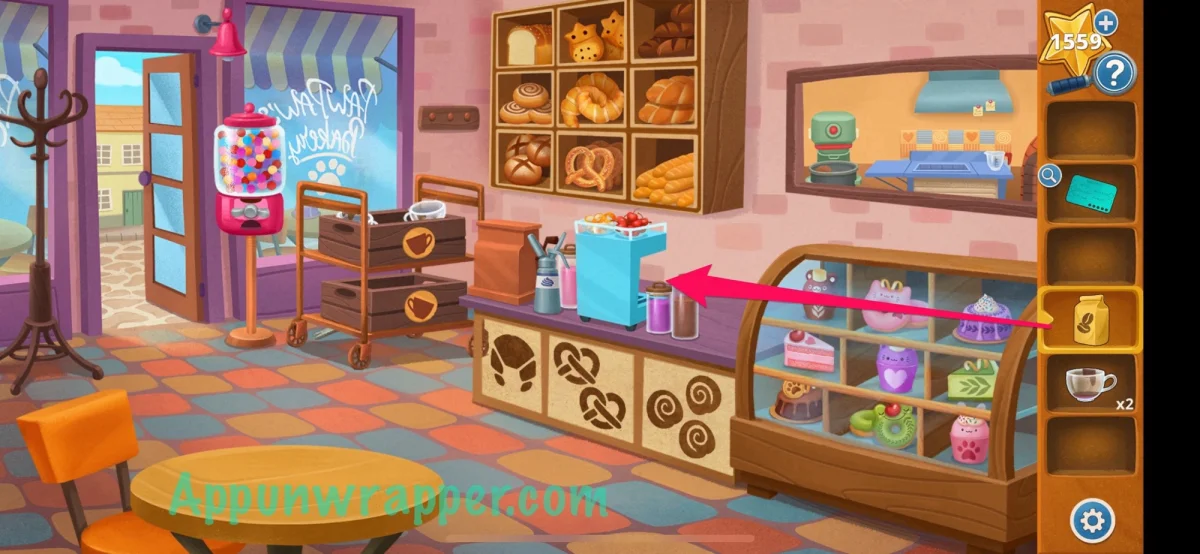
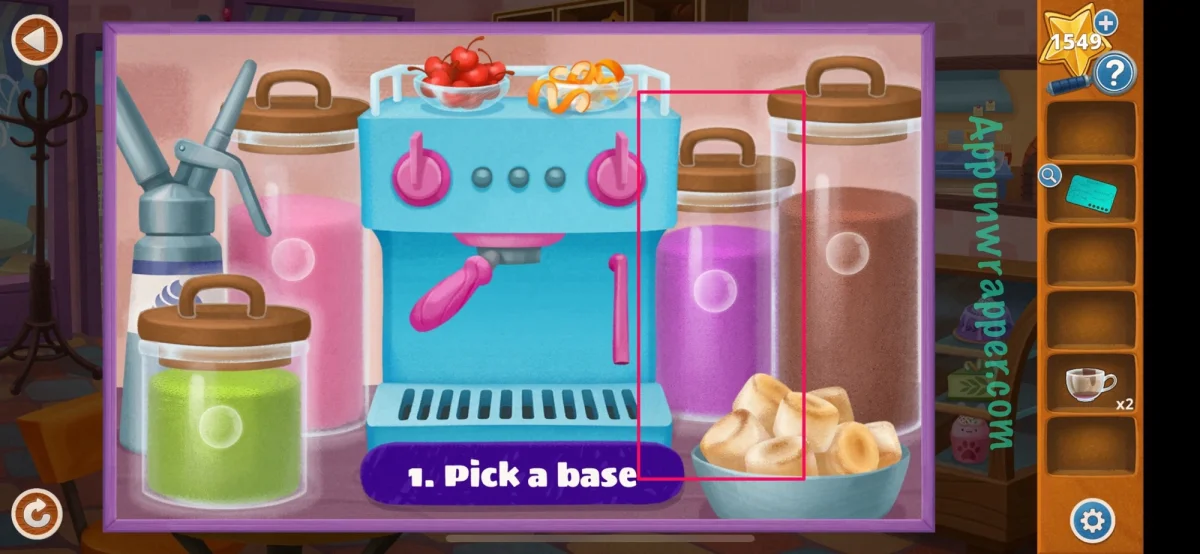
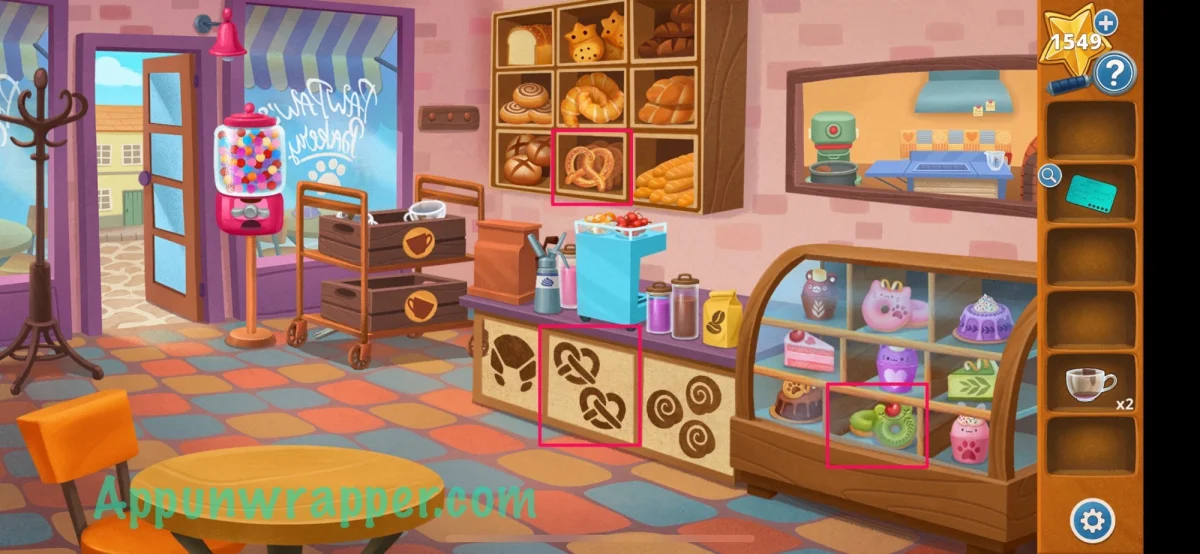
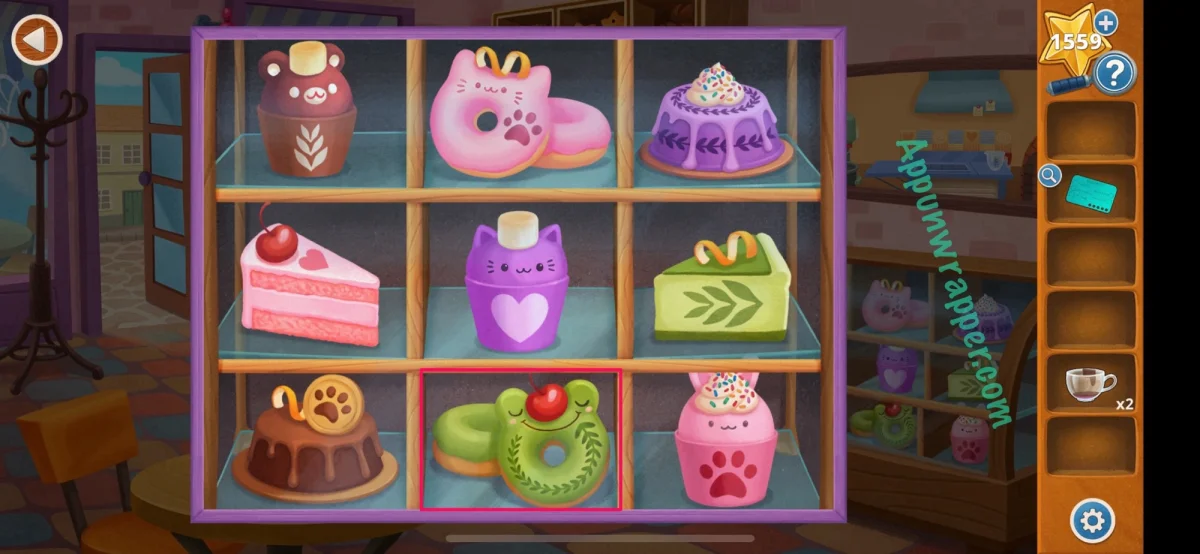
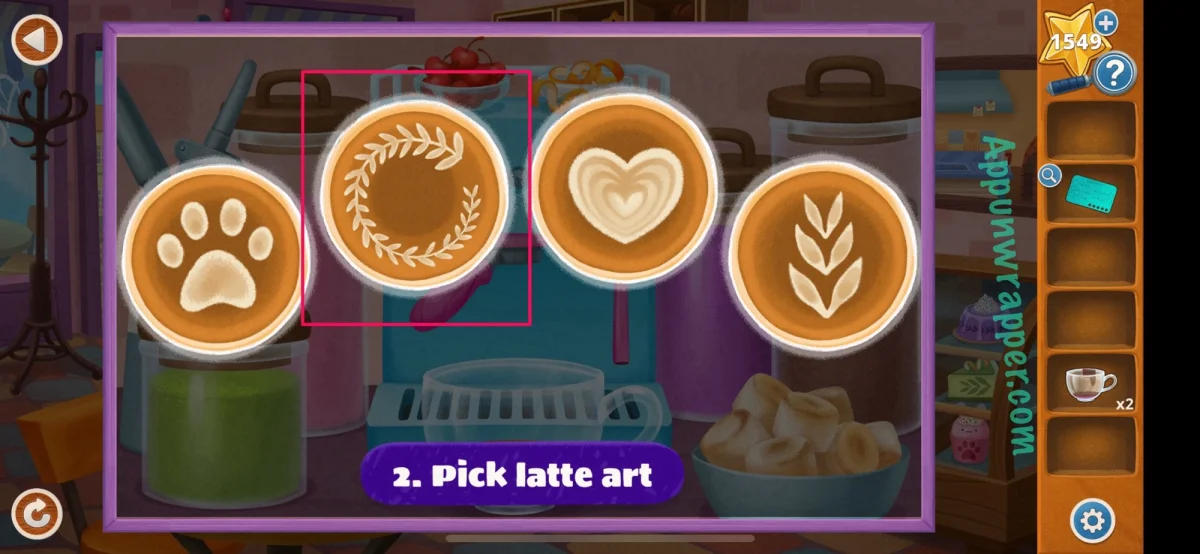
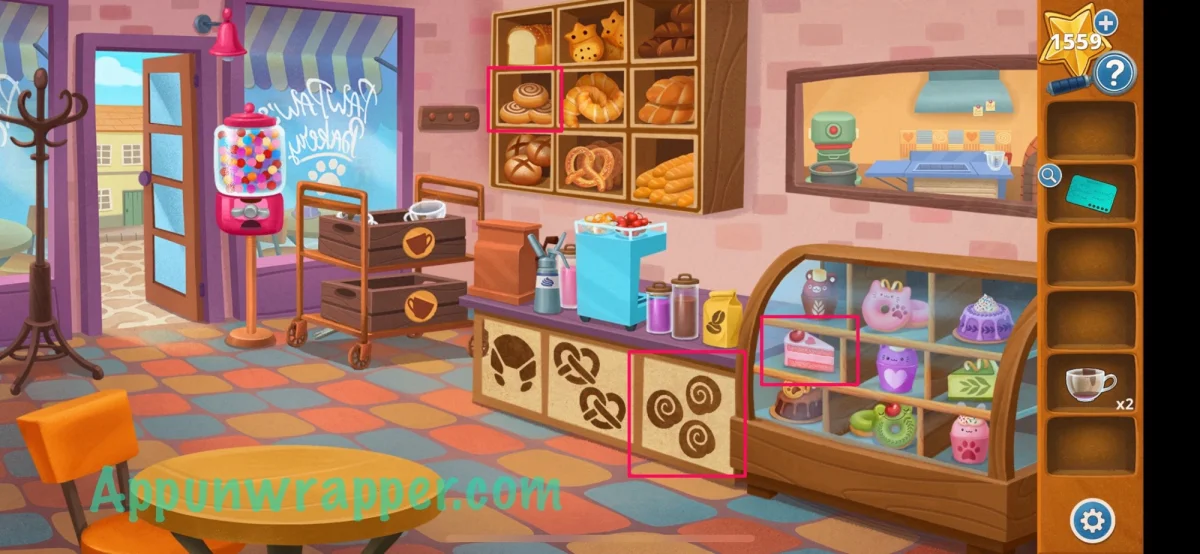
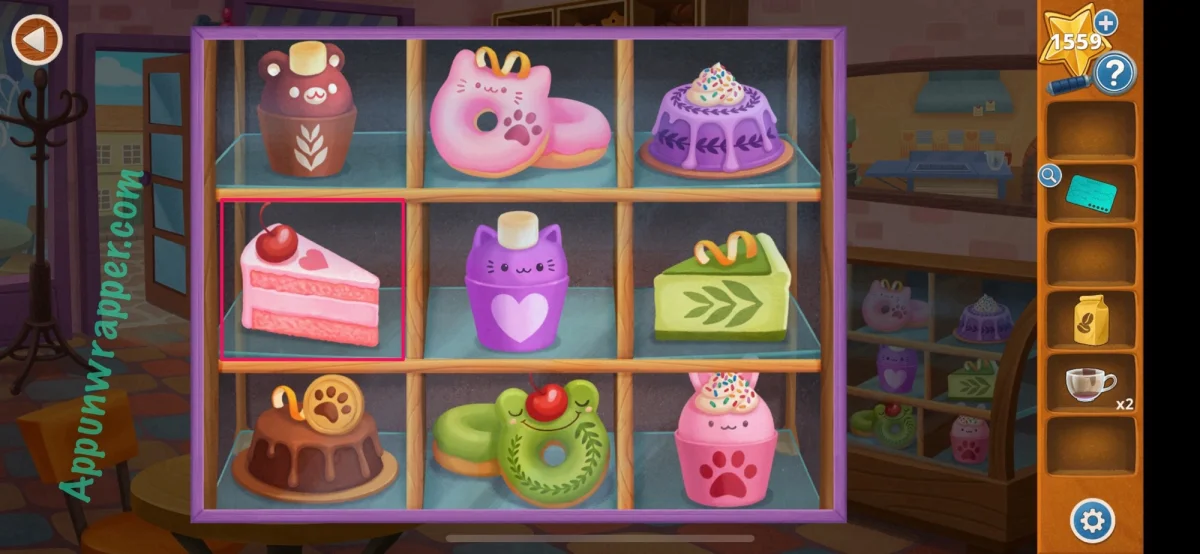
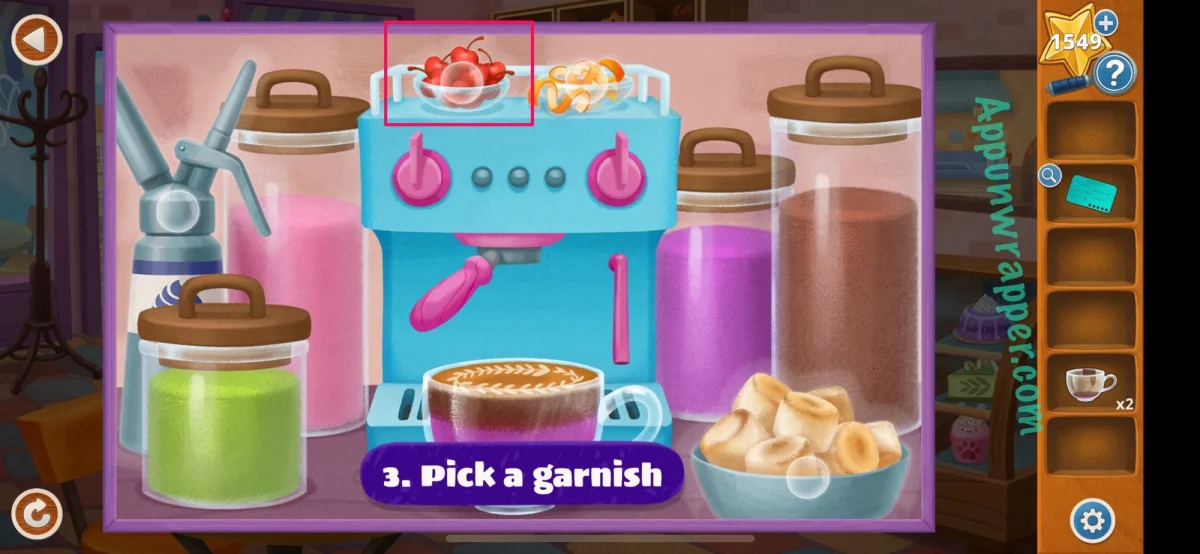
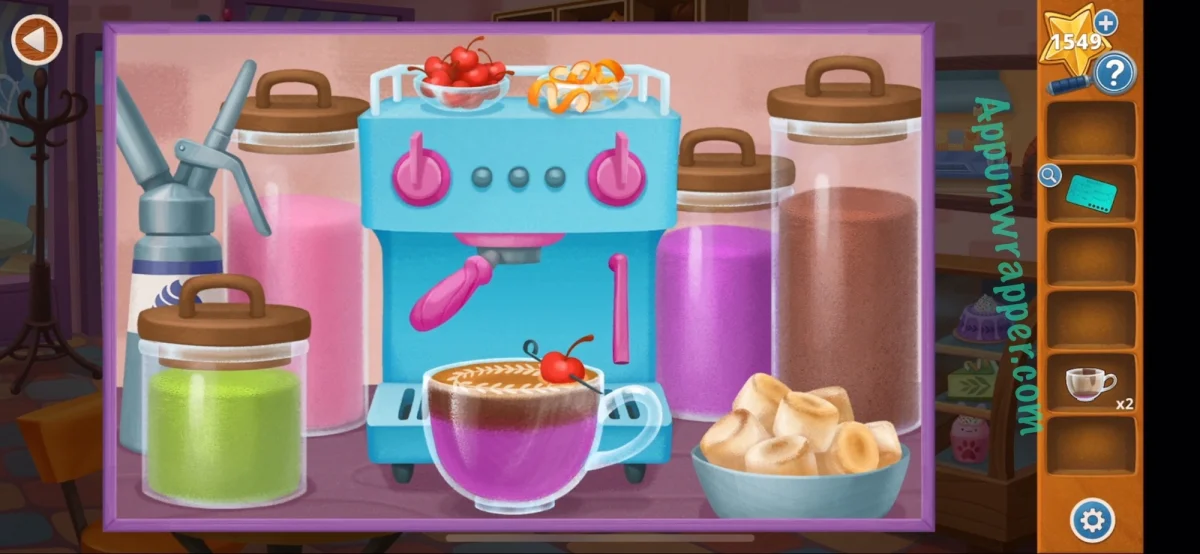
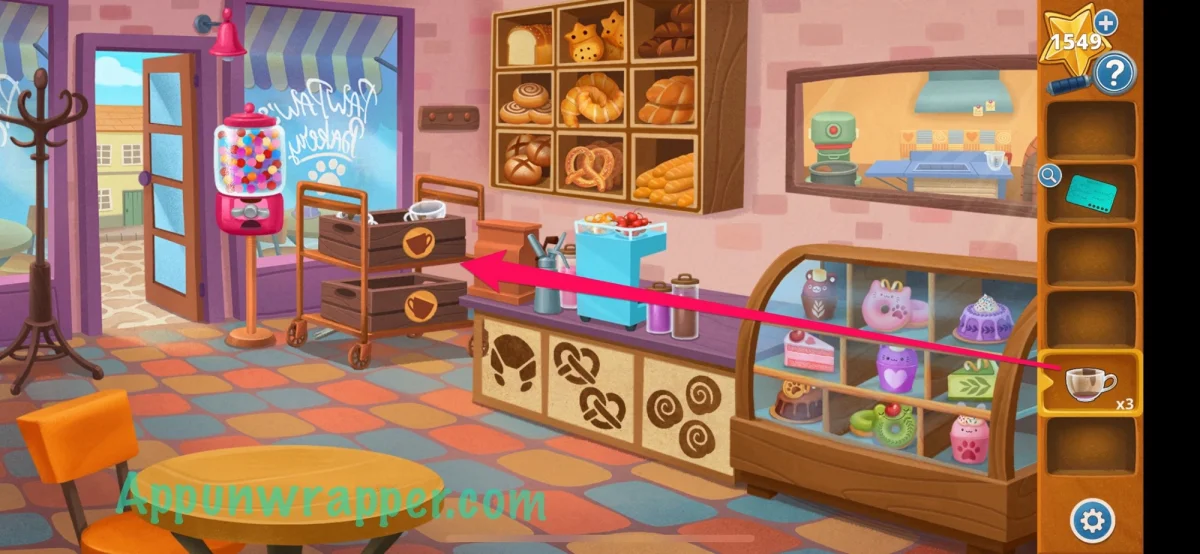
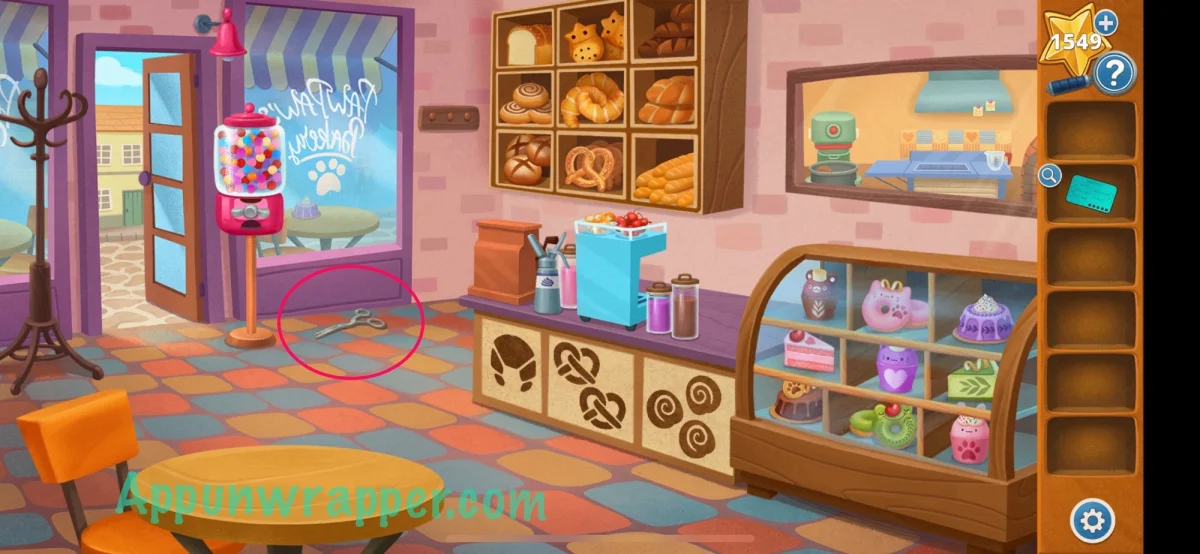
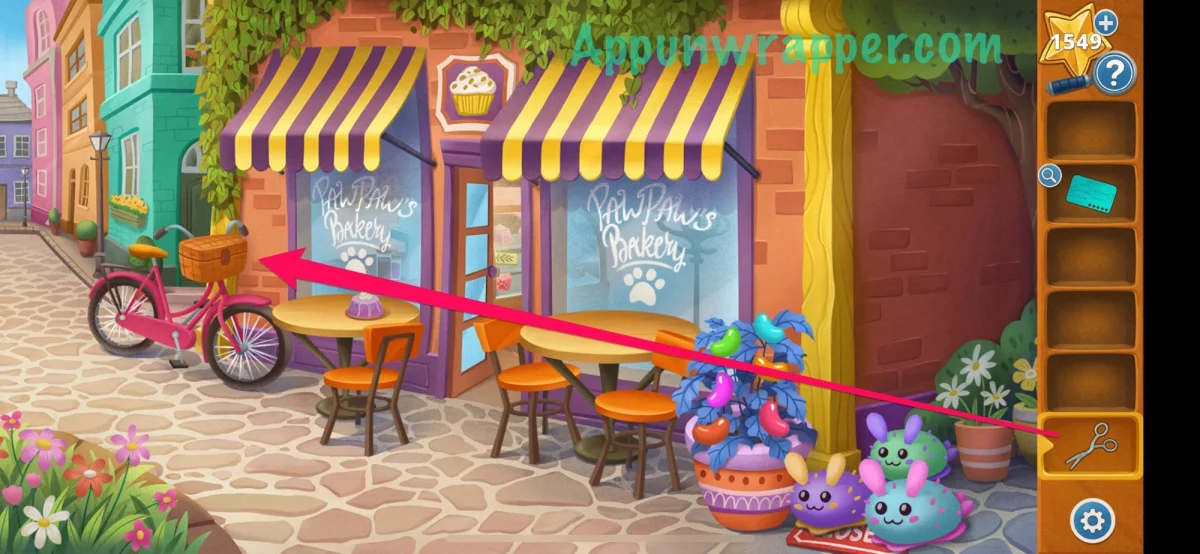
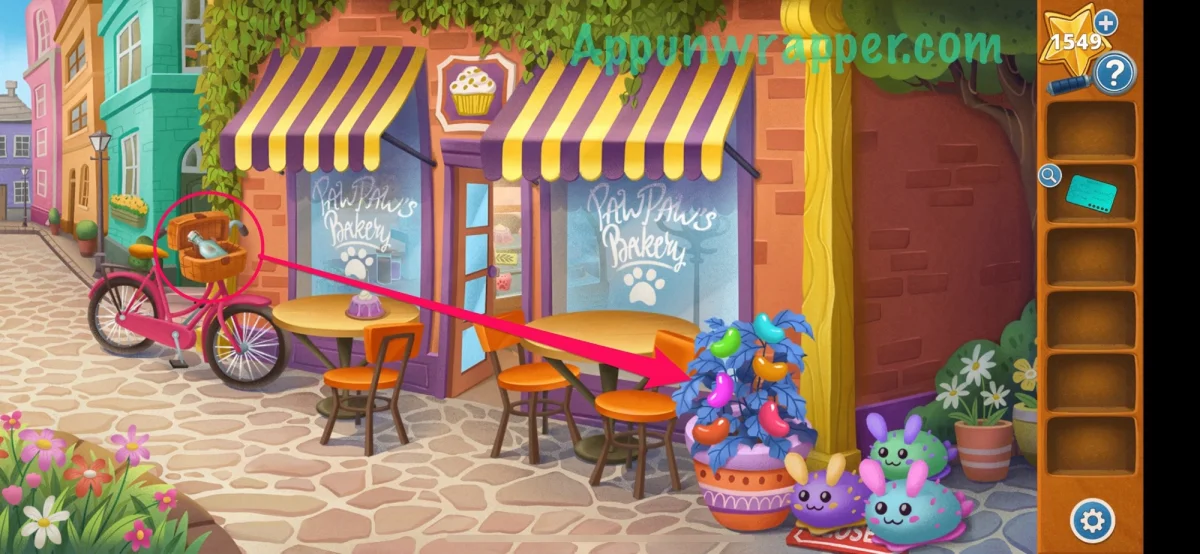
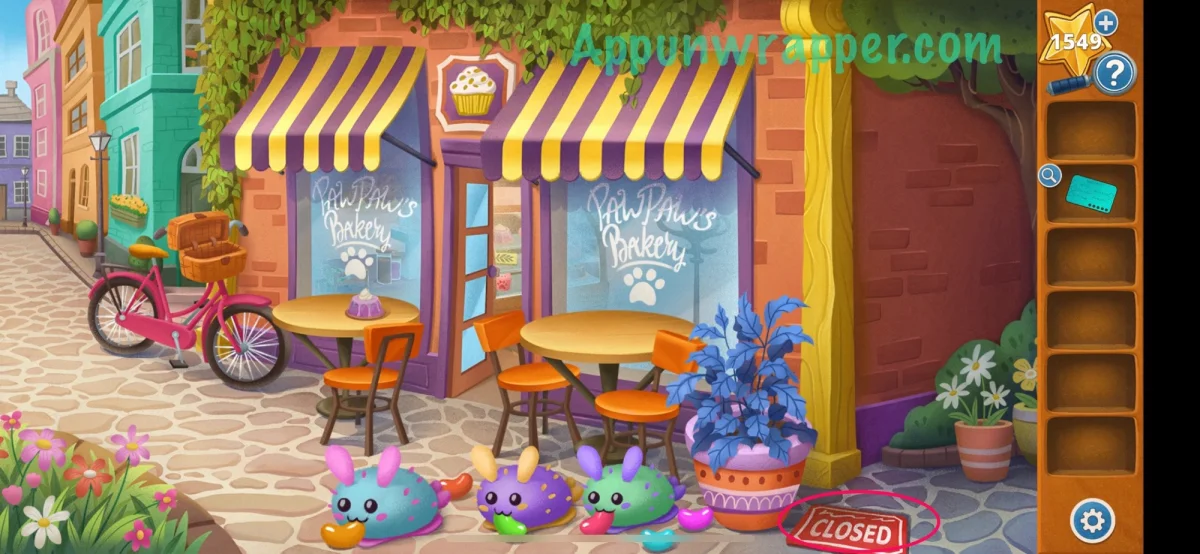
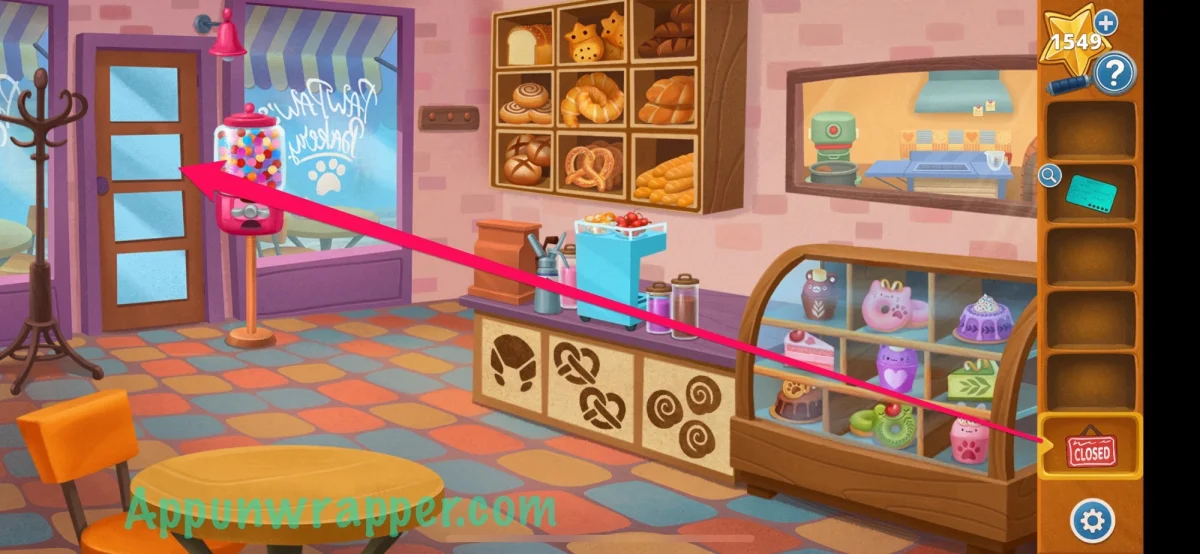
Bring the drink to Clyde. He leaves his dirty mug behind, so collect it and return to the cafe. Put all three dirty mugs in the dish cart and take the scissors from the floor. Outside, use the scissors to open the bicycle basket and take the water bottle. Water the jellybean plant; when the jellybeans drop and the sea buns move over to eat them, pick up the closed sign and place it on the cafe door.
Unlock Honey’s heart
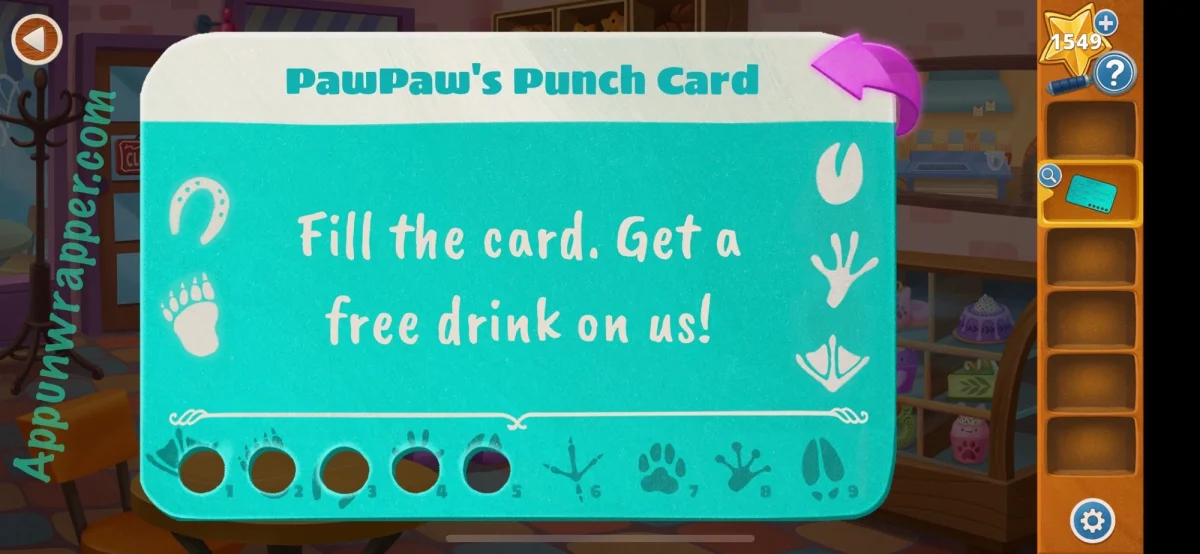
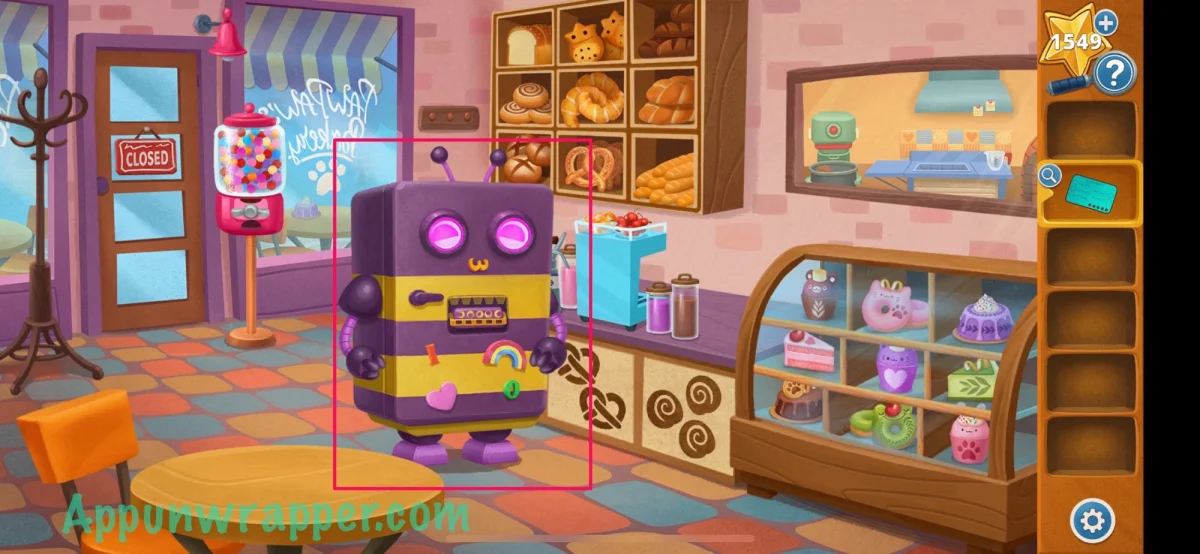
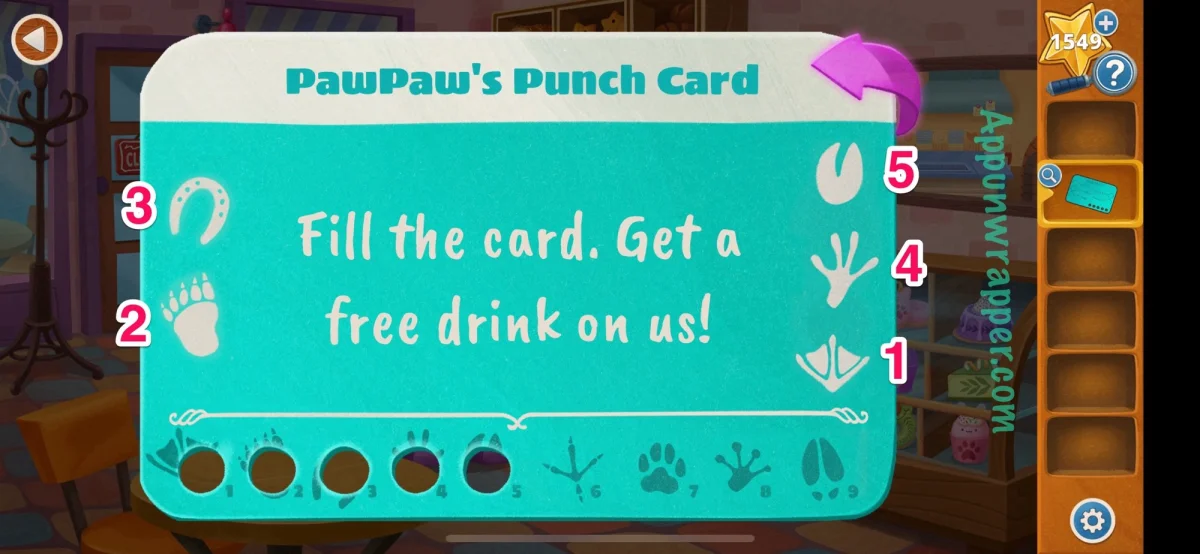
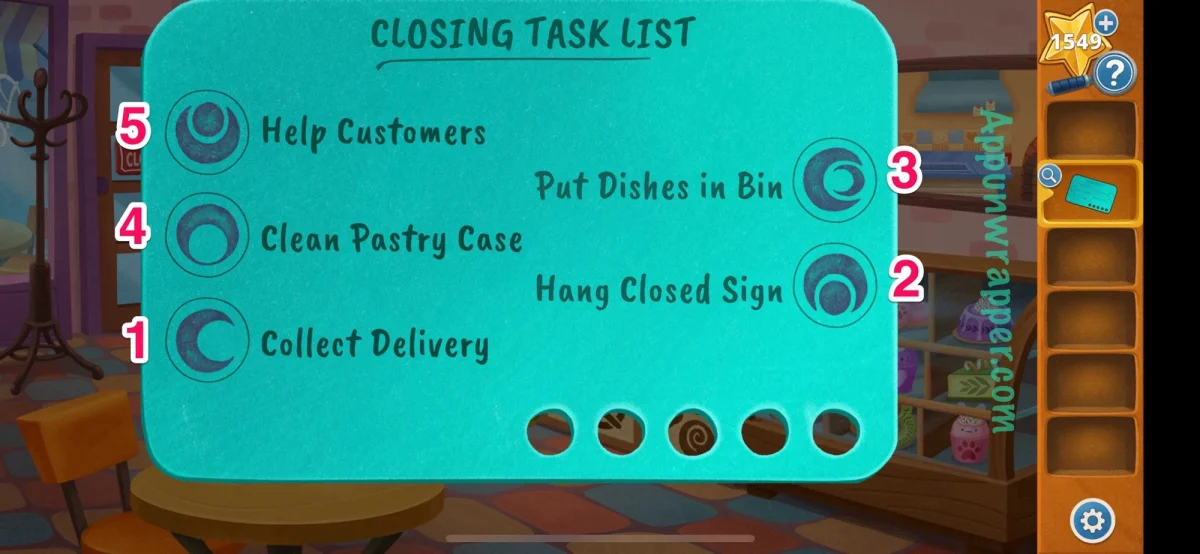
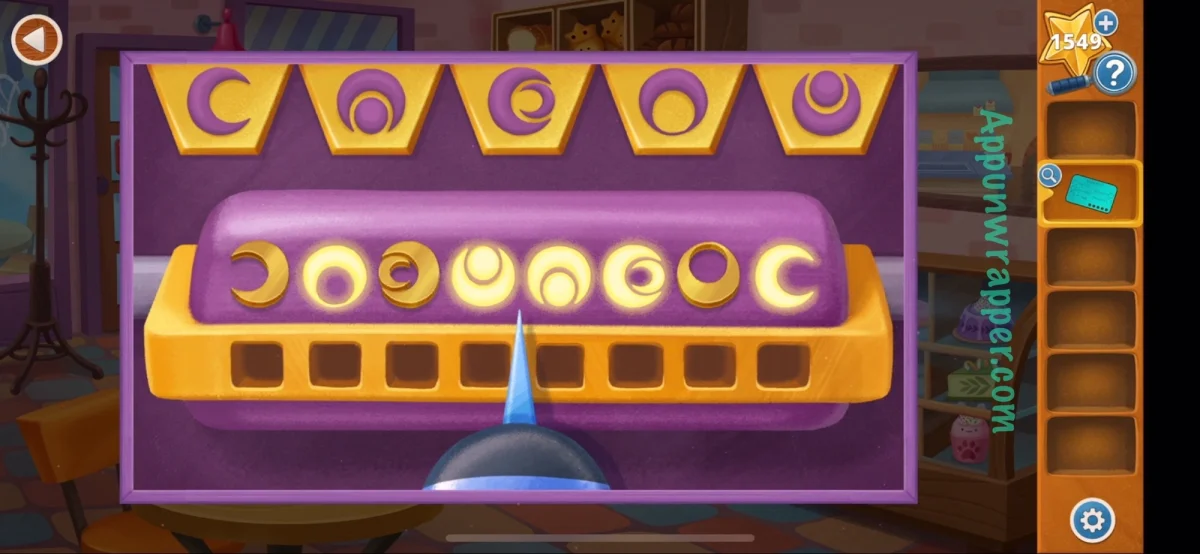
Honey points Oliver back to the task list, which has useful clues on both sides. The front shows moon shapes; the reverse has animal tracks and punch-card holes. Pair the symbols and tracks at their shared positions, then use the numbered tracks at the bottom to work out the order of the moons. Tap Honey’s chest and enter the moon shapes in that sequence to receive her heart.
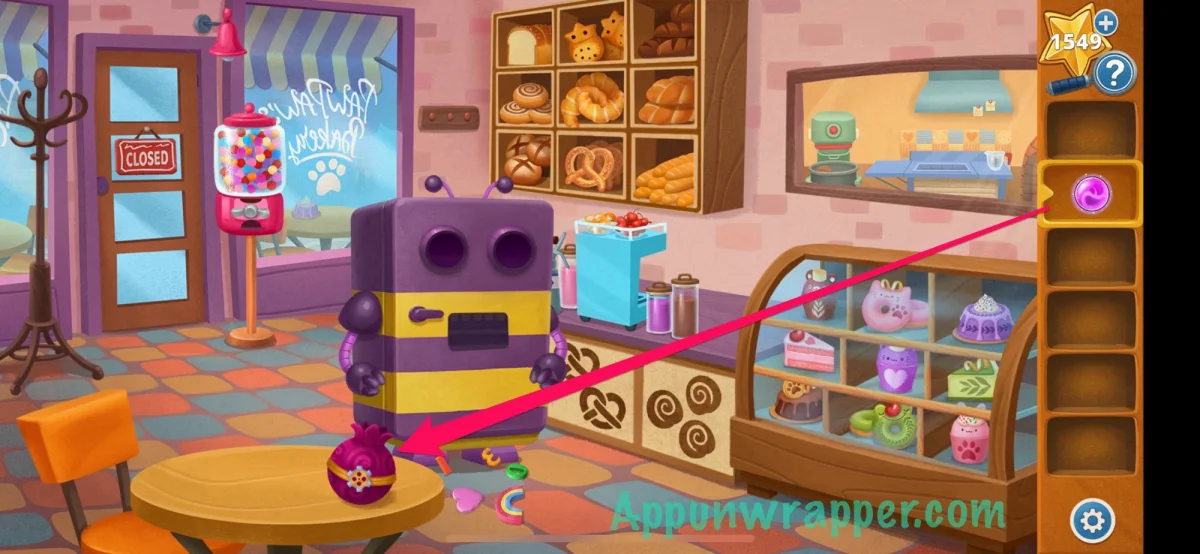
Use Honey’s heart with the PomPom to start the final maze. This puzzle adds arrows that rotate the center panel, changing the route through the maze. Complete it, then watch the closing scene to finish Chapter 5. The next chapter continues Oliver’s story.
Continue with the Chapter 6 walkthrough, or revisit Chapter 1, Chapter 2, Chapter 3 or Chapter 4.